
Table of Contents
Gluten Free Sourdough: Introduction
Okay, let’s be real here – have you ever pulled what was supposed to be gorgeous sourdough out of your oven, only to discover you’d basically baked a doorstop? Yeah, I’ve been there too. Standing in my kitchen with yet another dense, sad-looking loaf that could probably double as a weapon.
For the longest time, I thought gluten free sourdough was just one of those mythical things – like unicorns or finding a parking spot at Target on a Saturday. Every attempt left me with something that looked more like a science experiment gone wrong than actual bread. But here’s the thing that’ll blow your mind: it’s totally doable, and I’m about to share the exact steps that turned my kitchen disasters into loaves that’ll make your gluten-eating friends seriously jealous.
Trust me, if I can go from baking actual bricks to creating golden, crusty masterpieces, you absolutely can too. Ready to become the sourdough wizard you never thought possible?
Why Everyone Thinks Gluten Free Sourdough Is Impossible (Spoiler: It’s Not!)
Look, I get why people think gluten free sourdough is impossible. Traditional sourdough is all about that gluten doing its stretchy, bouncy thing – trapping air, creating structure, basically being the MVP of bread making. So when you take that away, it feels like you’re trying to build a house without nails.
But here’s what nobody tells you: gluten free sourdough isn’t about replacing gluten – it’s about working with completely different (but equally awesome) ingredients that do their own magic. Instead of relying on gluten to hold everything together, you’re using starches and gums that create their own kind of structure. The wild yeast and bacteria? They’re still doing their fermentation dance, creating all those amazing tangy flavors.
The biggest game-changer for me was realizing that gluten free baking isn’t worse than regular baking – it’s just different. Once I stopped fighting it and started embracing the differences, everything clicked. And honestly? Some of my gluten free loaves are better than anything I ever made with regular flour.
Your Gluten Free Sourdough Ingredient Dream Team
Let’s talk about building your flour blend – this is where the magic happens, people! Forget about trying to find one perfect gluten free flour (spoiler: it doesn’t exist). You need a squad of flours working together like the Avengers of bread making.
The Perfect Flour Blend That Actually Works
Here’s the blend that changed my life (and I’m not being dramatic):
| Ingredient | How Much | What It Does |
|---|---|---|
| Brown Rice Flour | 40% | Gives you structure and that nice nutty flavor |
| White Rice Flour | 30% | Keeps things light (the hero we all need) |
| Tapioca Starch | 20% | Creates that chewy texture you’re craving |
| Potato Starch | 10% | Keeps your bread from turning into cardboard |
This blend is seriously game-changing. The brown rice flour brings the protein party, white rice keeps things from getting too heavy, tapioca gives you that perfect chew, and potato starch is like your bread’s personal moisturizer.
And yes, you’ll need xanthan gum or psyllium husk – these are your gluten replacements. Don’t even think about skipping them unless you want pancake-flat bread (learned that the hard way). Quality matters here too, so don’t go cheap on your ingredients. Your taste buds will thank you later.
If you’re looking for more gluten free recipe inspiration, there are tons of amazing options beyond just bread that work with similar ingredient principles.
Step 1 – Creating Your Gluten Free Sourdough Starter (It’s Easier Than You Think!)
Alright, let’s make your starter – basically your new pet that you’ll feed every day. Don’t worry, it’s way less needy than an actual pet, and it won’t judge you for wearing pajamas all day.
7-Day Gluten Free Sourdough Starter
What you’re making: A bubbly, living culture that’ll turn into the most amazing bread. Think of it as your kitchen’s new best friend.
What You Need
| Ingredient | Days 1-3 | Days 4-7 |
|---|---|---|
| Your flour blend | 50g | 50g |
| Room temp water (filtered is best) | 50ml | 50ml |
| Your growing starter | – | 50g (toss half first) |
Here’s How to Do It
- Day 1: Mix your flour and water in a clean jar (I use mason jars because I’m basic like that). Stir it up good – no lumps allowed. Cover with a coffee filter or cheesecloth.
- Days 2-3: Give it a good stir once a day. You’re looking for tiny bubbles starting to show up. It might smell a bit funky at first – that’s totally normal!
- Day 4: Here’s where it gets exciting! Toss half of your starter (I know, it feels wasteful, but trust the process). Add fresh flour and water, mix well. You should see more bubble action happening.
- Days 5-7: Keep up with the daily feeding routine. Discard half, add flour and water, repeat. Your starter is ready when it doubles in size within 4-8 hours after feeding.
- How to know it’s ready: It should be bubbly, smell tangy (in a good way), and double in size like clockwork after feeding.
Time breakdown:
- Daily commitment: 5 minutes (seriously, that’s it)
- Total patience required: 7 days
- Worth the wait: Absolutely
Want to see this process in action? Check out this helpful video tutorial that walks through the starter creation process step by step – sometimes seeing it makes all the difference!
Step 2 – Keeping Your Starter Happy (It’s Like Tamagotchi for Adults)
Once your starter is alive and kicking, you need to keep it that way. Don’t panic – it’s not as high-maintenance as it sounds.
Feeding Schedule That Won’t Ruin Your Life
- If you’re baking all the time: Keep it on the counter, feed every 12 hours
- Weekend warrior baker: Stick it in the fridge, feed once a week
- Occasional bread maker: Keep a backup in the freezer (yes, really!)
Your starter’s basically telling you what it needs. Healthy starter = predictable doubling, pleasant smell, and lots of bubble activity. If you see liquid on top (we call it “hooch” – classy, right?), just stir it back in or pour it off. Both work fine.
Pro tip: Temperature matters big time. Hot kitchen = faster fermentation. Cool kitchen = slower action. Just watch your starter instead of obsessing over the clock.
Step 3 – The Recipe That’ll Change Your Life
Okay, this is it – the recipe that turned me from a bread disaster zone into someone people actually ask for baking tips. No joke.
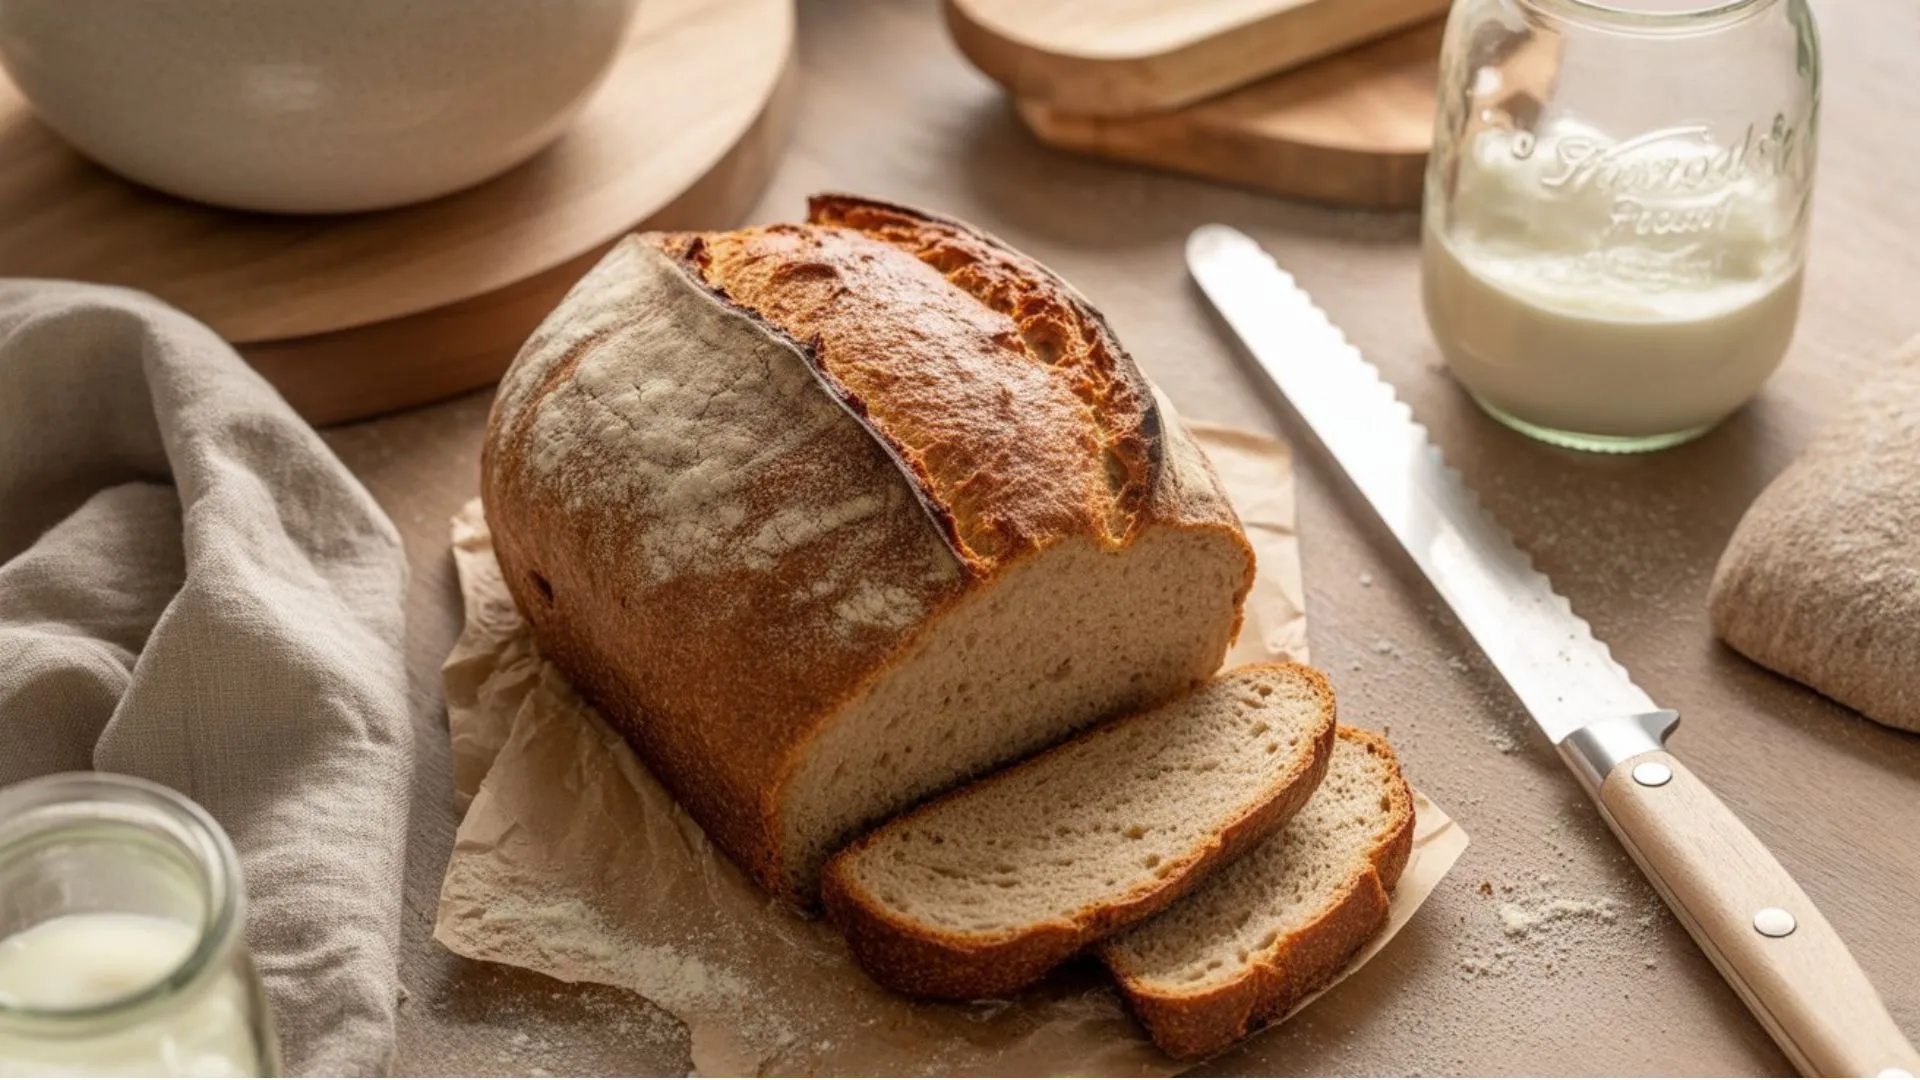
The Ultimate Gluten Free Sourdough Loaf
What you’re getting: A gorgeous loaf with a crispy crust, tangy flavor, and crumb that’ll make you do a happy dance.
The Lineup
| Ingredient | Amount | Baker’s % |
|---|---|---|
| Your active starter | 200g | 40% |
| Flour blend | 500g | 100% |
| Warm water (not hot!) | 375ml | 75% |
| Sea salt | 10g | 2% |
| Xanthan gum | 5g | 1% |
| Good olive oil | 30ml | 6% |
Let’s Make Some Magic
- The waiting game (30 mins): Mix your flour and warm water first. Just let it sit there doing its thing – this helps everything get acquainted.
- Bring the gang together: Add your starter, salt, xanthan gum, and olive oil to the flour mixture. Get your hands dirty and mix until it looks like actual dough.
- Knead like you mean it: 5-7 minutes of kneading. It should feel slightly sticky but manageable. If it’s too wet, resist adding more flour – trust the process!
- First rise time: Plop it in an oiled bowl, cover with a damp towel, and wait 4-6 hours. It should almost double in size. Netflix binge time!
- Shape it up: Turn it onto a floured surface and shape into a round loaf. You want tension on the surface but don’t go crazy.
- The final countdown: Put it seam-side up in a banneton (or bowl with a floured towel). Let it chill for 2-3 hours or overnight in the fridge.
- Oven magic: Preheat your Dutch oven to 450°F for at least 30 minutes. Score your dough with a sharp knife – make it pretty!
- Bake time: 30 minutes covered, then remove the lid, drop temp to 425°F, and bake another 15-20 minutes until golden and gorgeous.
Time reality check:
- Hands-on time: 20 minutes
- Waiting around time: 6-9 hours
- Actual baking: 45 minutes
- Total commitment: Most of a day (but so worth it)
Step 4 – Nailing the Rise (It’s All About the Vibes)
Getting the rise right is where people usually mess up, but I’ve got your back. Gluten free dough is like that friend who needs different encouragement than everyone else.
Temperature is everything here. Warm kitchen (75-80°F)? You’re looking at 4-5 hours for the first rise. Cooler space? Give it 6-8 hours. Cold proofing in the fridge can go 12-24 hours and actually makes the flavor even better.
Forget the traditional poke test – gluten free dough plays by different rules. When it’s ready, it’ll slowly bounce back halfway instead of springing right back. Over-proofed feels loose and sticky, under-proofed feels tight and stubborn.
Look for visual cues: properly risen dough looks puffy but not crazy inflated, and you can see little air bubbles near the edges. It’s like learning a new language, but once you get it, you get it.

Step 5 – Shaping Without the Drama
Shaping gluten free dough is an art form, but don’t let that scare you. The secret? Wet hands and gentle confidence.
How to Shape Like a Pro
- Prep work: Wet your hands (seriously, this changes everything). Don’t add flour – that’s a trap that leads to dense bread.
- Gather it up: Gently pull the edges toward the center, creating tension without tearing anything.
- Flip and tighten: Turn it seam-side down and use cupped hands to create surface tension. Rotate while gently pulling.
- Final placement: Into your banneton or bowl, seam-side up. Support is key here.
Work quickly but gently – think confident massage therapist, not aggressive wrestler. You want tension on the surface that’ll help it rise properly during the final proof.
Step 6 – Scoring and Getting Ready to Bake
This is where you get to be artistic! Proper scoring isn’t just for looks (though it does make your bread Instagram-worthy) – it controls how your loaf expands.
You’ll need a sharp razor or lame, parchment paper for easy transfer, and a thermometer because guessing temperatures is for amateurs. Get that Dutch oven ripping hot – 30 minutes at 450°F minimum.
For scoring, confidence is key. One deep slash down the center works great, or try a cross pattern if you’re feeling fancy. Cut about ¼ to ½ inch deep at a slight angle. Don’t second-guess yourself – just go for it!
The Dutch oven creates its own steam, but throwing in a few ice cubes before covering gives you extra steam for an even better crust. Trust me on this one.
Step 7 – The Grand Finale (AKA Actually Baking the Thing)
This is it – the moment where all your patience pays off. Temperature control is crucial here, so don’t wing it.
The Baking Breakdown
- Start hot and steamy: 450°F with the lid on for the first 30 minutes. This is when all the magic happens.
- The reveal: Remove the lid, drop to 425°F, and let it get golden for another 15-20 minutes.
- Test for doneness: Internal temp should hit 205°F. The crust should sound hollow when you tap it (yes, really).
- The hardest part: DO NOT SLICE IT YET. I know it smells amazing and you want to dive in, but gluten free bread needs at least 2 hours to cool completely or you’ll get gummy slices.
This cooling thing nearly killed me the first few times, but it’s absolutely essential. The bread is still cooking from residual heat, and cutting too early ruins all your hard work.
When Things Go Wrong (Because They Will, and That’s Okay!)
Even after tons of practice, sometimes bread happens. Here’s your troubleshooting guide for the most common “why me?” moments.
Your “Oh No” to “Oh Yeah” Guide
| The Problem | Why It Happened | How to Fix It |
|---|---|---|
| Dense brick syndrome | Weak starter or not enough rise time | Make sure starter doubles consistently; be more patient |
| Gummy inside mess | Cut too soon or underbaked | Wait longer to slice; bake to proper temp |
| Pancake flat loaf | Over-proofed or sad starter | Shorter final proof; strengthen your starter game |
| Spreading disaster | Bad shaping or too much water | Practice shaping; adjust hydration |
| Super sour flavor | Too long fermenting or too warm | Shorter rises; cooler environment |
Learning to read your dough is like learning to read people – it takes time, but once you get it, you’re golden. Every kitchen is different, so don’t get discouraged if it takes a few tries to dial it in.
Level Up Your Sourdough Game
Once you’ve got the basics down, it’s time to get creative! Here are some of my favorite ways to jazz things up:
Fun Flavor Adventures
- Seeded goodness: Toast up some pumpkin, sunflower, and sesame seeds for crunch and nutrition
- Herb garden vibes: Fresh rosemary and olive oil make it feel fancy
- Sweet morning bread: Cinnamon and raisins turn it into breakfast heaven
- Nutty indulgence: Toasted walnuts and a drizzle of honey = pure joy
Seasons matter too! Summer means shorter rises and cooler water, while winter needs longer fermentation and warmer spots. I keep a thermometer handy because guessing is for people who like disappointment.
Building a routine helps everything stay consistent. I do my starter feeding on Sunday nights and mix dough on Wednesdays – fresh bread by Thursday dinner. Find what works for your schedule and stick with it.
For even more detailed techniques and troubleshooting tips, Bakerita’s comprehensive guide offers additional insights that complement these methods perfectly.
You’ve Got This!
Listen, creating incredible gluten free sourdough isn’t about being a baking genius or having some magical touch – it’s about understanding what you’re working with and not giving up when the first loaf isn’t perfect.
I’ve been where you are, staring at yet another failed attempt and wondering if I should just stick to store-bought bread forever. But here’s what I learned: every “failure” taught me something that made the next loaf better. The process becomes addictive once you get the hang of it – there’s something magical about creating something this delicious from just flour, water, and time.
Your kitchen is about to smell like a real bakery. Your friends are going to be begging for your secret. And you? You’re going to feel like an absolute rockstar every time you pull a perfect loaf from your oven.
Ready to start your sourdough adventure? I’d love to hear about your baking wins (and epic fails – we’ve all been there!). Drop a comment below and let’s build a community of gluten free sourdough warriors. Because honestly, there’s nothing better than celebrating bread victories with people who totally get it!

Your Burning Gluten Free Sourdough Questions, Answered
How long does this whole gluten free sourdough thing actually take?
Honestly? About a week to get your starter going, then 8-10 hours for each loaf (but most of that is just waiting around). It sounds like forever, but once you get into the rhythm, it’s actually pretty chill.
Can I just use my regular sourdough starter for gluten free bread?
Nope, sorry! You need a starter made specifically with gluten free flours to avoid any cross-contamination issues. Plus, they behave differently, so starting fresh is your best bet.
Why does my gluten free sourdough always turn out like a brick?
Usually it’s because your starter isn’t active enough, you didn’t let it rise long enough, or your flour blend is off. Make sure your starter doubles consistently and be patient with the rise times – gluten free dough marches to its own drummer.
How do I know when my starter is actually ready to make bread?
Your starter should double in size within 4-8 hours after feeding, smell pleasantly tangy (not like gym socks), and be full of bubbles. If it passes the float test (a spoonful floats in water), you’re golden!
Do I really need xanthan gum, or can I skip it?
You really, really need some kind of binding agent. Xanthan gum is the most common, but you can use psyllium husk powder instead (use about half the amount). Without it, your bread will be flat and sad.
How should I store this bread so it doesn’t go stale immediately?
Gluten free bread is a bit of a diva about storage. Keep it in an airtight container for 2-3 days max, or slice and freeze portions for up to 3 months. It goes stale faster than regular bread, so plan accordingly.
What’s the best flour blend that won’t break the bank?
My go-to blend is 40% brown rice flour, 30% white rice flour, 20% tapioca starch, and 10% potato starch. You can buy these in bulk to save money, and this combo gives you the best bang for your buck in terms of texture and flavor.
Have You Given This Recipe A Try?
There are no reviews yet. Be the first one to write one.