
Table of Contents
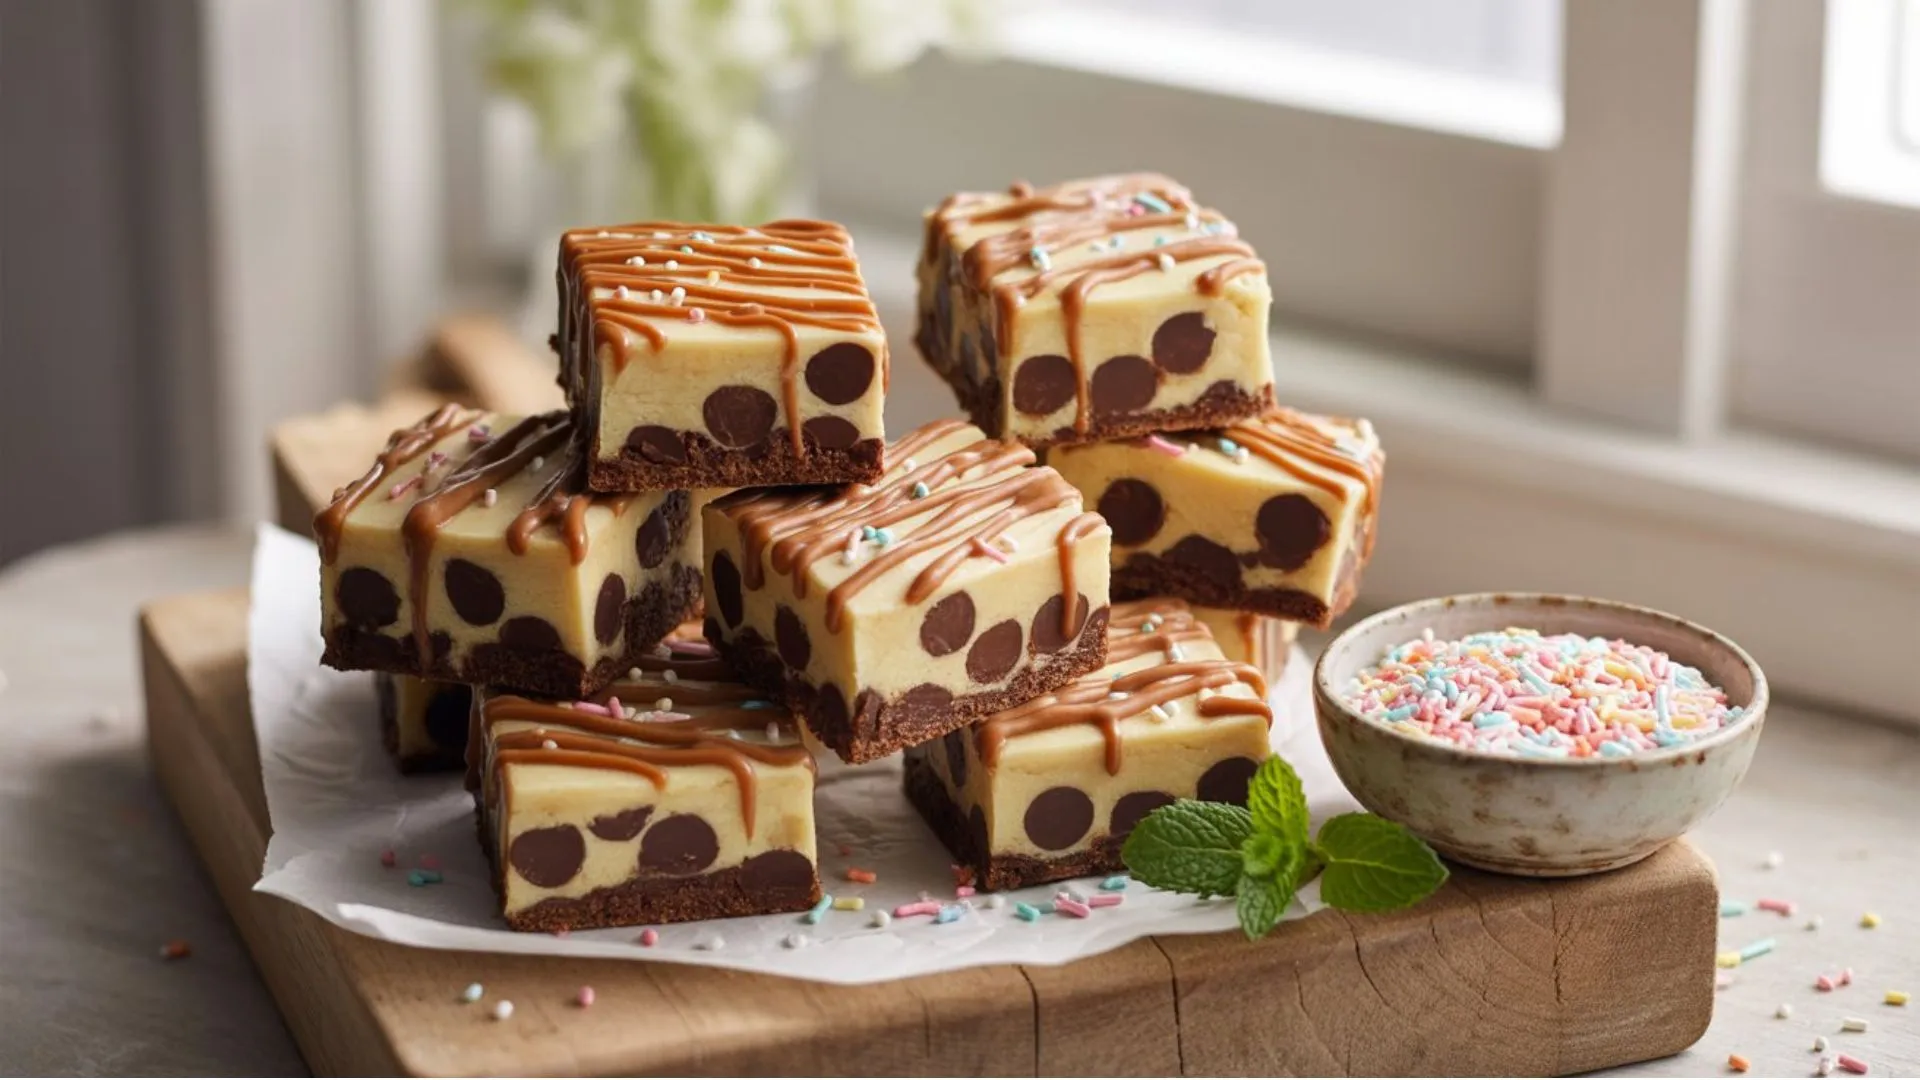
Cookie Dough Bars
Okay, let’s be real for a second, we’ve all been there. You’re making cookies, and suddenly you’re eating more cookie dough than what actually makes it into the oven. Don’t even try to deny it! That raw, sweet, buttery goodness is basically irresistible, and honestly? I’m not here to judge.
But here’s the thing that’ll blow your mind: what if I told you there’s a way to get all that cookie dough satisfaction without the whole “am I gonna get sick from raw eggs?” worry? Enter cookie dough bars, basically your childhood dreams come true in bar form.
These babies are game-changers, trust me. They’re safe to eat raw (we’ll get to that), they’re way easier to make than actual cookies, and you can customize them however you want. Plus, they keep for ages in the fridge, which means you can have your cookie dough fix whenever the craving hits. And let’s face it , that craving hits often!
I’ve been obsessing over these for months now, and I’ve narrowed it down to seven absolutely killer flavors that’ll make you forget store-bought cookie dough even exists. Ready to dive in?
Understanding Cookie Dough Bars: Your Gateway to Safe Indulgence
So here’s the deal with cookie dough bars – they’re basically regular cookie dough’s cooler, safer cousin. Instead of worrying about raw eggs and sketchy flour, these use heat-treated flour and skip the eggs entirely. Genius, right?
What makes them so awesome:
- They’ve got that perfect fudgy texture that’s not too soft, not too hard
- The flavor actually gets better after sitting in the fridge (patience pays off!)
- You can throw in whatever mix-ins you’re feeling that day
- They last way longer than regular cookies
- Zero oven time required – hello, summer baking!
Speaking of no-bake treats, if you’re craving something with that classic cookie flavor but want even less prep work, you might love these chocolate no-bake oatmeal cookies – they’re another fantastic option when you want to skip the oven entirely.
Here’s what I’ve learned after way too many batches: temperature is everything. Your butter needs to be nice and soft (not melted, just squishy), and you absolutely can’t skip the chilling time. I know waiting sucks, but trust the process.
Also, don’t cheap out on your vanilla extract. I made that mistake once, and the bars tasted like… well, let’s just say they weren’t great. Good vanilla makes a huge difference!
Essential Ingredients: Building Your Cookie Dough Bar Foundation
Let me break down the must-haves for cookie dough bar success, because getting this right is half the battle.
The Good Stuff You Need
Butter (The Star of the Show) Unsalted butter is your best friend here. I always leave mine on the counter for about an hour before I start – it should give a little when you press it but still hold its shape. If you’re like me and forget to take it out early, you can cut it up and let it sit for 15-20 minutes.
Sugar Game Brown sugar is where the magic happens – it gives you that deep, molasses-y flavor that screams “cookie dough!” Mixing it with a little white sugar balances everything out perfectly. Pro tip: pack that brown sugar down when you measure it.
The Flour Situation Okay, this is the one slightly annoying part, but it’s super important. You gotta heat-treat your flour to kill any nasty bacteria. Just spread it on a baking sheet and pop it in a 350°F oven for 5 minutes. Set a timer – I’ve burned flour before and it’s not cute. Let it cool completely before using it.
Flavor Boosters Real vanilla extract is non-negotiable. And that pinch of salt? Don’t skip it. It makes everything taste more like… itself, if that makes sense.
Classic Chocolate Chip Cookie Dough Bars: Mastering the Timeless Favorite
Alright, let’s start with the OG – chocolate chip. This is where you wanna nail your technique because once you get this down, you can basically make any flavor.
These taste exactly like the cookie dough you remember sneaking as a kid, but way better because you don’t have to feel guilty about eating them!
What You’ll Need:
- 1 cup unsalted butter (nice and soft!)
- ¾ cup packed brown sugar
- ¼ cup white sugar
- 2 tsp vanilla extract (the good stuff)
- 2 cups heat-treated flour
- 1 tsp salt
- ¼ cup milk
- 1 cup mini chocolate chips (mini ones distribute better, trust me)
How to Make Magic Happen:
- Line an 8×8 pan with parchment paper – make it hang over the edges so you can lift the whole thing out later
- Beat your butter and sugars until they’re fluffy and gorgeous (about 4 minutes with a mixer)
- Mix in that vanilla
- Add flour and salt bit by bit, alternating with the milk so you don’t end up with cement
- Fold in those chocolate chips – be gentle!
- Smoosh everything into your pan and make it even
- Stick it in the fridge for at least 2 hours (I know, I know, but it’s worth it)
- Cut into squares and try not to eat them all at once
Time Investment:
- Prep: 15 minutes
- Waiting around: 2 hours
- Total: 2 hours 15 minutes (most of which you’re not doing anything)
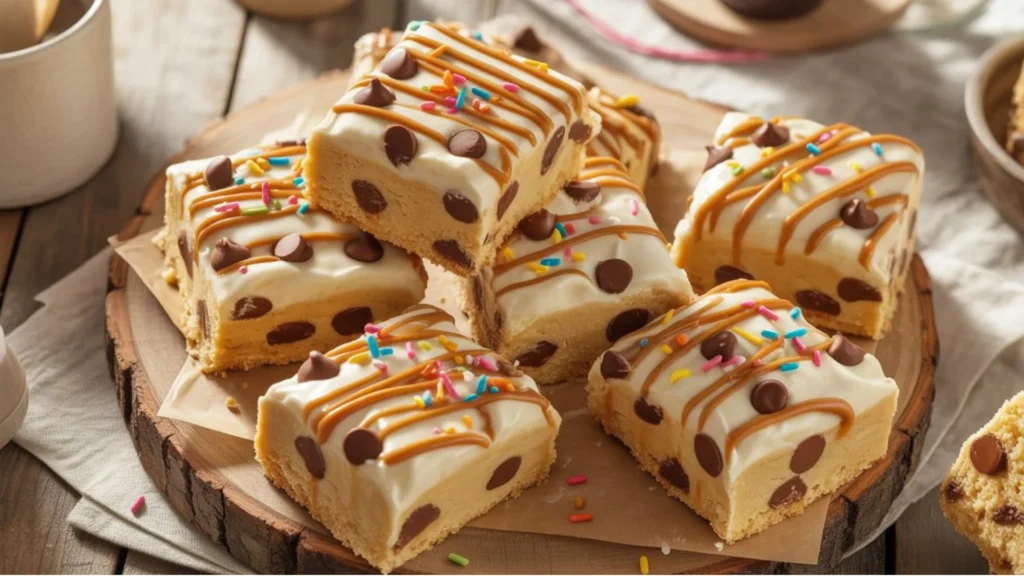
Funfetti Birthday Cake Cookie Dough Bars: Celebrating Every Day
These are basically a party in your mouth! Perfect for when you want to feel celebratory but don’t actually have anything to celebrate. Sometimes Tuesday needs sprinkles, you know?
What You’ll Need:
- 1 cup soft butter
- ¾ cup powdered sugar (yes, powdered – it makes them extra smooth)
- 2 tsp vanilla
- ¼ tsp almond extract (this is the secret birthday cake flavor!)
- 2 cups heat-treated flour
- ½ tsp salt
- 3 tbsp milk
- ½ cup rainbow sprinkles plus extra for the top
Let’s Make Some Happiness:
- Same parchment paper drill in your 8×8 pan
- Beat butter and powdered sugar until it’s like fluffy clouds
- Add both extracts (don’t skip the almond – it’s what makes these taste like actual birthday cake)
- Slowly add flour and salt, then milk
- Gently fold in sprinkles (if you’re too rough, they’ll bleed color everywhere)
- Press into pan, top with more sprinkles because why not?
- Chill for 3 hours (they need the extra time to get perfect)
Time Investment:
- Prep: 20 minutes
- Patience required: 3 hours
- Total: 3 hours 20 minutes
Double Chocolate Fudge Cookie Dough Bars: Ultimate Chocolate Indulgence
For my fellow chocolate addicts, this one’s for you. These are so rich and fudgy, you’ll probably only need a small piece. (But let’s be honest, you’ll have a big piece anyway.)
What You’ll Need:
- 1 cup soft butter
- 1 cup packed brown sugar (dark brown if you’ve got it)
- 2 tsp vanilla
- 1¾ cups heat-treated flour
- ¼ cup cocoa powder (the unsweetened kind)
- 1 tsp salt
- ⅓ cup milk
- ¾ cup dark chocolate chips
Chocolate Heaven Instructions:
- Line that pan like a pro
- Cream butter and brown sugar until fluffy
- Mix in vanilla
- In another bowl, whisk together flour, cocoa, and salt (this prevents cocoa lumps)
- Add dry ingredients alternating with milk
- Fold in chocolate chips
- Press into pan firmly
- Chill for 2½ hours
Time Investment:
- Prep: 18 minutes
- Chill time: 2.5 hours
- Total: 2 hours 48 minutes
These get even better the next day, so try to save some if you can!
Peanut Butter Cookie Dough Bars: Nutty Perfection Achieved
If you’re team peanut butter (and honestly, who isn’t?), these will be your new obsession. They’re creamy, nutty, and just the right amount of sweet.
What You’ll Need:
- ¾ cup soft butter
- ½ cup creamy peanut butter (natural or regular, whatever you like)
- ¾ cup brown sugar
- 1 tsp vanilla
- 2 cups heat-treated flour
- ¾ tsp salt
- ¼ cup milk
- ½ cup peanut butter chips
PB Perfection Steps:
- You know the parchment drill by now
- Beat butter, PB, and brown sugar until smooth and dreamy
- Add vanilla
- Mix flour and salt separately, then add alternating with milk
- Stir in those PB chips
- Press evenly into your pan
- Chill for 2 hours
Time Investment:
- Prep: 16 minutes
- Waiting: 2 hours
- Total: 2 hours 16 minutes
Snickerdoodle Cookie Dough Bars: Warm Spice Comfort
These taste like fall wrapped up in a bar, even if you’re making them in the middle of July. There’s something about that cinnamon-sugar combo that just hits different, you know?
What You’ll Need:
- 1 cup soft butter
- ¾ cup white sugar
- ¼ cup brown sugar
- 2 tsp vanilla
- 2 cups heat-treated flour
- 1½ tsp cinnamon (divided)
- ¾ tsp salt
- 3 tbsp milk
- 2 tbsp white sugar for topping
Cinnamon Sugar Heaven:
- Line your trusty 8×8 pan with parchment
- Cream butter and both sugars until fluffy
- Mix in vanilla
- Combine flour, 1 tsp cinnamon, and salt in another bowl
- Add dry ingredients alternating with milk
- Press into your pan nice and even
- Mix remaining ½ tsp cinnamon with 2 tbsp sugar and sprinkle on top
- Chill for 2½ hours
Time Investment:
- Prep: 17 minutes
- Chill time: 2.5 hours
- Total: 2 hours 47 minutes
Cookies and Cream Cookie Dough Bars: Childhood Favorite Reimagined
Okay, this is where things get fun. Basically, Oreos met cookie dough and had the most delicious baby ever. I’m not even sorry about that description!
What You’ll Need:
- 1 cup soft butter
- ¾ cup white sugar
- 2 tsp vanilla
- 2 cups heat-treated flour
- ¾ tsp salt
- ¼ cup milk
- 1 cup crushed chocolate sandwich cookies (about 20 Oreos)
- 2 tbsp extra cookie crumbs for the top
Cookie Madness Steps:
- Parchment paper your pan like usual
- Beat butter and sugar until light and creamy
- Add vanilla and mix well
- Gradually add flour and salt, then milk
- Gently fold in crushed cookies (don’t go crazy or they’ll turn to dust)
- Press into pan and top with extra crumbs
- Chill for 2 hours 45 minutes
Time Investment:
- Prep: 22 minutes (crushing cookies takes a minute)
- Chill time: 2 hours 45 minutes
- Total: 3 hours 7 minutes
Pro tip: I like to save some bigger cookie pieces for the top – it looks way more impressive!
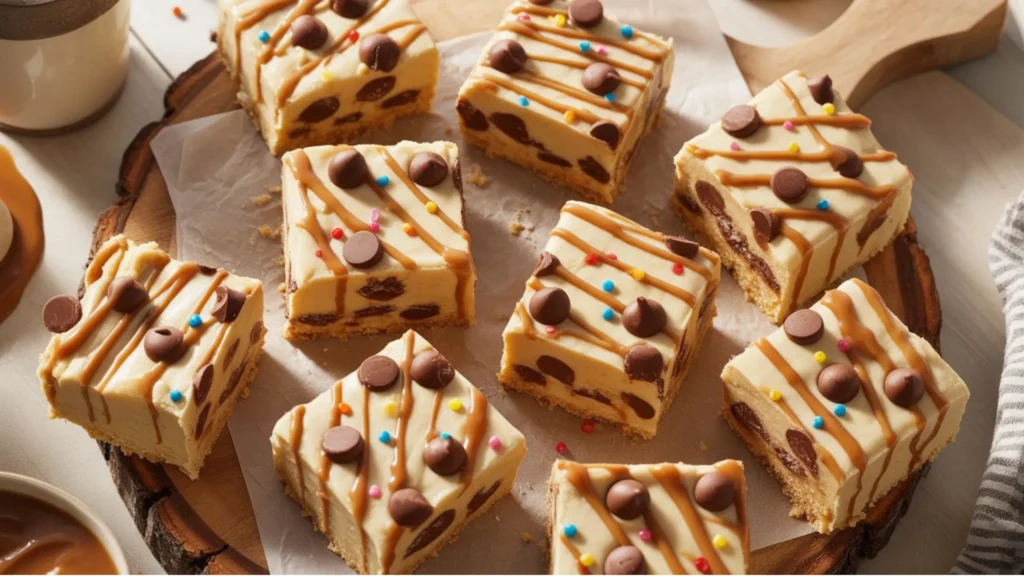
Salted Caramel Cookie Dough Bars: Sophisticated Sweet-Salty Balance
These are my fancy pants bars. They’re elegant enough for dinner parties but easy enough to make when you just want to treat yourself on a Wednesday. That flaky sea salt on top? Chef’s kiss
What You’ll Need:
- 1 cup soft butter
- ½ cup brown sugar
- ¼ cup caramel sauce (store-bought is fine!)
- 1 tsp vanilla
- 2 cups heat-treated flour
- 1 tsp salt
- 2 tbsp milk
- ½ cup caramel bits
- Flaky sea salt for sprinkling
Caramel Dream Instructions:
- Line that 8×8 pan with parchment
- Cream butter and brown sugar until smooth
- Beat in caramel sauce and vanilla (this might look weird at first, but keep going)
- Mix flour and salt in separate bowl
- Add dry ingredients alternating with milk
- Fold in caramel bits
- Press evenly into pan
- Sprinkle with flaky sea salt (don’t be shy!)
- Chill for 3 hours
Time Investment:
- Prep: 19 minutes
- Chill time: 3 hours
- Total: 3 hours 19 minutes
The combination of sweet caramel and that little hit of salt is absolutely addictive. Fair warning!
Professional Storage and Serving Strategies
Okay, “professional” might be a stretch, but here’s how to keep these babies fresh and serve them like you know what you’re doing.
Keeping Them Fresh:
- Fridge life: They’ll stay good for up to 2 weeks covered (if they last that long)
- Freezer storage: Wrap individually and they’ll keep for 3 months
- Counter time: 3 days max if it’s not too hot
Serving Like a Boss:
- Use a sharp knife and dip it in warm water between cuts for clean edges
- Let them sit at room temp for about 10 minutes before serving for the perfect texture
- Pair with vanilla ice cream if you really wanna blow minds
If you’re looking for more creative ways to enjoy cookie dough bars or want additional recipe inspiration, check out this comprehensive guide to cookie dough bars for even more variations and expert tips.
Troubleshooting Common Cookie Dough Bar Challenges
Things go wrong sometimes – here’s how to fix the most common issues I’ve run into.
When Things Get Weird:
- Too mushy: More flour or longer chill time
- Too hard: A splash more milk usually does the trick
- Falling apart: Your butter probably wasn’t soft enough – next time let it sit longer
- Lumpy texture: Mix more thoroughly at each step
Your Cookie Dough Bar Journey Begins Now
Look, I’m not gonna lie – once you start making these, regular store-bought cookie dough is gonna taste like cardboard. You’ve been warned!
Start with the chocolate chip ones to get your technique down, then go wild with the flavors. I’ve probably made about 50 batches testing different combinations (tough job, but someone’s gotta do it), and these seven are the absolute winners.
The best part? You can make a batch on Sunday and have dessert sorted for the whole week. Or you know, eat them all in two days like I usually do. No judgment here!
Ready to become the cookie dough bar hero of your friend group? Pick a flavor that sounds amazing, hit up the grocery store, and get ready for some serious compliments. Your kitchen’s about to become everyone’s favorite hangout spot!
Have You Given This Recipe A Try?
There are no reviews yet. Be the first one to write one.