
Table of Contents
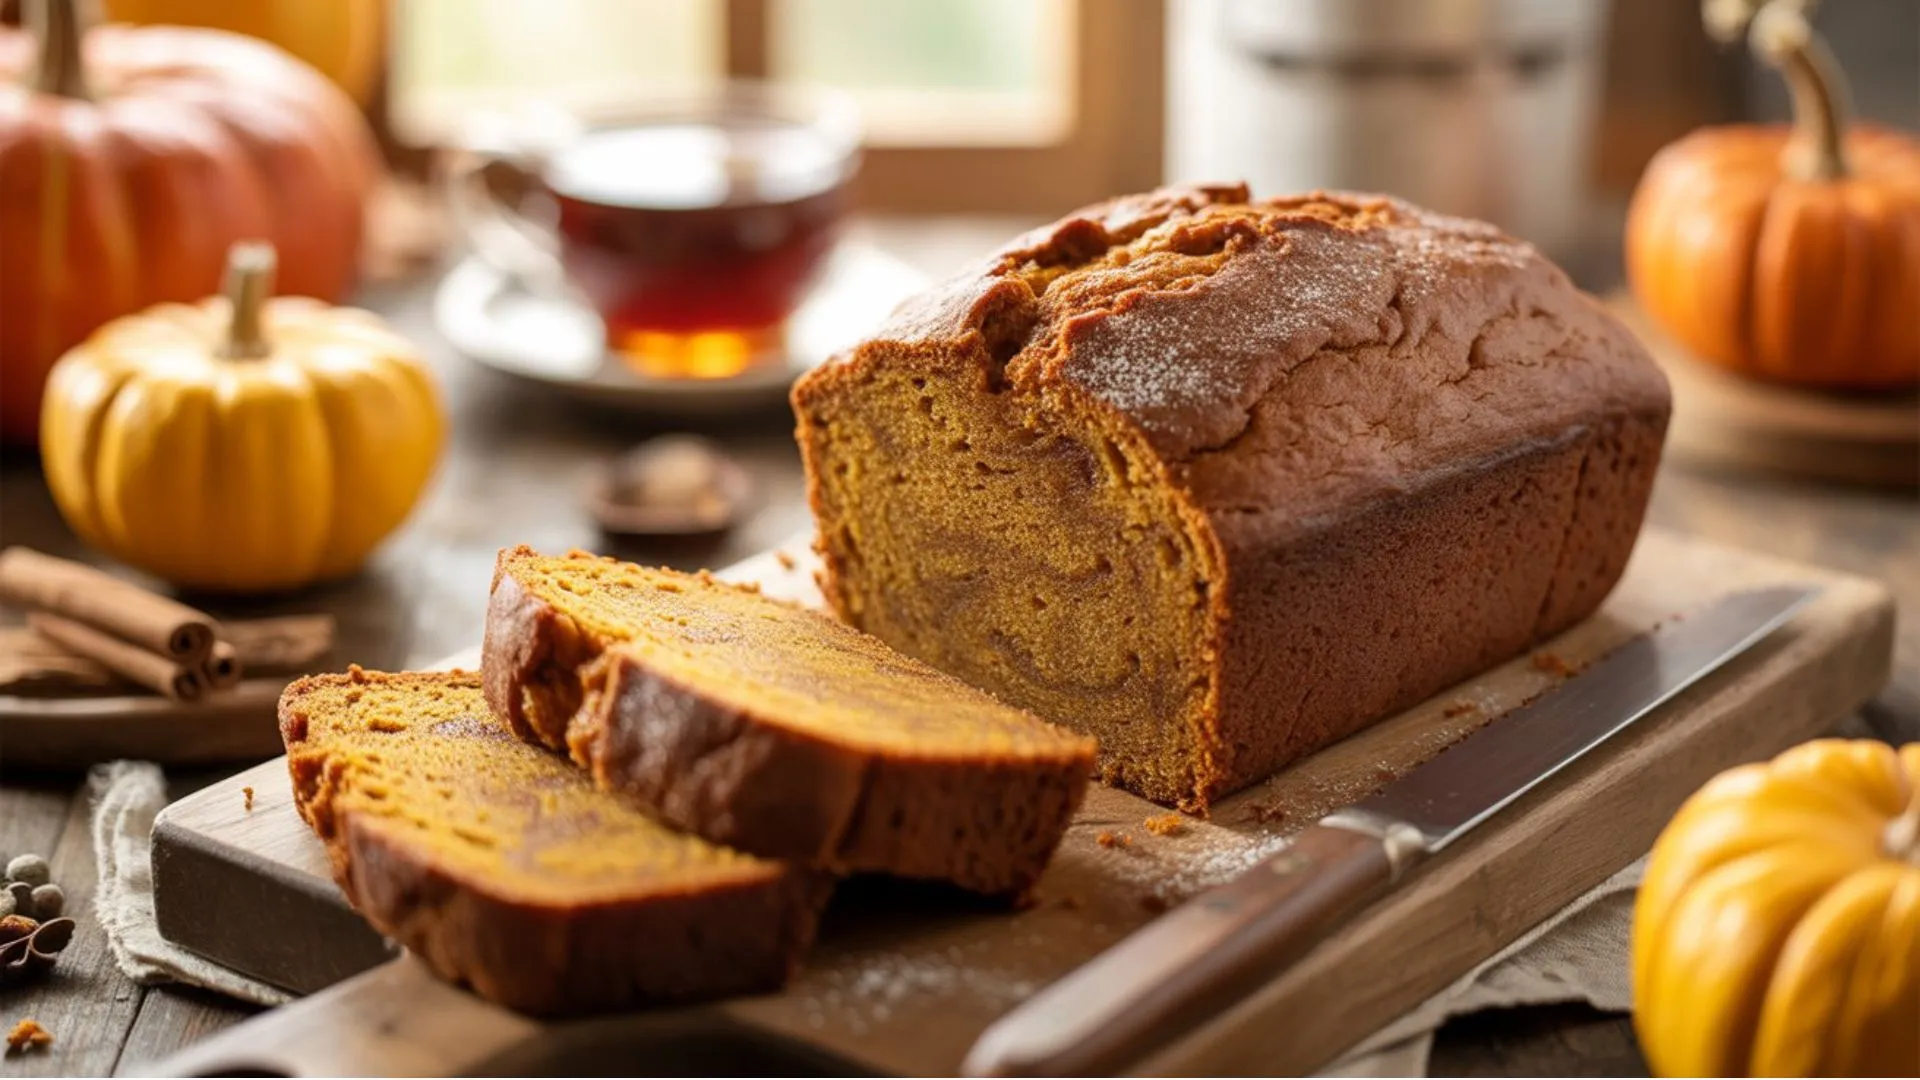
Easy Moist Pumpkin Bread
The moment autumn arrives, your kitchen becomes filled with dreams of that perfect pumpkin bread—the kind that melts in your mouth with every tender, spiced bite. Yet countless attempts have left you frustrated with dense, dry loaves that crumble instead of that luxurious, bakery-quality texture you crave. You’ve followed recipe after recipe, wondering why your homemade versions never capture that professional magic that makes you weak in the knees.
After spending years perfecting this craft and learning from seasoned bakers, I’ve uncovered the precise techniques that elevate homemade pumpkin bread to bakery standards. These aren’t complicated methods requiring special equipment—they’re straightforward adjustments that will revolutionize your autumn baking forever.
Why This Easy Moist Pumpkin Bread Recipe Delivers Results
The Science Behind Bakery-Quality Texture
Your success hinges on understanding how moisture behaves during baking. Professional bakers know that achieving that coveted tender crumb requires precise fat ratios and proper ingredient interactions. When you use the right combination of oils and understand how different sugars retain moisture, you create an environment where your bread stays soft and flavorful for days.
The key lies in recognizing that pumpkin bread’s texture depends heavily on how you handle your wet ingredients. Temperature plays a crucial role—cold ingredients don’t blend properly, creating dense pockets that result in uneven texture. Room temperature components merge seamlessly, creating that uniform, tender crumb you’re seeking.
What Sets This Recipe Apart
Unlike standard recipes that treat pumpkin bread like any other quick bread, this approach recognizes pumpkin’s unique properties. Your pumpkin puree contains natural moisture that, when properly managed, becomes your greatest asset rather than a baking obstacle.
Professional bakeries don’t just throw ingredients together—they follow specific sequences and techniques that ensure consistent results batch after batch. You’ll learn these same methods, adapted perfectly for your home kitchen. While there are many easy pumpkin bread recipes available, this version focuses specifically on achieving that coveted bakery-quality moisture and texture.
The Complete Easy Moist Pumpkin Bread Recipe
This foolproof recipe delivers bakery-level moisture and flavor using common pantry ingredients and professional techniques that guarantee perfect results every time.
Preparation Time: 15 minutes
Cooking Time: 60-65 minutes
Total Time: 1 hour 20 minutes
Yield: 1 standard loaf (8-10 slices)
Ingredients You’ll Need
- 1¾ cups all-purpose flour
- 1 cup granulated sugar
- ½ cup packed brown sugar
- 1 cup pumpkin puree
- ½ cup vegetable oil
- 2 large eggs, room temperature
- ¼ cup water
- 1½ teaspoons baking soda
- 1 teaspoon salt
- 1 teaspoon cinnamon
- ½ teaspoon nutmeg
- ¼ teaspoon ground cloves
- ¼ teaspoon ground ginger
Step-by-Step Instructions
- Preheat your oven to 350°F and thoroughly grease a 9×5-inch loaf pan
- Whisk all dry ingredients together in a large mixing bowl
- Combine wet ingredients in a separate bowl, mixing until smooth
- Create a well in your dry ingredients and pour in the wet mixture
- Fold ingredients together using gentle strokes until just combined
- Pour batter into your prepared pan and bake for 60-65 minutes
- Cool completely in the pan for 10 minutes before removing
Secret #1: Master the Room Temperature Rule
Why Temperature Creates Perfect Results
Your ingredients need to be at room temperature for optimal blending. Cold eggs and chilled pumpkin puree create lumpy batters that never achieve that smooth, professional consistency. When ingredients are properly warmed, they combine effortlessly, creating uniform distribution throughout your batter.
Room temperature eggs incorporate more easily, creating better structure and lift. Your pumpkin puree blends seamlessly with other wet ingredients, eliminating those frustrating lumps that can create dense spots in your finished bread.
Quick Warming Techniques
- Place eggs in warm water for 10-15 minutes
- Microwave pumpkin puree for 15-20 seconds if needed
- Keep oil at room temperature by storing in your pantry
Secret #2: Perfect Your Mixing Method
The Two-Bowl System That Works
Professional bakers never dump everything together at once. You’ll achieve superior results by keeping wet and dry ingredients separate until the final moment. This method prevents overmixing while ensuring even distribution of leavening agents and spices.
Mix your dry ingredients thoroughly first, creating an even blend of flour, spices, and leavening. Your wet ingredients should be combined in a separate bowl until smooth and well-integrated.
Avoiding the Overmixing Trap
Once you combine wet and dry ingredients, your mixing window is small. Stir only until flour disappears—lumpy batter is actually preferable to overmixed batter. Overmixing develops gluten strands that create tough, chewy texture instead of tender crumb.
Watch for these signs of proper mixing:
- No visible flour streaks
- Batter appears slightly lumpy
- Mixing takes less than 30 seconds
Secret #3: Choose Oil Over Butter for Maximum Moisture
The Fat Science That Matters
Oil creates more tender results than butter because it remains liquid at room temperature. While butter adds flavor, oil provides superior moisture retention that keeps your bread soft for days. Vegetable oil, canola oil, or light olive oil work exceptionally well without competing with pumpkin flavors.
Professional bakeries often use oil-based recipes for their long-lasting moisture. Your homemade easy moist pumpkin bread will stay fresh longer when you make this simple swap.
The Hybrid Approach for Best Results
For ultimate flavor and texture, try using three-quarters oil and one-quarter melted butter. This combination gives you oil’s moisture benefits while adding butter’s rich taste complexity.
Secret #4: Master the Two-Sugar System
Brown Sugar’s Moisture Magic
Brown sugar contains molasses, which acts as a natural moisture retainer. Unlike granulated sugar, brown sugar creates hygroscopic properties that pull moisture from the air, keeping your bread tender longer.
Pack your brown sugar firmly when measuring—this ensures accurate sweetness levels and proper moisture contribution. Light brown sugar provides subtle molasses notes, while dark brown sugar intensifies flavor complexity.
Balancing Sweetness and Structure
Granulated sugar provides structure and helps create proper rise, while brown sugar contributes moisture and flavor depth. Your recipe’s ratio of both sugars creates the perfect balance between structural integrity and tender crumb.
Secret #5: Properly Prepare Your Pumpkin Puree
Remove Excess Moisture
Even canned pumpkin puree contains excess water that can make your bread soggy. Spread your puree on paper towels for 10-15 minutes before mixing. This simple step removes surface moisture while concentrating pumpkin flavor.
Look for puree that appears thick and holds its shape when spooned. Watery puree indicates excess moisture that will compromise your final texture.
Enhance Natural Flavors
Toast your spices in a dry skillet for 30-60 seconds before adding to your recipe. This technique releases essential oils that create deeper, more complex flavors throughout your easy moist pumpkin bread.
Secret #6: Perfect Your Baking Technique
Pan Preparation That Prevents Sticking
Use metal loaf pans for even heat distribution and consistent browning. Thoroughly grease with butter or cooking spray, then lightly dust with flour. This double protection ensures easy removal without damaging your perfectly baked loaf.
Parchment paper slings work wonderfully—cut parchment to fit the bottom and up the sides, leaving overhang for easy lifting.
Temperature and Timing Precision
Bake at exactly 350°F for consistent results. Higher temperatures create crusty exteriors with underbaked centers, while lower temperatures produce dry, dense texture. Your bread is done when a toothpick inserted in the center comes out with just a few moist crumbs attached.
Secret #7: Master the Cooling Process
Proper Cooling Prevents Sogginess
Cool your bread in the pan for exactly 10 minutes, then turn out onto a wire rack. This timing allows structure to set while preventing soggy bottoms from trapped steam.
Complete cooling takes 1-2 hours, but resist slicing early. Warm bread may seem appealing, but it tears easily and hasn’t reached optimal texture yet.
Storage for Extended Freshness
Wrap your completely cooled bread tightly in plastic wrap or aluminum foil. Properly stored easy moist pumpkin bread stays fresh at room temperature for up to one week.
For longer storage, slice and freeze individual portions wrapped in plastic, then placed in freezer bags. Frozen slices thaw quickly and taste freshly baked.
Delicious Variations and Healthier Options
Classic Add-Ins That Enhance Flavor
Your basic recipe serves as the perfect foundation for creative variations. Consider adding chocolate chips, chopped walnuts, or cream cheese swirls for extra indulgence. Each addition should be folded in gently during the final mixing stage.
Healthier Alternatives Worth Trying
If you’re looking for lighter options while maintaining that perfect texture, explore healthy pumpkin bread variations that substitute ingredients without compromising moisture. These adaptations often use applesauce, Greek yogurt, or alternative flours to reduce calories while preserving flavor.
For those seeking different approaches entirely, you might find inspiration from this comprehensive easy pumpkin bread recipe guide that explores various techniques and ingredient combinations.
Troubleshooting Common Problems
Dense, Heavy Results
If your bread turns out dense, you’ve likely overmixed your batter or used cold ingredients. Follow the room temperature rule strictly and mix only until ingredients combine.
Dry Texture Issues
Dry bread usually results from overbaking or incorrect measurements. Use a kitchen scale for accuracy and test doneness with a toothpick rather than relying solely on timing.
Transform Your Baking Today
These seven secrets represent years of trial, error, and learning from professional bakers who create perfect pumpkin bread daily. You now possess the exact techniques that transform ordinary ingredients into extraordinary results.
Your next loaf doesn’t have to be another disappointment. Armed with these professional methods, you’re ready to create bakery-quality easy moist pumpkin bread that will become your signature autumn treat.
Start your baking transformation right now. Gather your room temperature ingredients, follow these proven techniques, and prepare to taste the difference that professional knowledge makes. Your kitchen is about to become the neighborhood’s favorite source for incredible pumpkin bread.
Frequently Asked Questions
How do I make my easy moist pumpkin bread extra moist?
Use oil instead of butter, ensure all ingredients reach room temperature before mixing, remove excess moisture from pumpkin puree, and avoid overmixing your batter.
Why does my easy moist pumpkin bread turn out dense?
Dense results typically come from overmixing, using cold ingredients, or incorrect flour measurements. Follow the two-bowl mixing method and measure ingredients precisely.
Can I prepare easy moist pumpkin bread in advance?
Absolutely! Pumpkin bread actually improves after 24 hours as flavors develop. Wrap tightly and store at room temperature for up to one week.
What makes bakery-style easy moist pumpkin bread different?
Professional techniques include using oil for moisture retention, proper ingredient temperatures, the two-sugar system, and precise mixing methods that create superior texture.
How long should I bake my easy moist pumpkin bread?
Bake at 350°F for 60-65 minutes, testing doneness with a toothpick. The toothpick should emerge with just a few moist crumbs—completely clean indicates overbaking.e toothpick should emerge with just a few moist crumbs—completely clean indicates overbaking.
Have You Given This Recipe A Try?
There are no reviews yet. Be the first one to write one.