
Table of Contents
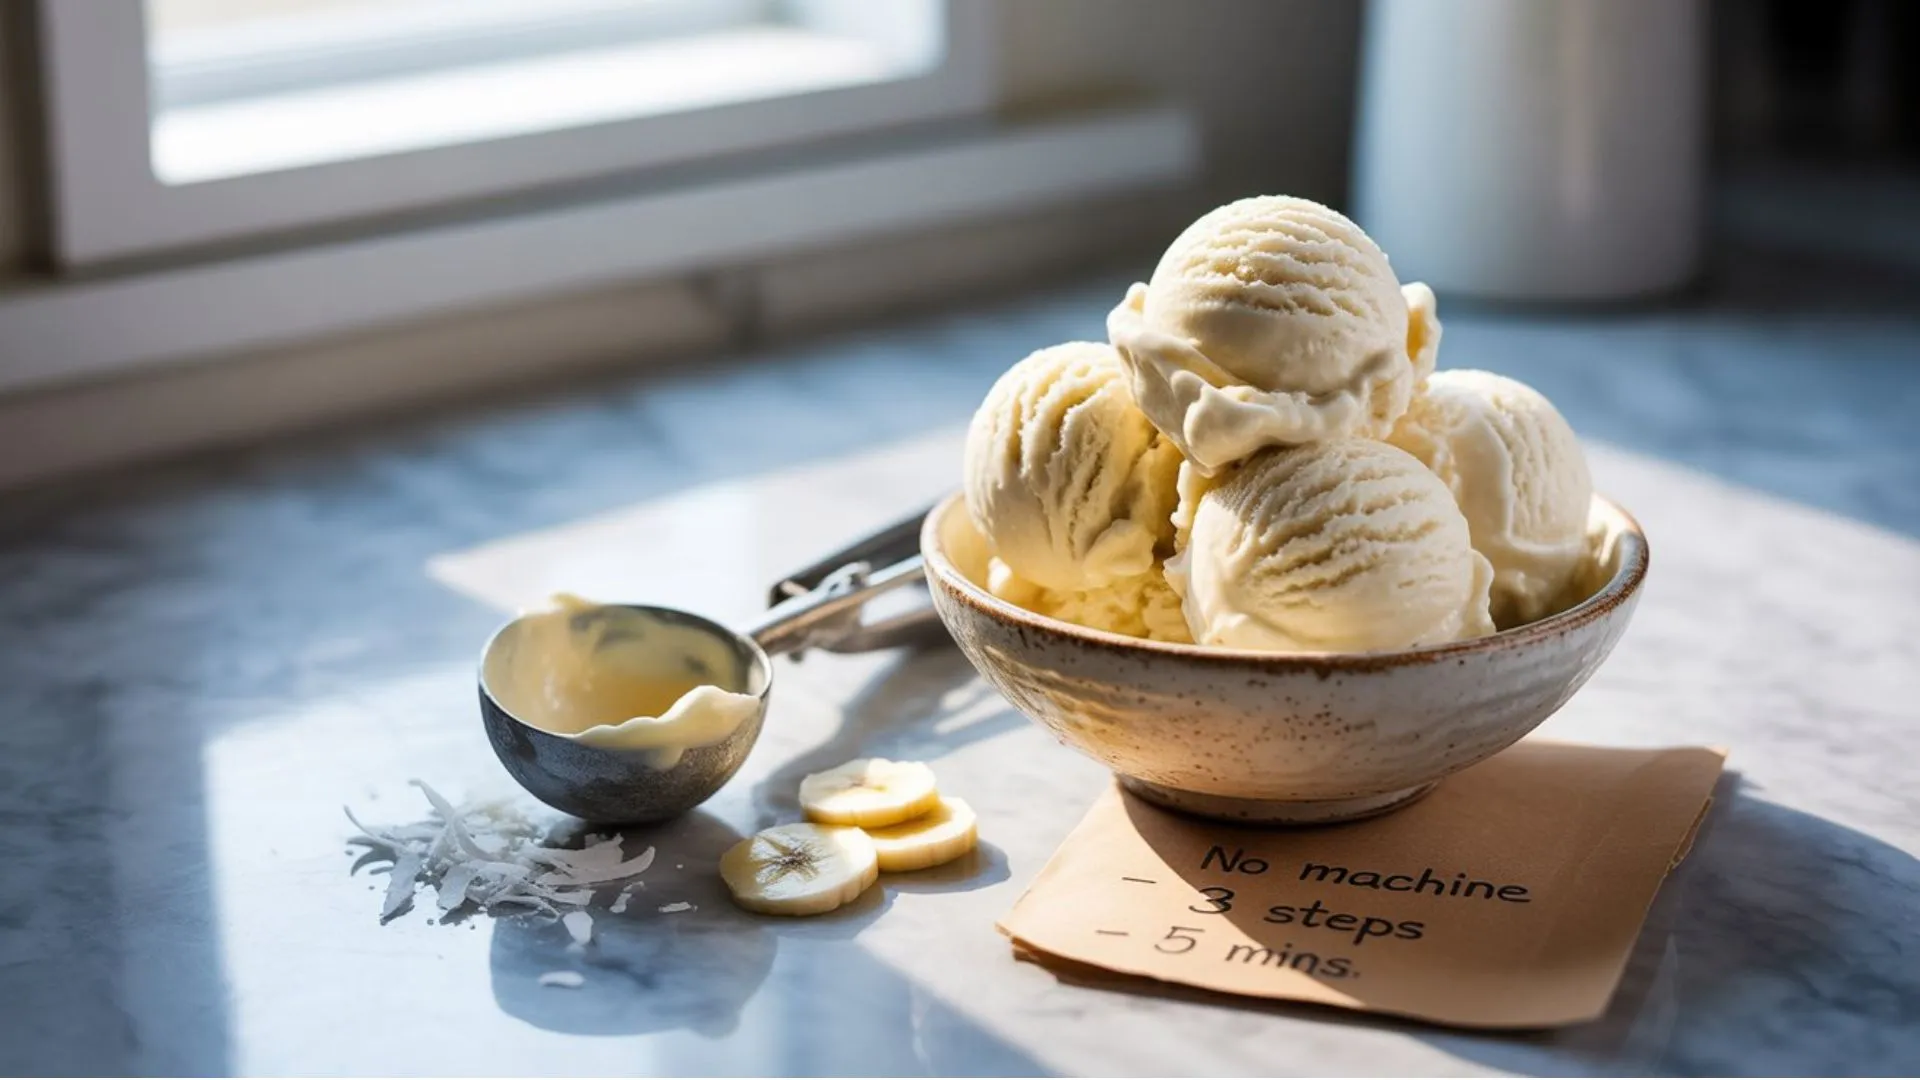
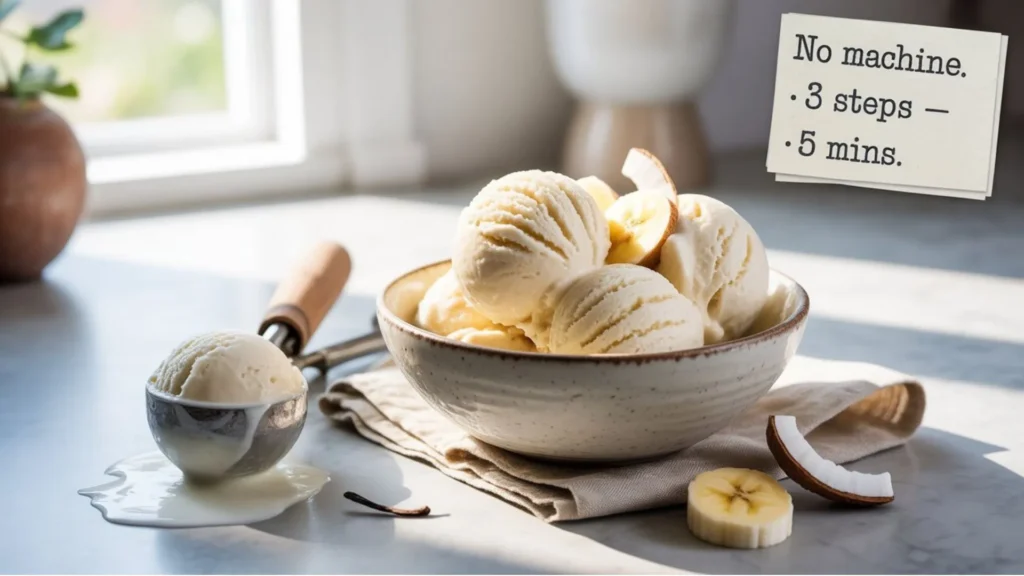
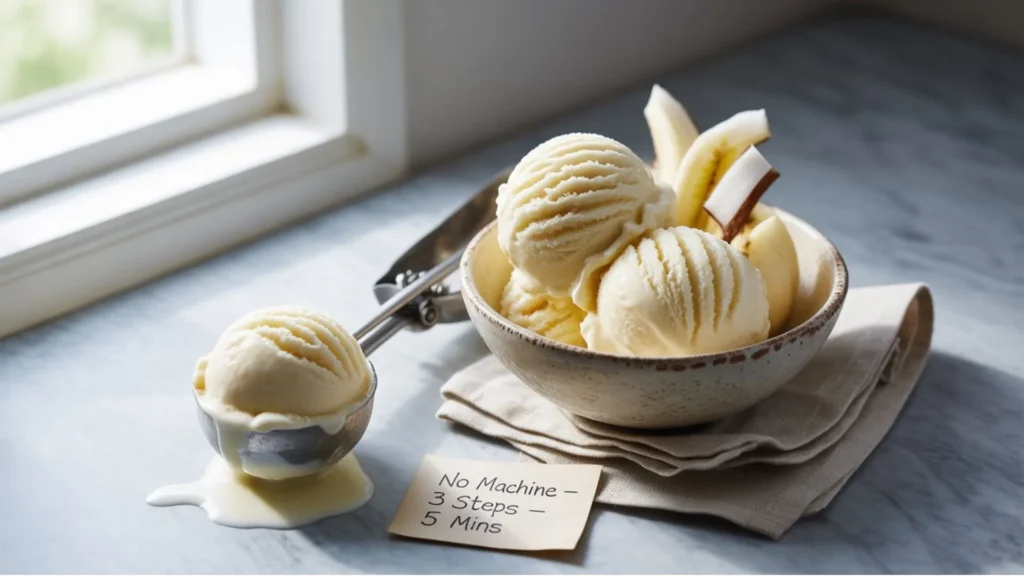
How To Make Healthy Ice Cream Without A Machine:
Your sweet tooth doesn’t have to sabotage your wellness journey. Imagine opening your freezer to find creamy, delicious ice cream that actually nourishes your body instead of derailing your health goals. That dream becomes reality when you discover these revolutionary techniques for creating healthy ice cream without expensive machinery cluttering your kitchen counters.
Creating frozen treats at home might seem daunting, but you’re about to uncover methods so simple that you’ll wonder why you ever bought store-bought varieties packed with artificial ingredients and excessive sugars. These approaches transform everyday ingredients into extraordinary desserts that rival premium ice cream parlors.
Why Choose Healthy Homemade Ice Cream Without a Machine
Your journey toward healthier desserts starts with understanding why machine-free ice cream creation surpasses traditional methods. Commercial ice cream contains stabilizers, preservatives, and refined sugars that spike your blood glucose levels and leave you craving more within hours. When you craft frozen treats at home, you control every ingredient that enters your body.
The no-machine approach eliminates barriers that prevent many people from enjoying homemade frozen desserts. You don’t need to invest hundreds of dollars in equipment that occupies valuable kitchen space. Instead, your existing tools—a food processor, mixing bowls, and freezer—become your ice cream laboratory. For additional techniques and inspiration, Handle the Heat’s comprehensive guide offers excellent complementary methods for machine-free ice cream creation.
Benefits of Machine-Free Ice Cream Making
Your homemade creations offer advantages that extend far beyond cost savings:
- Complete ingredient transparency eliminates hidden additives
- Portion control becomes effortless with smaller batch sizes
- Dietary restrictions pose no obstacles with customizable recipes
- Spontaneous dessert cravings get satisfied without planning ahead
- Kitchen cleanup remains minimal with fewer specialized tools
Essential Ingredients for Healthy Ice Cream Success
Your ingredient selection determines whether your frozen treats deliver genuine satisfaction or disappointing results. Understanding how different components behave during freezing transforms your kitchen experiments from guesswork into guaranteed success.
Natural Sweeteners That Work Best
Your body processes natural sweeteners differently than refined sugars, providing sustained energy instead of rapid spikes and crashes. Pure maple syrup delivers complex flavors while contributing essential minerals like manganese and zinc. Raw honey offers antimicrobial properties alongside sweetness, though you should avoid heating it to preserve beneficial enzymes.
Medjool dates create caramel-like richness when blended properly, while coconut nectar provides low-glycemic sweetening with a subtle tropical note. For those avoiding all sugars, stevia extract works effectively, though you’ll need only tiny amounts to prevent bitter aftertastes.
Creamy Base Options
Your base ingredient determines texture quality more than any other component. Each option brings unique characteristics:
Frozen bananas serve as nature’s perfect ice cream foundation. Their natural sugars intensify during freezing while pectin creates smooth textures without additional thickeners. Overripe bananas work best since higher sugar content prevents excessive hardening.
Coconut cream from chilled cans provides luxurious richness rivaling dairy-based ice creams. The solid portion whips beautifully, creating airy textures that maintain creaminess even when frozen solid.
Greek yogurt contributes protein while delivering tangy complexity that balances sweet flavors. Full-fat varieties work better than low-fat alternatives since fat content directly impacts final texture quality.
Avocado might sound unusual, but its neutral taste disappears when combined with stronger flavors while contributing incredible creaminess and healthy fats.
Flavor Enhancement Ingredients
Your creativity determines flavor possibilities, but certain ingredients consistently deliver exceptional results. Pure vanilla extract enhances virtually every frozen dessert, while unsweetened cocoa powder creates rich chocolate bases without added sugars.
Fresh fruits bring natural sweetness plus vibrant colors, though you should account for their water content when planning textures. Nut butters contribute richness while providing protein and healthy fats that improve scoopability.
Method 1: The Frozen Banana Base Technique
Your first method relies on frozen bananas’ unique properties that mimic traditional ice cream textures when processed properly. This approach works particularly well for beginners since success requires minimal technique while delivering consistently excellent results.
Simple Banana Nice Cream Recipe
Description: This naturally sweet, creamy ice cream uses only frozen bananas and your choice of mix-ins for an instant healthy treat that satisfies intense dessert cravings.
Ingredients:
- 3 large ripe bananas, sliced and frozen overnight
- 2-3 tablespoons unsweetened almond milk (adjust for desired consistency)
- 1 teaspoon pure vanilla extract
- Pinch of sea salt to enhance sweetness
Instructions:
- Remove your frozen banana slices from the freezer and allow them to soften for 2-3 minutes at room temperature
- Add bananas to your food processor along with almond milk, vanilla extract, and sea salt
- Process continuously for 2-3 minutes until the mixture transforms into smooth, creamy soft-serve consistency, scraping down sides as needed
- Serve immediately for soft-serve texture or transfer to a container and freeze for 30 minutes for firmer scooping consistency
Preparation Time: 5 minutes
Cooking Time: 0 minutes
Total Time: 5 minutes (plus optional 30 minutes freezing)
Your banana base accepts countless flavor variations. Transform basic recipes by adding unsweetened cocoa powder for chocolate versions, or blend in berries for fruity alternatives. Peanut butter creates indulgent combinations while adding protein that helps stabilize blood sugar levels.
Method 2: The Coconut Cream Freeze Method
Your second technique harnesses coconut cream’s natural richness to create dairy-free ice cream that rivals premium varieties. This method requires slightly more time but produces results with exceptional texture and flavor complexity.
Vanilla Coconut Ice Cream
Description: Rich, dairy-free ice cream using coconut cream as the foundation creates an indulgent yet healthy frozen dessert that satisfies sophisticated palates.
Ingredients:
- 1 can full-fat coconut milk, chilled overnight in refrigerator
- 1/4 cup pure maple syrup (adjust sweetness to taste)
- 2 teaspoons vanilla extract
- 1/4 teaspoon sea salt
- 1 tablespoon coconut oil, melted and cooled slightly
Instructions:
- Chill your mixing bowl and beaters in the freezer for 15 minutes before beginning
- Open your chilled coconut milk can and carefully scoop out only the solid cream portion, reserving liquid for smoothies
- Whip the coconut cream with maple syrup, vanilla extract, and salt until light and fluffy (approximately 3-4 minutes)
- Slowly drizzle in the melted coconut oil while continuing to mix until fully incorporated
- Transfer your mixture to a freezer-safe container and place in freezer for 45 minutes
- Remove and stir vigorously with a fork, breaking up any ice crystals, then return to freezer
- Repeat the stirring process every 30 minutes for the next 2 hours
- Allow final freezing for 2-3 additional hours until firm enough to scoop
Preparation Time: 10 minutes
Cooking Time: 0 minutes
Total Time: 5 hours 10 minutes (including freezing time)
Your coconut base accepts both subtle and bold flavor additions. Coffee extract creates sophisticated mocha variations, while fruit purees deliver refreshing summer treats.
Method 3: The Greek Yogurt Swirl Technique
Your third method combines Greek yogurt’s protein benefits with natural fruit sweetness to create frozen treats that actually contribute to your nutritional goals. This technique works especially well for those seeking lower-calorie alternatives without sacrificing satisfaction.
Berry Yogurt Ice Cream
Description: Protein-rich ice cream combining Greek yogurt with fresh berries creates a tangy, nutritious frozen treat that supports your wellness objectives while delivering genuine indulgence.
Ingredients:
- 2 cups plain Greek yogurt (full-fat for best texture)
- 1 cup mixed fresh berries (strawberries, blueberries, raspberries)
- 1/3 cup raw honey
- 1 teaspoon fresh lemon juice
- 1/2 teaspoon vanilla extract
Instructions:
- Mash half your berries with honey and lemon juice using a fork, creating a chunky puree
- Combine the whole berries, mashed berry mixture, Greek yogurt, and vanilla extract in a large bowl
- Mix thoroughly until all ingredients are evenly distributed
- Pour your mixture into a shallow, freezer-safe dish for faster freezing
- Place in freezer for 45 minutes, then remove and stir vigorously with a fork
- Return to freezer and repeat the stirring process every 30 minutes for 2-3 hours
- Allow final freezing for 1 hour before serving
Preparation Time: 15 minutes
Cooking Time: 0 minutes
Total Time: 4 hours 15 minutes (including freezing time)
Your yogurt base provides endless customization opportunities. Tropical fruits like mango and pineapple create exotic flavors, while nuts and seeds add satisfying crunch alongside healthy fats.
Pro Tips for Perfect Texture Without a Machine
Your success depends on understanding how frozen desserts behave without mechanical churning. These professional techniques ensure restaurant-quality results from your home kitchen.
The Stirring Technique
Your regular stirring schedule breaks up ice crystals that naturally form during freezing, mimicking the churning action of expensive ice cream machines. Set timer reminders every 30 minutes during the first 2-3 hours of freezing to maintain optimal texture development.
Temperature Control Strategies
Your freezer management directly impacts final product quality. Use shallow, wide containers rather than deep bowls since increased surface area promotes faster, more even freezing. Pre-chill all ingredients and equipment to reduce initial freezing time and minimize crystal formation.
Cover your ice cream surface with plastic wrap pressed directly against the mixture to prevent air exposure that creates ice crystals. Store containers in the coldest part of your freezer, typically the back area away from the door.
Texture Enhancement Secrets
Your ingredient ratios affect final consistency more than freezing techniques. Adding small amounts of alcohol (like vanilla extract) or healthy fats (coconut oil, nut butters) prevents ice cream from becoming rock-hard since these components lower freezing points naturally.
Advanced Flavor Combinations and Mix-In Ideas
Your flavor creativity separates homemade treats from boring commercial varieties. These sophisticated combinations elevate simple bases into gourmet experiences.
Chocolate Lovers Options
Your chocolate cravings deserve indulgent satisfaction without guilt. Mint chocolate combinations using fresh mint leaves and dark chocolate chips create refreshing complexity. Mocha versions combining coffee extract with cocoa powder deliver café-quality sophistication.
Peanut butter chocolate swirls satisfy intense cravings while providing protein and healthy fats that stabilize energy levels throughout the day.
Fruit-Forward Flavors
Your summer treats benefit from seasonal fruit abundance. Strawberry basil combinations surprise palates with herbaceous complexity, while peach ginger variations offer warming spice notes that complement sweet fruit flavors.
Mango lime creations transport taste buds to tropical locations while delivering vitamin C and antioxidants that support immune function.
Storage and Serving Excellence
Your homemade ice cream requires proper storage techniques to maintain quality over time. Store finished products in airtight containers with plastic wrap pressed against surfaces to prevent freezer burn and ice crystal formation.
Remove ice cream from freezers 5-10 minutes before serving to achieve optimal scooping consistency. Warm your ice cream scoop in hot water between servings for easier portioning and professional presentation.
Health Benefits of Your Homemade Creations
Your healthy ice cream provides genuine nutritional benefits unlike commercial alternatives loaded with empty calories. Banana-based versions deliver potassium that supports heart health and muscle function, plus vitamin B6 essential for brain development.
Greek yogurt varieties contribute probiotics that support digestive health alongside high-quality protein that helps maintain stable blood sugar levels. Coconut cream provides medium-chain triglycerides that your body efficiently converts to energy rather than storing as fat.
Your homemade treats help manage blood sugar responses since natural sweeteners and fiber-rich ingredients slow sugar absorption, preventing the crashes associated with refined sugar consumption. For more detailed nutritional information and additional healthy recipe variations, Palatable Recipes offers excellent insights into creating nutritious frozen desserts.
Troubleshooting Common Challenges
Your homemade ice cream journey might encounter occasional obstacles, but these solutions ensure consistent success every time.
Texture Problems and Solutions
When your ice cream turns out too hard, increase the fat content by adding coconut oil or nut butter. If the mixture seems too soft, ensure your base ingredients are completely frozen before processing.
Grainy textures indicate insufficient blending time or ingredient temperature issues. Process longer and ensure all components are properly chilled before beginning.
Flavor Enhancement Techniques
Bland results often need a pinch of high-quality sea salt to enhance natural flavors. Don’t hesitate to adjust sweetener amounts since cold temperatures dull sweetness perception.
Creating healthy ice cream without expensive machinery transforms your relationship with frozen desserts forever. These three proven methods—frozen banana blending, coconut cream freezing, and Greek yogurt swirling—deliver professional results using equipment you already own.
Your success depends on understanding ingredient behavior during freezing and applying proper techniques consistently. Start with basic recipes, then experiment boldly with flavor combinations that excite your palate while supporting your health goals.
Ready to revolutionize your dessert game? Choose your favorite method from above and create your first batch tonight. Your taste buds and waistline will thank you for discovering these game-changing techniques that prove healthy eating never requires sacrificing satisfaction.
What flavor combination will you try first? Share your homemade ice cream creations and inspire others to join the healthy dessert revolution!
Have You Given This Recipe A Try?
There are no reviews yet. Be the first one to write one.