
Table of Contents
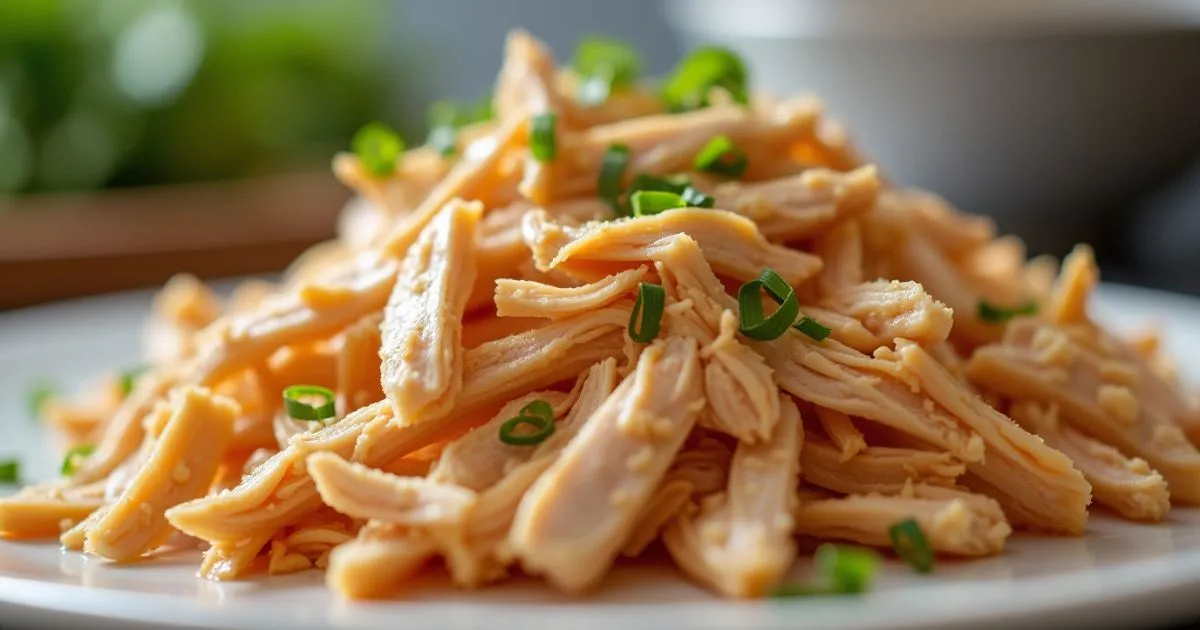
The Ultimate Guide: How to Shred Chicken Like a Pro in Minutes
Picture this: It’s 6 PM on a Tuesday, you’re exhausted from work, and you’ve got a whole chicken breast staring at you from the counter. Your family is hungry, you promised chicken tacos for dinner, but the thought of spending 20 minutes wrestling with forks to shred that chicken makes you want to order takeout instead.
I’ve been there countless times – standing in my kitchen, wondering why something as simple as shredded chicken had to be such a tedious chore. That was before I discovered the game-changing techniques that transformed my meal prep forever. Today, I’m sharing every secret I’ve learned about how to shred chicken quickly and easily, so you can go from whole chicken to perfectly shredded meat in under 5 minutes.
Why Properly Shredded Chicken Makes All the Difference
Before diving into the techniques, let’s talk about why mastering chicken shredding matters for your cooking success. When you shred chicken correctly, you create uniform pieces that absorb marinades and sauces more effectively than chunky, unevenly cut meat.
Properly shredded chicken transforms ordinary dishes into restaurant-quality meals. The texture allows flavors to penetrate every strand, creating that perfect bite you experience in your favorite Mexican restaurant’s carnitas or that incredible buffalo chicken dip at your local sports bar.
From a nutritional standpoint, shredded chicken provides lean protein that’s versatile enough for countless healthy meal combinations. According to USDA data, a 3.5-ounce serving delivers approximately 31 grams of protein with minimal fat content, making it an excellent choice for fitness enthusiasts and busy families alike.
Essential Tools for Lightning-Fast Chicken Shredding
Your success in quick chicken shredding depends heavily on having the right equipment. While you can certainly use basic kitchen tools, investing in proper shredding equipment will revolutionize your meal preparation process.
Stand Mixer Method (The Game-Changer)
Your stand mixer isn’t just for baking cookies and whipping cream. The paddle attachment becomes a powerful shredding tool that can process large quantities of chicken in seconds. This method works exceptionally well for meal prep sessions when you’re preparing protein for the entire week.
Hand Mixer Technique
For smaller households or when you need more control over the shredding process, a hand mixer offers similar benefits to the stand mixer method. You’ll maintain better oversight of the texture while still dramatically reducing the time investment.
Traditional Fork Method (Upgraded)
Don’t dismiss the classic two-fork approach entirely. With proper technique modifications, this time-tested method can become significantly more efficient than the tedious scraping motion most people use.
Specialized Shredding Tools
Meat claws, also known as bear paws, provide excellent grip and control. These tools excel when working with larger pieces of meat and give you that professional barbecue joint appearance.
| Tool | Speed Rating | Effort Level | Best For | Cost Range |
|---|---|---|---|---|
| Stand Mixer | ⭐⭐⭐⭐⭐ | Very Low | Large batches | $150-$400 |
| Hand Mixer | ⭐⭐⭐⭐ | Low | Medium batches | $20-$60 |
| Two Forks | ⭐⭐ | High | Small portions | $5-$15 |
| Meat Claws | ⭐⭐⭐ | Medium | All sizes | $15-$30 |
The 5-Minute Stand Mixer Method: How to Shred Chicken Effortlessly
This revolutionary technique will change your entire approach to chicken preparation. Here’s your comprehensive walkthrough for perfecting this technique:
Preparation Phase
Start with chicken that’s cooled to a comfortable handling temperature – warm enough to shred easily but cool enough to touch safely. Remove any remaining skin, bones, or cartilage, as these can damage your mixer or create unpleasant texture in your final product.
Cut larger pieces into chunks roughly the size of your palm. This ensures even shredding and prevents your mixer from working too hard.
The Shredding Process
Position your ready chicken portions inside the mixing vessel and secure the flat beater component. Never use the whisk attachment for this process, as it’s designed for incorporating air rather than breaking down proteins.
Start your mixer on the lowest speed setting. Within 15-30 seconds, you’ll notice the chicken beginning to separate along its natural grain lines. Continue mixing for another 15-30 seconds until you achieve your desired consistency.
Professional Tips for Perfect Results
Temperature control is crucial for optimal results. Chicken that’s too hot becomes difficult to handle safely, while completely cooled chicken requires more mixing time and may result in a drier final product.
Watch your mixing time carefully. Over-mixing creates a paste-like consistency that’s unappetizing and difficult to work with in recipes. The sweet spot is typically between 30-60 seconds total mixing time.
Alternative Quick Shredding Methods When You Don’t Have a Mixer
The Enhanced Hand Mixer Technique
Your hand mixer can deliver similar results to a stand mixer with slightly more hands-on involvement. Use the same paddle-style beaters if available, or standard beaters will work adequately.
Hold the mixer steady and move it slowly around the bowl to ensure even shredding. This method gives you more control over the final texture and works particularly well when you want slightly larger shreds for specific recipes.
The Two-Fork Classic Method (Upgraded)
Transform the traditional fork method by changing your technique. Instead of scraping the forks against each other, use a pulling motion that works with the chicken’s natural grain structure.
Hold one fork steady to anchor the meat, then use the second fork to pull sections away. This produces extended, more attractive strands that appear expertly crafted.
Work with slightly warm chicken whenever possible. The proteins are more pliable at this temperature, making the separation process significantly easier.
The Meat Claws Power Method
Meat claws excel when you’re working with larger quantities or tougher cuts of chicken. The multiple tines grab more meat with each motion, reducing the total time investment.
Use a pulling motion similar to the enhanced fork technique, but take advantage of the claws’ superior grip to handle larger sections at once.
How to Cook Chicken Perfectly for Easy Shredding
Your shredding success begins long before you pick up any tools. The cooking method you choose dramatically impacts how easily your chicken will shred and the final texture you’ll achieve.
Slow Cooker Method (The Ultimate Easy Option)
Slow cooking creates incredibly tender chicken that practically falls apart on its own. The low, moist heat breaks down tough fibers while maintaining the meat’s natural moisture content.
| Ingredient | Amount | Purpose |
|---|---|---|
| Chicken breasts | 2-3 lbs | Main protein |
| Chicken broth | 1 cup | Moisture & flavor |
| Salt | 1 tsp | Seasoning |
| Garlic powder | 1 tsp | Flavor enhancement |
| Onion powder | 1 tsp | Depth of flavor |
| Paprika | 1/2 tsp | Color & mild flavor |
Place all ingredients in your slow cooker and cook on LOW for 6-8 hours or HIGH for 3-4 hours. The chicken should reach an internal temperature of 165°F and easily pull apart with minimal effort.
Quick Poached Chicken for Immediate Results
When you need shredded chicken quickly, poaching delivers tender results in under 30 minutes. This gentle cooking method prevents the overcooking that makes chicken tough and stringy.
| Ingredient | Amount | Notes |
|---|---|---|
| Chicken breasts | 1.5 lbs | Pound to even thickness |
| Water | 4 cups | Enough to cover completely |
| Salt | 2 tsp | Enhances flavor |
| Bay leaves | 2 | Optional aromatics |
| Peppercorns | 1 tsp | Optional aromatics |
Bring the water and seasonings to a gentle simmer, add chicken, and cook for 15-20 minutes until the internal temperature reaches 165°F. Remove from heat and let cool in the cooking liquid for optimal moisture retention.
Common Mistakes That Make Chicken Shredding Harder
Temperature Errors
Working with chicken at the wrong temperature creates unnecessary challenges. Chicken that’s too hot burns your fingers and becomes difficult to handle safely. Conversely, completely cold chicken becomes firm and resistant to shredding.
The ideal temperature feels warm to the touch but doesn’t cause discomfort when handled briefly. This typically occurs about 10-15 minutes after removing chicken from heat.
Overcooking Issues
Overcooked chicken becomes dry and stringy, making it nearly impossible to achieve those perfect, tender shreds you’re aiming for. Watch for visual cues like a chalky white appearance or meat that feels tough when pressed.
Use a meat thermometer to ensure accuracy. Chicken is safely cooked at 165°F internal temperature – cooking beyond this point only reduces quality without improving safety.
Wrong Tool Selection
Avoid using knives to create “shredded” chicken. Knives create chunks rather than the natural shreds that occur when you work with the meat’s grain structure. Similarly, food processors can quickly turn chicken into an unappetizing paste if you’re not extremely careful with timing.
Creative Uses for Your Perfectly Shredded Chicken
Quick Weeknight Meals
Your perfectly shredded chicken becomes the foundation for countless quick dinners:
- Chicken Quesadillas: Mix shredded chicken with cheese and seasonings for 10-minute meals
- Buffalo Chicken Dip: Combine with cream cheese, hot sauce, and cheese for party favorites
- Chicken Salad Sandwiches: Add mayo, celery, and seasonings for classic lunch options
- Tacos and Burritos: Season with Mexican spices for authentic-tasting fillings
- Chicken Fried Rice: Stir into day-old rice with vegetables and soy sauce
Meal Prep Strategies
Batch-cook and shred chicken on Sunday for the entire week’s meals. Portion into meal-sized containers and refrigerate for up to 4 days or freeze for up to 3 months.
Store shredded chicken with a small amount of its cooking liquid to maintain moisture during storage. This prevents the dry, unappetizing texture that often develops in meal-prepped proteins.
International Flavor Profiles
Transform your basic shredded chicken with global seasoning combinations:
| Cuisine Style | Key Seasonings | Best Dishes |
|---|---|---|
| Mexican | Cumin, chili powder, lime | Tacos, enchiladas |
| Asian | Soy sauce, ginger, sesame oil | Stir-fries, bowls |
| Mediterranean | Oregano, lemon, olive oil | Salads, wraps |
| BBQ American | Paprika, brown sugar, garlic | Sandwiches, pizza |
Storage and Food Safety Guidelines
Proper Storage Methods
Refrigerate shredded chicken within 2 hours of cooking and use within 3-4 days for optimal quality and safety. Store in airtight containers to prevent contamination and moisture loss.
For longer storage, freeze shredded chicken in portion-sized freezer bags for up to 3 months. Remove excess air to prevent freezer burn and label with dates for easy rotation.
Reheating Best Practices
During the warming process of pulled chicken, verify it achieves a core heat of 165°F. Add a splash of broth or water to prevent drying during the reheating process.
Microwave reheating works well for small portions, while stovetop reheating gives you better control over moisture and temperature for larger quantities.
Troubleshooting Common Shredding Problems
Chicken Too Tough: This usually indicates overcooking or using the wrong cut. Chicken thighs naturally shred more easily than breasts due to their higher fat content.
Shreds Too Fine: Reduce your mixing time or use a gentler technique. Fine shreds work well for some applications but may not provide the texture you want for tacos or sandwiches.
Uneven Results: Cut chicken into uniform pieces before shredding to ensure consistent results throughout your batch.
Dry Final Product: Add reserved cooking liquid back into your shredded chicken to restore moisture and enhance flavor.
Master Your Kitchen with Perfect Chicken Shredding
Mastering how to shred chicken quickly and easily transforms your entire approach to meal preparation. Whether you choose the lightning-fast stand mixer method or prefer the control of traditional techniques, the key lies in finding what works best for your kitchen setup and cooking style.
Remember that perfectly shredded chicken starts with properly cooked chicken. Invest time in learning proper cooking techniques, and the shredding process becomes effortless. With these methods in your culinary arsenal, you’ll never again dread preparing shredded chicken for your family’s favorite meals.
Ready to revolutionize your meal prep routine? Start with the slow cooker method this weekend – cook a large batch of chicken, shred it using your preferred technique, and portion it for the week ahead. Share your results and favorite shredded chicken recipes in the comments below, and don’t forget to bookmark this guide for your next cooking session!
Frequently Asked Questions About How to Shred Chicken
How long does it take to shred chicken with a mixer?
Using a stand mixer, you can shred chicken in just 30-60 seconds, making it the fastest method for preparing large batches for meal prep or family dinners.
What’s the easiest way to shred chicken without special tools?
Use two large forks while the chicken is still slightly warm, pulling them in opposite directions to create natural shreds along the meat’s grain.
Can you shred chicken that’s been frozen and thawed?
Yes, previously frozen chicken often shreds more easily because ice crystals break down muscle fibers during the freezing process, though the texture may be slightly different.
How do you shred chicken for meal prep?
Cook large batches in a slow cooker or pressure cooker, shred using your preferred method, then portion into meal-sized containers for refrigeration or freezing.
Why won’t my chicken shred easily?
Difficult-to-shred chicken is usually either overcooked (tough and stringy) or undercooked (too firm). Properly cooked chicken at 165°F internal temperature shreds most easily.
Have You Given This Recipe A Try?
There are no reviews yet. Be the first one to write one.