
Table of Contents
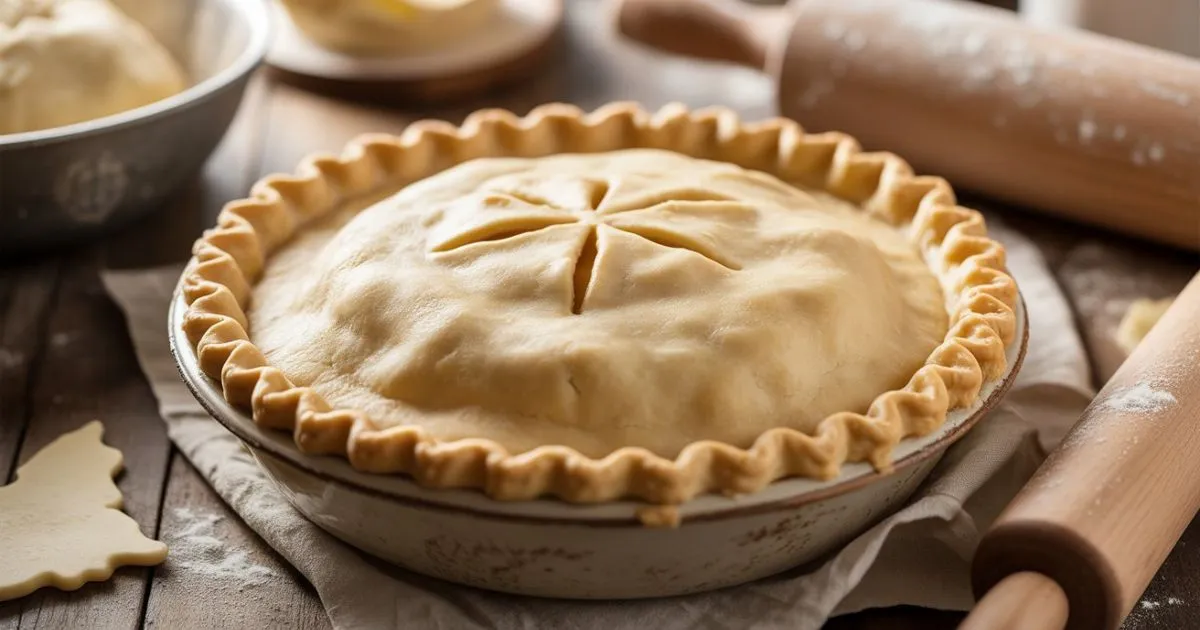
The Perfect Pie Crust
Okay, let me paint you a picture: there you are in your kitchen, flour literally EVERYWHERE (seriously, how does it get on the ceiling?), and you’re staring at what was supposed to be pie dough but now looks more like some kind of science experiment gone wrong. Your rolling pin is basically glued to the counter, the dough tears every time you breathe on it, and what started as “I’ll just whip up a quick pie” has turned into you questioning all your life choices.
Been there? Yeah, me too. And honestly, so has pretty much everyone who’s ever attempted pie crust without knowing the secret.
Here’s the thing though – your grandma wasn’t some kind of pie wizard (though she probably let you think she was). She just knew something that most of us are figuring out the hard way: making great pie crust isn’t about having magical hands or some ancient family secret. It’s about having the right tools and actually knowing how to use them.
Today I’m gonna share the 9 tools that completely changed my pie game. We’re talking about going from “why do I even try” to “holy cow, I actually made that” kind of transformation. Trust me, your future self is gonna thank you for this.
Why the Right Pie Crust Tools Matter
Look, I used to think tools were just fancy ways for companies to separate me from my money. Boy, was I wrong.
Here’s the deal with pie crust – it’s all about keeping things cold. When your butter stays nice and chilly while you’re working with it, it creates these amazing little steam pockets when it bakes. That’s what gives you those flaky, buttery layers that make you close your eyes and go “mmmmm.”
But here’s where most of us mess up: we use our warm hands to mix everything, or we measure flour with whatever random cup we find in the drawer. Professional bakers don’t do this because they know that precision actually matters. The amount of flour versus fat, how much water you add, the temperature of everything – it all affects whether you end up with amazing crust or something that could double as a frisbee.
I read somewhere that home bakers who use proper tools get consistent results about 85% more often than those of us just winging it with whatever’s in the kitchen. And honestly? That tracks with my experience. Once I stopped trying to make do with a fork and actually invested in some real tools, my success rate went from “maybe this time” to “yep, nailed it again.”
Plus, let’s be real – how many batches of dough have you thrown away because they got too warm or overworked? Quality tools prevent those heartbreaking moments and save your sanity (and your grocery budget).
The 9 Essential Pie Crust Tools Every Baker Needs
1. Pastry Cutter (Food Processor Alternative)
This little gadget is basically your new best friend. It looks like a bunch of metal wires attached to a handle, and its whole job is to cut cold butter into flour without turning everything into a hot mess.
The magic happens when you do these quick little press-and-twist motions. Unlike food processors (which can turn your dough into rubber in about 2.5 seconds if you’re not careful), a pastry cutter gives you total control. You’ll get that perfect “coarse crumb” look where you can still see little pea-sized butter chunks hanging out in the flour.
When you’re shopping for one, don’t go cheap – get something with sturdy wires that won’t bend when you put some muscle into it. A comfy grip is clutch too because nobody wants hand cramps while baking. You can snag a good one for anywhere from $8 to $25.
Pro tip from someone who learned the hard way: do a few cuts, turn your bowl a quarter turn, then cut again. Repeat until everything looks right. This way you don’t accidentally overwork one section while ignoring another.
2. Digital Kitchen Scale
Okay, this one’s a game changer, and I’m kicking myself for waiting so long to get one.
You know how recipes call for “2 cups of flour” and somehow your pie crust never turns out the same twice? That’s because flour is sneaky. Depending on how you scoop it, how old it is, even the humidity in your kitchen, “1 cup” can mean anywhere from way too little to way too much flour.
Professional bakers weigh everything because they know that cup measurements are basically just suggestions. When I started weighing my ingredients, suddenly my results became predictable. No more “why did this work last week but not today?”
Look for a scale that’s accurate to at least 1 gram and has a “tare” button (that’s the one that zeros everything out so you can weigh multiple ingredients in the same bowl). A nice big platform is helpful too. You can get a solid scale for $20-$60, and trust me, it’s worth every penny.
Seriously, this one tool will change your entire baking game, not just pies.
3. Marble or Granite Pastry Board
This might sound fancy, but hear me out. Remember how we talked about keeping everything cold? Well, these stone surfaces stay naturally cool, which means your carefully chilled butter won’t turn into a greasy mess while you’re rolling.
I used to just use my regular countertop and wonder why my dough kept sticking and getting all soft. Turns out, working on a surface that stays cold makes everything so much easier. Plus, they’re smooth as heck, so your dough glides instead of catching.
Here’s a little trick I picked up: stick your pastry board in the fridge for about 15 minutes before you start. It’s like giving yourself a head start on the whole temperature game.
They run about $30-$100 depending on size, and honestly, once you use one, you’ll never go back. Easy to clean too – just wipe and you’re done.
4. French Rolling Pin (Tapered)
I used to think rolling pins were rolling pins, but oh boy, was I wrong.
Those traditional ones with handles? They’re fine, but they put distance between you and your dough. French rolling pins don’t have handles – they’re just smooth, tapered wood that you hold directly. Sounds weird, but it gives you so much more control.
You can actually feel what’s happening under the pin. Is there a thick spot that needs attention? You’ll know immediately. The tapered ends let you apply different pressure to different areas, so you can get perfectly even thickness from center to edge.
They’re usually made from hardwoods like maple and run about $15-$40. The smooth finish means dough won’t stick, and the wood doesn’t heat up like metal would.
The technique takes a little getting used to – you roll from center out in all directions and turn your dough frequently. But once you get the hang of it, you’ll feel like a total pro.
5. Adjustable Rolling Pin Rings
These things are brilliant in their simplicity. They’re basically little spacers that slide onto your rolling pin to keep you from rolling too thin or too thick.
I cannot tell you how many times I’ve rolled dough perfectly in some spots and paper-thin in others. These rings eliminate that problem completely. You just pick your thickness, pop them on, and roll normally. The rings make sure you can’t go thinner than whatever setting you chose.
They usually come in sets with different thicknesses – thinner for delicate stuff, thicker for hearty pies. For $10-$25, they’re a total no-brainer.
Start thick and work your way down gradually. Trying to go from thick to super thin in one go can stress out your dough, and nobody wants cranky dough.
6. Silicone Baking Mat with Measurements
These mats are like having a personal assistant for your pie crust. They’ve got circles printed right on them showing you exactly how big to roll for different pie pan sizes. No more guessing if you’ve rolled enough dough!
The silicone surface is naturally non-stick, which means you’ll use way less flour during rolling. Less flour = less chance of tough crust. Win-win.
Cleanup is a dream too – just rinse and you’re done. Plus they store flat, so they don’t take up much space.
Good ones with clear measurements run about $15-$30. Make sure you get thick, sturdy silicone that won’t slip around while you’re working.
7. Bench Scraper (Dough Scraper)
This unassuming little tool solves the scariest part of pie making: getting your perfectly rolled dough from the counter to the pie pan without destroying it.
It’s basically a thin, flexible blade with a handle. You slide it under your dough, and it lifts cleanly without tearing. Game changer.
But wait, there’s more! (Sorry, couldn’t resist.) It’s also amazing for cleaning up. All that scattered flour and dough bits? One swipe with the bench scraper and it’s all gathered up neat and tidy.
Look for one that’s flexible enough to follow curves but sturdy enough to support your dough. About $8-$20 gets you a good one, and you’ll wonder how you ever lived without it.
8. Pie Weights (Ceramic or Metal)
If you’ve ever tried to pre-bake a pie crust (fancy term: “blind baking”) and watched it puff up like a balloon or shrink into a sad little shell, you need pie weights.
They sit on top of parchment paper in your unbaked crust and keep everything in place while it bakes. You can get ceramic beads, metal chains, or little metal balls – they all work great.
Please don’t use dried beans like some recipes suggest. I tried that once, and let’s just say beans aren’t meant to be pie weights. They don’t heat evenly and can make your crust taste… beany.
Real pie weights run $12-$30 and last forever. Your pre-baked crusts will look professional instead of like they went through a tiny earthquake.
9. Pastry Brush (Natural Bristles)
This is the secret to that gorgeous golden color you see on bakery pies. It’s all about the egg wash, folks.
Natural bristle brushes hold liquid way better than the synthetic ones and give you smooth, even coverage. No streaks, no pooling – just beautiful, professional-looking results.
I keep separate brushes for sweet and savory stuff because nobody wants their apple pie tasting like yesterday’s quiche. They’re only about $5-$15, so having a few isn’t a budget-buster.
Take care of them (wash thoroughly and let them dry completely) and they’ll last for years.
Basic Perfect Pie Crust Recipe Using Your New Tools
Classic All-Butter Pie Crust
Alright, now that you’re armed with the right tools, let’s put them to work! This recipe is foolproof – I mean it. I’ve made this probably 50 times, and it works every single time.
Prep Time: 15 minutes
Chill Time: 2 hours (I know, I know, but trust the process)
Total Time: 2 hours 15 minutes
Makes: 2 crusts
What You Need:
- 2½ cups (315g) all-purpose flour
- 1 teaspoon salt
- 1 cup (226g) cold unsalted butter, cut into cubes
- 6-8 tablespoons ice water
Here’s How We Do It:
- Get your scale out and measure that flour and salt into a big bowl. No more guessing games.
- Grab your pastry cutter and work that cold butter into the flour. You want it to look like coarse crumbs with some pea-sized butter chunks still hanging around. Don’t overdo it – those butter pieces are your friends.
- Start adding ice water one tablespoon at a time, mixing gently with a fork. The dough should just start to come together. If it looks a little shaggy, that’s totally fine – better than overworked.
- Use your bench scraper to gather everything up and divide it in half. Shape each half into a disk, wrap in plastic wrap, and stick them in the fridge for at least 2 hours. I know waiting is hard, but this step is crucial.
- When you’re ready to roll, get that marble board nice and cold and lay out your silicone mat. Take one disk out and let it sit for about 5 minutes if it’s super hard.
- Use your French rolling pin with those rings to roll from the center out, turning the dough as you go. Aim for about ⅛-inch thickness.
- Carefully transfer with your bench scraper to your pie pan. Take your time here – rushing leads to tears (in the dough and possibly in your eyes).
My Best Tips:
- Keep everything cold! If your butter starts getting soft, stick the whole bowl in the fridge for a few minutes
- If the dough fights back while you’re rolling, let it rest – it’s just the gluten being dramatic
- That second disk? Wrap it well and freeze it. Future you will be so grateful.
Want to see this technique in action? Check out this helpful video tutorial that walks through the process step-by-step. For even more variations and tips, this comprehensive pie crust guide has been a game-changer for many bakers.
Advanced Techniques Made Simple with the Right Tools
Once you’ve got these tools down, you can start getting fancy. Lattice work becomes totally doable when you use your bench scraper to cut perfect strips. Those rolling pin rings make sure every strip is the same thickness.
Want that bakery-perfect golden color? Your pastry brush and some egg wash will get you there. Just brush it on smooth and even – no drips or pools.
Blind baking becomes foolproof with proper pie weights. No more sad, sunken crusts or ones that puffed up like they’re trying to escape.
The best part? Once you get comfortable with your tools, you start understanding how temperature affects everything. You’ll know when your dough is the perfect temperature just by feel.
Conclusion
Look, I’m not gonna lie – getting all these tools at once isn’t cheap. But here’s the thing: you don’t have to buy everything today. Start with the big three: a digital scale, pastry cutter, and a decent rolling pin. Those alone will transform your pie game.
Once you see how much easier (and more successful) your baking becomes, you’ll want to add the other tools. Each one builds on the others, creating this awesome system that just works.
I used to be that person who dreaded making pie crust. Now? I actually look forward to it. These tools didn’t just improve my pies – they made me a more confident baker overall. Speaking of which, if you want to put your new skills to the test, this amazing apple pie recipe is perfect for showcasing your improved pie crust technique.
Your friends and family are gonna be blown away by your suddenly amazing pies. And the best part? You’ll know it wasn’t luck – it was having the right tools for the job.
Frequently Asked Questions About Pie Crust Tools
What’s the most important tool for making pie crust?
Hands down, it’s the digital kitchen scale. I cannot emphasize this enough. Once you start weighing your ingredients instead of using cups, your results become so much more consistent. It eliminates the biggest variable in pie crust making.
Can I make good pie crust without special tools?
Sure, it’s possible, but why make life harder for yourself? A basic pastry cutter and decent rolling pin cost less than dinner out and will improve your success rate dramatically. Think of it as an investment in your sanity.
How do I keep my pie crust tools clean?
Most of them can go in the dishwasher, but I hand wash my wooden rolling pin and natural bristle brushes to keep them in good shape. The key is cleaning everything right after you use it – dried dough is a pain to scrape off.
Are expensive pie crust tools worth the investment?
You don’t need to go crazy expensive, but don’t go super cheap either. Mid-range tools usually hit that sweet spot of good performance and reasonable price. Focus on function over fancy brand names.
What’s the difference between a French rolling pin and a regular one?
French rolling pins don’t have handles and have tapered ends. It might sound weird, but you get so much better control and can actually feel what’s happening with your dough. Most professional bakers swear by them once they make the switch.
Ready to finally conquer pie crust? Start with a good scale and pastry cutter – those two tools alone will change everything. Trust me, once you experience the difference proper tools make, you’ll wonder why you waited so long. Your pies (and your stress levels) will thank you!
Have You Given This Recipe A Try?
There are no reviews yet. Be the first one to write one.