
Table of Contents
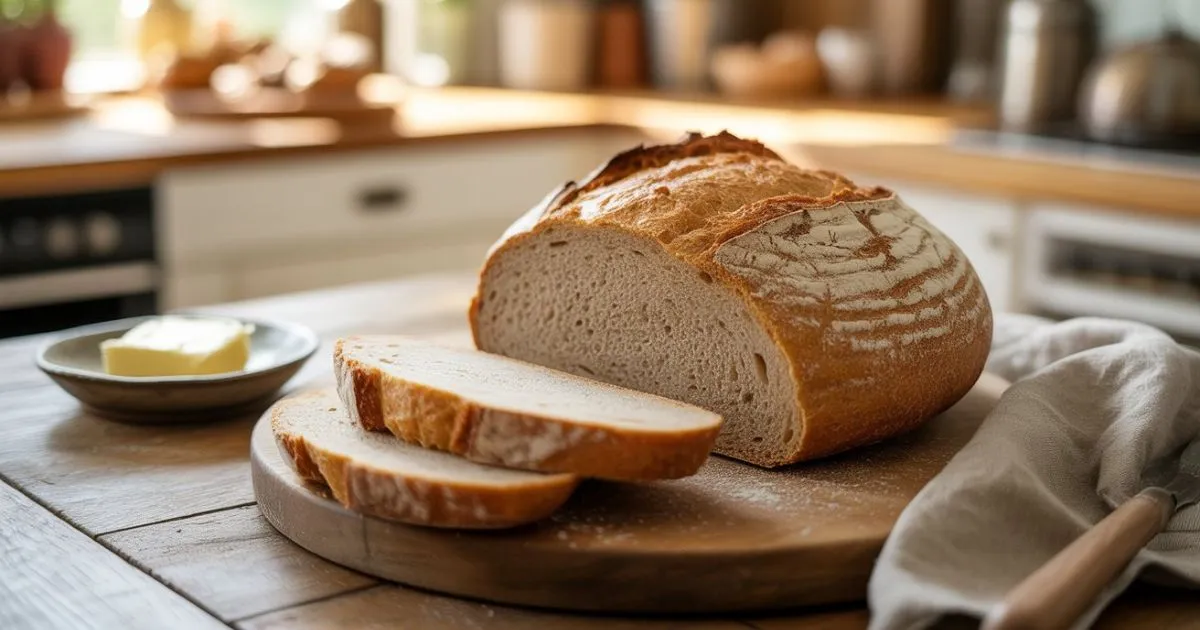
GF Sourdough Bread: 5 Critical Mistakes That Kill Your Rise
So there I was, standing in my kitchen at 6 AM, staring at what was supposed to be my gorgeous loaf of gf sourdough bread. Instead? I’m looking at something that could’ve doubled as a doorstop. Seriously, this thing was so dense it probably would’ve cracked my counter if I dropped it. The smell was right, the crust looked kinda promising, but when I cut into it… oof. Total heartbreak.
Let me tell you, this became my life for MONTHS after getting diagnosed with celiac five years ago. I was so determined to recreate that perfect sourdough I used to love, but attempt after attempt just left me with expensive flour-based failures and way too many tears of frustration. That’s when it hit me like a ton of (very dense) bread: making gf sourdough isn’t just regular sourdough without gluten—it’s like learning to bake all over again!
If you’re tired of making what I lovingly call “gluten-free hockey pucks” and you’re ready to actually get that perfect rise, you’ve come to the right place. Trust me, these five mistakes I’m about to share? They’ve been sabotaging your gf sourdough bread dreams, but once you know what they are, you’ll never go back to dense disaster loaves.
Understanding Why GF Sourdough Bread Behaves Differently
Okay, let’s talk science for a hot second (don’t worry, I’ll keep it fun). The big issue with gf sourdough bread is that we’re missing gluten—you know, that stretchy protein stuff that acts like a tiny balloon system, trapping all the good gas bubbles that make bread fluffy. Without it, your dough is basically trying to hold air with a broken net. Not gonna work, right?
Here’s what you need to wrap your head around with gf sourdough bread:
- It takes FOREVER: We’re talking 2-3 times longer than regular sourdough. Yeah, your patience is gonna get tested.
- It’s thirsty: This stuff needs way more water—like 75-85% versus the 65-75% you’d use for wheat bread
- It needs help: You’ll become best friends with xanthan gum and psyllium husk (weird names, I know, but they’re lifesavers)
- Handle with care: Think of it like a grumpy cat—gentle touches only
There’s actually some fancy research from the Journal of Cereal Science that proves gluten-free doughs are terrible at holding onto gas. But hey, once you get these tricks down, you’ll be making bread that’ll make your gluten-eating friends jealous. If you’re just starting your gluten-free sourdough journey, you might also want to check out this comprehensive gluten-free sourdough guide for additional tips and techniques.
The 5 Critical Mistakes Destroying Your GF Sourdough Bread Rise
Mistake #1 – Using a Weak or Immature Sourdough Starter
Your starter is literally the heart and soul of your gf sourdough bread, and if it’s weak? Game over. I can’t tell you how many times I rushed this step because I was impatient. Spoiler alert: impatience and sourdough don’t mix.
Here’s how you know your starter is actually ready to work (and not just sitting there looking pretty):
- It doubles in size within 4-6 hours after you feed it—like, actually doubles, not just gets a tiny bit bigger
- It passes the float test (drop a spoonful in water, and it should float like a little bread life preserver)
- It smells tangy and yeasty, not like paint thinner or gym socks
- You can see it bubbling away like a science experiment
- It stays at peak height for a few hours instead of immediately deflating
The biggest starter mistakes I see? People feed it whenever they remember (consistency is key!), use the wrong ratios, let the temperature swing all over the place, or use tap water full of chlorine that kills all the good bacteria. For more insights on common sourdough pitfalls, this article on sourdough mistakes covers some universal issues that affect both regular and gluten-free versions.

Perfect GF Sourdough Starter Recipe
This bad boy will double reliably and give you the kind of gf sourdough bread that makes you do a happy dance.
Preparation Time: 5 minutes daily (seriously, that’s it)
Cooking Time: N/A (just lots of waiting around)
Total Time: 7-10 days to get it right
Ingredients:
- 50g brown rice flour
- 50g filtered water (room temp, not hot!)
- 1 tablespoon existing starter (if you can beg some from a friend)
Instructions:
- Mix the flour and water in a super clean glass jar—and I mean CLEAN
- Stir it up until there’s no dry flour hanging around
- If you’ve got some starter already, toss it in
- Cover with a breathable cloth (not plastic!) and rubber band it
- Keep it cozy at 75-78°F—I use my oven with just the light on
- Feed it every single day at the same time (set an alarm if you have to)
- After day 3, throw away half before feeding (I know, it feels wasteful, but trust me)
- Test it with the float test after day 7
- When it consistently doubles in 6 hours, you’re golden!
Mistake #2 – Wrong Flour Blend Ratios for GF Sourdough Bread
Oh boy, this one’s a biggie. I used to think I could just grab any gluten-free flour and call it a day. Brown rice flour only? Nope. All almond flour? Double nope. It’s like trying to build a house with just hammers—you need different tools for different jobs!
Here’s why single flours are basically setting you up for failure:
- Just brown rice flour: Too heavy and doesn’t stick together
- Almond flour everything: Dense city, population: your sad loaf
- Coconut flour takeover: Sucks up liquid like a sponge and leaves you with cardboard
- Only oat flour: Falls apart faster than my New Year’s resolutions
The magic happens when you mix different flours together. Think of it like making the perfect smoothie—you need the right balance of everything.
Ultimate GF Flour Blend for Sourdough
This blend took me forever to perfect, but now it creates gf sourdough bread that’ll fool anyone.
Preparation Time: 5 minutes
Cooking Time: N/A
Total Time: 5 minutes
Ingredients:
- 200g brown rice flour (the sturdy base)
- 150g white rice flour (keeps things light)
- 100g tapioca starch (gives you that chew)
- 75g potato starch (holds moisture like nobody’s business)
- 50g sorghum flour (adds flavor and nutrition)
- 25g sweet rice flour (helps everything stick)
- 3 teaspoons xanthan gum (the magic glue)
Instructions:
- Sift everything together twice—yeah, twice, I know it’s annoying but do it
- Whisk like your life depends on it for 2 minutes
- Push it through a fine mesh sieve one more time (perfectionist? Maybe. Works? Definitely.)
- Store in an airtight container for up to 6 months
- Always give it a good whisk before using
- Label it with the date because trust me, you’ll forget
Mistake #3 – Incorrect Hydration Levels in GF Sourdough Bread
Water is your friend, but too much of a good thing and you’ve got soup. Too little and you’ve got… well, more hockey pucks. Getting the hydration right is like finding the perfect temperature for your shower—it takes some experimenting.
Here’s what I’ve learned works for different flour combos:
- Rice-based blends: 75-80% (that’s a lot of water, don’t panic)
- Nut flour blends: 65-70% (they’re naturally moist)
- Starch-heavy blends: 80-85% (these guys are thirsty)
- High-fiber blends: 85-90% (fiber loves water)
Your kitchen also throws curveballs at you. Humid day? Use less water. Dry winter air? Add more. Living at altitude? Everything’s different up there. I keep a little notebook with what works when because my memory is terrible.
Here’s how you know you’ve got it right:
- The dough’s a bit sticky but holds together when you shape it
- It looks smooth, not like it’s having a bad hair day
- You can stretch a piece thin enough to almost see through (the windowpane test)
- When you poke it gently, it bounces back
If it’s too dry, add water one tablespoon at a time—don’t dump it all in at once! Too wet? Sprinkle in some flour blend bit by bit. And hey, keep notes because future you will thank present you.
Mistake #4 – Inadequate Fermentation Time and Temperature Control
This is where patience becomes a virtue, and I’m not naturally a patient person. GF sourdough bread is like that friend who’s always fashionably late—it takes its sweet time, but the wait is worth it.
Here’s what actually works:
- Keep it steady: 75-78°F the whole time (get a little thermometer, they’re cheap)
- Bulk fermentation: 12-18 hours (yes, really, go binge a whole TV series while you wait)
- Final proof: 3-6 hours at room temp (more waiting, I know)
- Keep it humid: 70-75% humidity helps (I put a damp towel nearby)
You’ll know it’s working when your dough gets about 50-75% bigger, you can see little bubbles on top, it jiggles like Jell-O when you move the container, it smells yeasty and amazing, and the poke test shows it springs back slowly.
For temperature control, I’ve tried everything. Oven with just the light on? Works great. Heating pad under a big plastic container? Also good. Water bath around the bowl? Fancy but effective. You don’t need expensive equipment, just creativity.
The biggest mistakes? Rushing it (guilty as charged), letting it over-proof until it collapses (also guilty), ignoring temperature swings, and not adjusting for seasons. Summer bread ferments faster, winter bread needs more time.
Mistake #5 – Poor Shaping and Proofing Techniques for GF Sourdough Bread
GF dough is like handling a grumpy toddler—you need to be gentle or it’ll have a meltdown. All those aggressive kneading techniques you see on TV? Forget ’em. This dough needs the spa treatment.
Here’s how to baby your dough:
- Be super gentle—think butterfly touches
- Use flour or oil so it doesn’t stick to everything (including you)
- Support it while you’re shaping it
- No aggressive folding or traditional kneading
For proofing, you’ve got options. A banneton with a liner is fancy and works great. A bowl lined with parchment is the budget option that still works. Want sandwich bread? Use a loaf pan. Going for the no-knead route? Dutch oven’s your friend.
You’ll know it’s ready for the oven when it springs back slowly after a gentle poke, it’s grown by about 30-50%, it jiggles slightly when you move it, and you can see the surface tension.
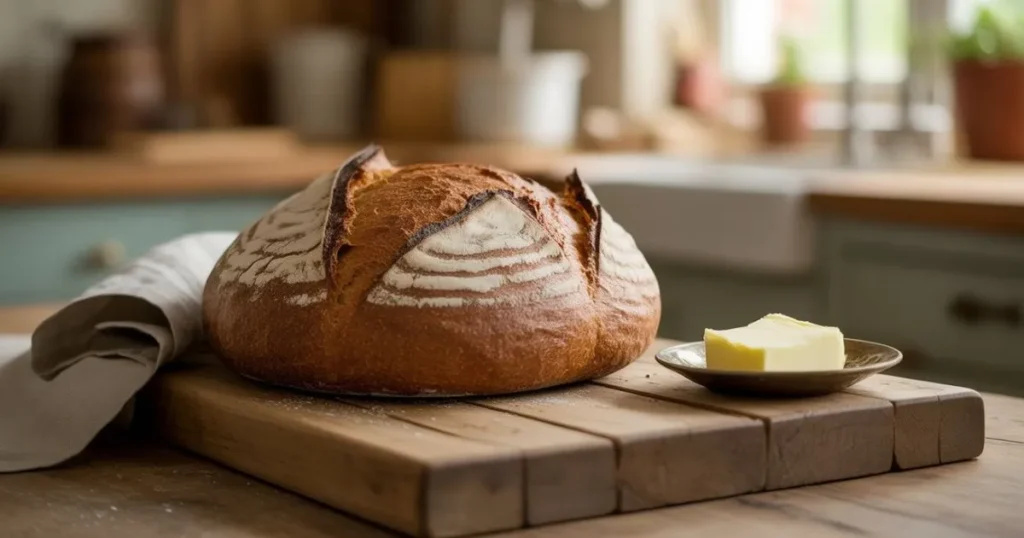
Classic GF Sourdough Bread Recipe
This is it—the recipe that changed everything for me. Crispy crust, soft inside, and it actually rises like real bread!
Preparation Time: 45 minutes (active time)
Cooking Time: 50 minutes
Total Time: 24-30 hours (mostly waiting, perfect for Netflix)
Ingredients:
- 400g GF flour blend (the one we made earlier)
- 320ml warm water (like a nice bath, not hot coffee)
- 100g active GF sourdough starter (bubbly and happy)
- 10g sea salt
- 2 teaspoons psyllium husk powder (trust me on this)
- 1 tablespoon olive oil
Instructions:
- Mix your starter with the warm water until it’s completely dissolved
- Add the psyllium husk, whisk it up, then let it sit for 5 minutes to get all gelly
- In a big bowl, mix your flour and salt
- Pour the wet stuff into the dry stuff and mix until it looks like actual dough
- Add the olive oil and knead gently for exactly 3 minutes (set a timer!)
- Plop it in an oiled bowl, cover with a damp cloth
- Let it bulk ferment for 12-16 hours at 75°F until it’s 50% bigger
- Gently turn it onto a floured surface and shape it into a round
- Put it seam-side up in your banneton or bowl
- Final proof for 3-4 hours until the poke test shows slow spring-back
- Preheat your Dutch oven to 475°F (this takes forever, start early)
- Score the top with a sharp blade—make it pretty!
- Bake covered for 25 minutes, then uncovered for 20-25 more
- It’s done when it hits 205°F inside
- Let it cool COMPLETELY on a wire rack (minimum 2 hours—I know, torture!)
Advanced Tips for Consistently Perfect GF Sourdough Bread
Creating the Ideal Fermentation Environment
Want to level up your game? Let’s talk about creating the perfect little spa for your dough.
My DIY proofing setup is embarrassingly simple: big plastic container, heating pad on low, cheap digital thermometer, and a damp towel. It looks ridiculous but works like a charm.
Seasons mess with everything. Summer means cutting fermentation time by about 20% because heat speeds things up. Winter? Add 30% more time because everything slows down when it’s cold. High altitude baking is its own special kind of chaos—you’ll need more water and less rise time. Humid places need less water overall.
Troubleshooting Common Rise Problems
Let’s talk about fixing disasters because we’ve all been there.
Dense bottom? Your oven’s probably not hot enough on the bottom. Preheat that baking stone longer or move your rack down. Get an oven thermometer too—mine was off by 25 degrees!
Flat top problems usually mean your starter needs more love, your bulk fermentation was too short, or your shaping technique needs work. Practice makes perfect (and lots of bread to eat).
Gummy texture is so frustrating! Usually means you didn’t bake it long enough or you cut into it too soon. I know waiting is hard, but patience pays off.
Emergency mid-bake fixes: If your dough’s spreading like it’s trying to escape, shove it in a loaf pan. Not rising? Crank up the heat by 25°F. Browning too fast? Tent it with foil. Lost all your steam? Throw a pan of water on the bottom rack.
Recipe Variations for Special Dietary Needs
Dairy-Free GF Sourdough Bread
Good news for my dairy-free friends—this bread’s naturally pretty dairy-free friendly already!
Preparation Time: 45 minutes
Cooking Time: 50 minutes
Total Time: 24-30 hours
Just swap any butter for solid coconut oil (not melted—learned that the hard way), use plant milk if the recipe calls for milk, and make sure your starter never had dairy in the first place.
High-Protein GF Sourdough Bread
For you fitness folks who want bread that works a little harder.
Preparation Time: 50 minutes
Cooking Time: 55 minutes
Total Time: 26-32 hours
What’s different:
- Base GF flour blend: 350g
- Vanilla protein powder: 50g (unflavored works too)
- Ground flax seeds: 2 tablespoons
- Chia seeds: 1 tablespoon
- Extra water: 30-40ml
Instructions:
- Whisk that protein powder into your flour blend really well
- Add the flax and chia seeds to the dry stuff
- Follow the regular method but add the extra water bit by bit
- This version takes 2-4 hours longer to ferment (the protein slows things down)
- Bake at 450°F instead of 475°F so the protein doesn’t get bitter
Seasonal Gluten-Free Baking Tips
Speaking of seasonal variations, if you’re looking to expand your gluten-free baking repertoire beyond sourdough, fall is the perfect time to try other seasonal treats. This gluten-free pumpkin bread recipe uses many of the same flour-blending principles we discussed here, but with the added warmth of autumn spices. The techniques you’ve learned about hydration and fermentation timing will serve you well in other gluten-free baking adventures too!
Conclusion
Look, mastering gf sourdough bread isn’t about being perfect right out of the gate—it’s about understanding that this is totally different from regular baking and working with that instead of against it. Every single failed loaf taught me something new about starter care, flour mixing, getting the water right, being patient with timing, and handling dough like it’s made of dreams.
Going from those sad, dense hockey pucks to actual bakery-worthy bread happens one fix at a time. Start with getting your starter strong, then nail that flour blend, figure out your hydration sweet spot, embrace the long fermentation times, and practice your gentle shaping skills.
Here’s the thing—your starter is alive and responds to consistency. Your kitchen environment matters way more than you think. Temperature and timing aren’t suggestions, they’re your new best friends. And hey, every baker has made their share of bread doorstops along the way.
The difference between giving up in frustration and finally getting that perfect loaf? Understanding these five mistakes and having the patience to let the magic happen naturally. Your breakthrough loaf is probably just one attempt away.
Ready to ditch the dense disasters forever? Pick one mistake from this list and focus on fixing just that one thing this week. Then come back and tell me how it went in the comments—I love hearing success stories! And if it doesn’t work perfectly the first time? That’s totally normal. We’re building a community of gluten-free bakers who actually know what we’re doing, one loaf at a time.
FAQ – Frequently Asked Questions About GF Sourdough Bread
Quick Answers to Common GF Sourdough Bread Questions
Q: How long does gf sourdough bread take to rise compared to regular bread?
A: Buckle up buttercup, because gf sourdough bread takes 2-3 times longer than wheat sourdough. We’re talking 12-18 hours for bulk fermentation and 3-6 hours for final proofing. Yeah, it’s basically a weekend project.
Q: Can I use any gluten-free flour for gf sourdough bread?
A: Nope, single flours are basically a recipe for disappointment. You need a blend of different flours and starches plus some xanthan gum to make the magic happen. Trust me, I learned this the hard way.
Q: Why does my gf sourdough bread always turn out dense?
A: Usually it’s one of three things: your starter’s weak and needs more TLC, you’re not fermenting long enough (patience, grasshopper), or your water ratios are off. Start with checking if your starter doubles in 4-6 hours after feeding.
Q: What’s the best hydration level for gf sourdough bread?
A: Most gf sourdough bread loves 75-85% hydration, which is way more water than wheat bread. The exact amount depends on your flour blend and how humid your kitchen is. Start with 75% and adjust from there.
Q: How do I know when my gf sourdough bread is properly proofed?
A: It should be about 30-50% bigger than when you started, jiggle slightly when you move the container, and spring back slowly when you poke it gently. If it springs back fast, give it more time. If it doesn’t spring back at all, whoops—it’s over-proofed.
Q: Can I speed up gf sourdough bread fermentation?
A: You can bump the temperature up to 78°F max, but honestly? Rushing gf sourdough bread just gives you sad results. The long fermentation is what develops all that amazing flavor and texture. Good bread takes time, my friend.
Have You Given This Recipe A Try?
There are no reviews yet. Be the first one to write one.