
Table of Contents
Easy Cream Cheese Filling Recipe No Bake
There’s something magical about those unexpected moments when you realize you need dessert right now. Maybe your neighbor just invited you to a potluck dinner, or your kids are bringing friends home from school, or you simply want to transform today’s ordinary Tuesday into something special. That’s exactly when this easy cream cheese filling recipe no bake becomes your kitchen lifesaver.
What started as my desperate attempt to salvage a last-minute dessert emergency has become the most requested recipe in my collection. No oven preheating, no complicated techniques, and definitely no stress – just four simple ingredients that transform into something so luxurious, your guests will assume you spent hours perfecting it. This versatile filling works beautifully in pastries, spreads gorgeously on cookies, and tastes incredible straight from the bowl (not that I’m encouraging that behavior, but I understand if it happens).
Your dessert game is about to change forever, and your kitchen confidence will soar when you discover just how simple it is to create bakery-quality results in your own home.
Why Choose No-Bake Cream Cheese Filling?
Time-Saving Benefits
When you’re pressed for time, this no-bake approach delivers maximum impact with minimal effort. You’ll have your filling ready in under fifteen minutes, with no preheating required and zero baking time. This makes it perfect for hot weather cooking when you don’t want to heat up your kitchen, and it’s absolutely ideal for those last-minute dessert emergencies we all face.
Your schedule will thank you when you realize you can whip up bakery-quality filling faster than most people can preheat their ovens. This efficiency doesn’t compromise quality either your guests will never guess this luxurious filling took mere minutes to create.
Versatility Advantages
This cream cheese filling works magnificently across multiple dessert categories. You can pipe it into cream puffs, spread it between cake layers, or use it as a dip for fresh strawberries. The temperature-stable nature means it holds up beautifully whether you’re serving immediately or preparing ahead for parties.
Your creative possibilities expand dramatically because this base recipe accepts flavor modifications beautifully. Add cocoa powder for chocolate lovers, incorporate lemon zest for citrus brightness, or fold in fruit purees for natural sweetness variations. For more inspiration on cream cheese filling variations, check out this comprehensive guide to cream cheese filling recipes that explores seven different flavor combinations.
Beginner-Friendly Approach
Even if you’ve never attempted homemade fillings before, this recipe guarantees success. You don’t need special baking skills, complex techniques, or professional equipment. Your standard kitchen mixer and basic measuring tools are all that’s required for professional-quality results.
The foolproof nature of this recipe means you can confidently serve it to guests or bring it to potluck gatherings, knowing it will impress every time.
Essential Ingredients for Perfect No-Bake Cream Cheese Filling
Primary Ingredients Breakdown
Your ingredient list couldn’t be simpler, yet each component plays a crucial role in achieving that perfect texture and flavor balance:
- 8 oz cream cheese (room temperature): Forms the rich, tangy base
- 1/2 cup powdered sugar: Provides sweetness without grittiness
- 1 tsp vanilla extract: Adds aromatic depth and complexity
- 1/2 cup heavy whipping cream: Creates the light, airy texture
Ingredient Quality Tips
Room temperature cream cheese is absolutely non-negotiable for smooth results. If you’ve forgotten to remove it from the refrigerator early, cut it into small cubes and let it sit for fifteen minutes, or microwave it for ten-second intervals until softened.
Your powdered sugar choice matters more than you might expect. Sift it before adding to prevent any lumps that could compromise your silky texture. When selecting vanilla extract, choose pure vanilla over artificial flavoring for noticeably better taste.
Heavy cream alternatives exist if you’re out of the standard variety. You can substitute with whipping cream that has at least 35% fat content, though the texture may be slightly less rich.
Optional Flavor Enhancers
Your creativity can shine through various flavor additions. A tablespoon of lemon zest transforms this into a bright, citrusy delight perfect for spring desserts. For chocolate lovers, two tablespoons of unsweetened cocoa powder creates a rich, chocolatey variation.
Fresh fruit purees work wonderfully when you want natural flavoring. Strawberry, raspberry, or peach purees add both flavor and beautiful color variations to your filling.
Step-by-Step No-Bake Cream Cheese Filling Recipe
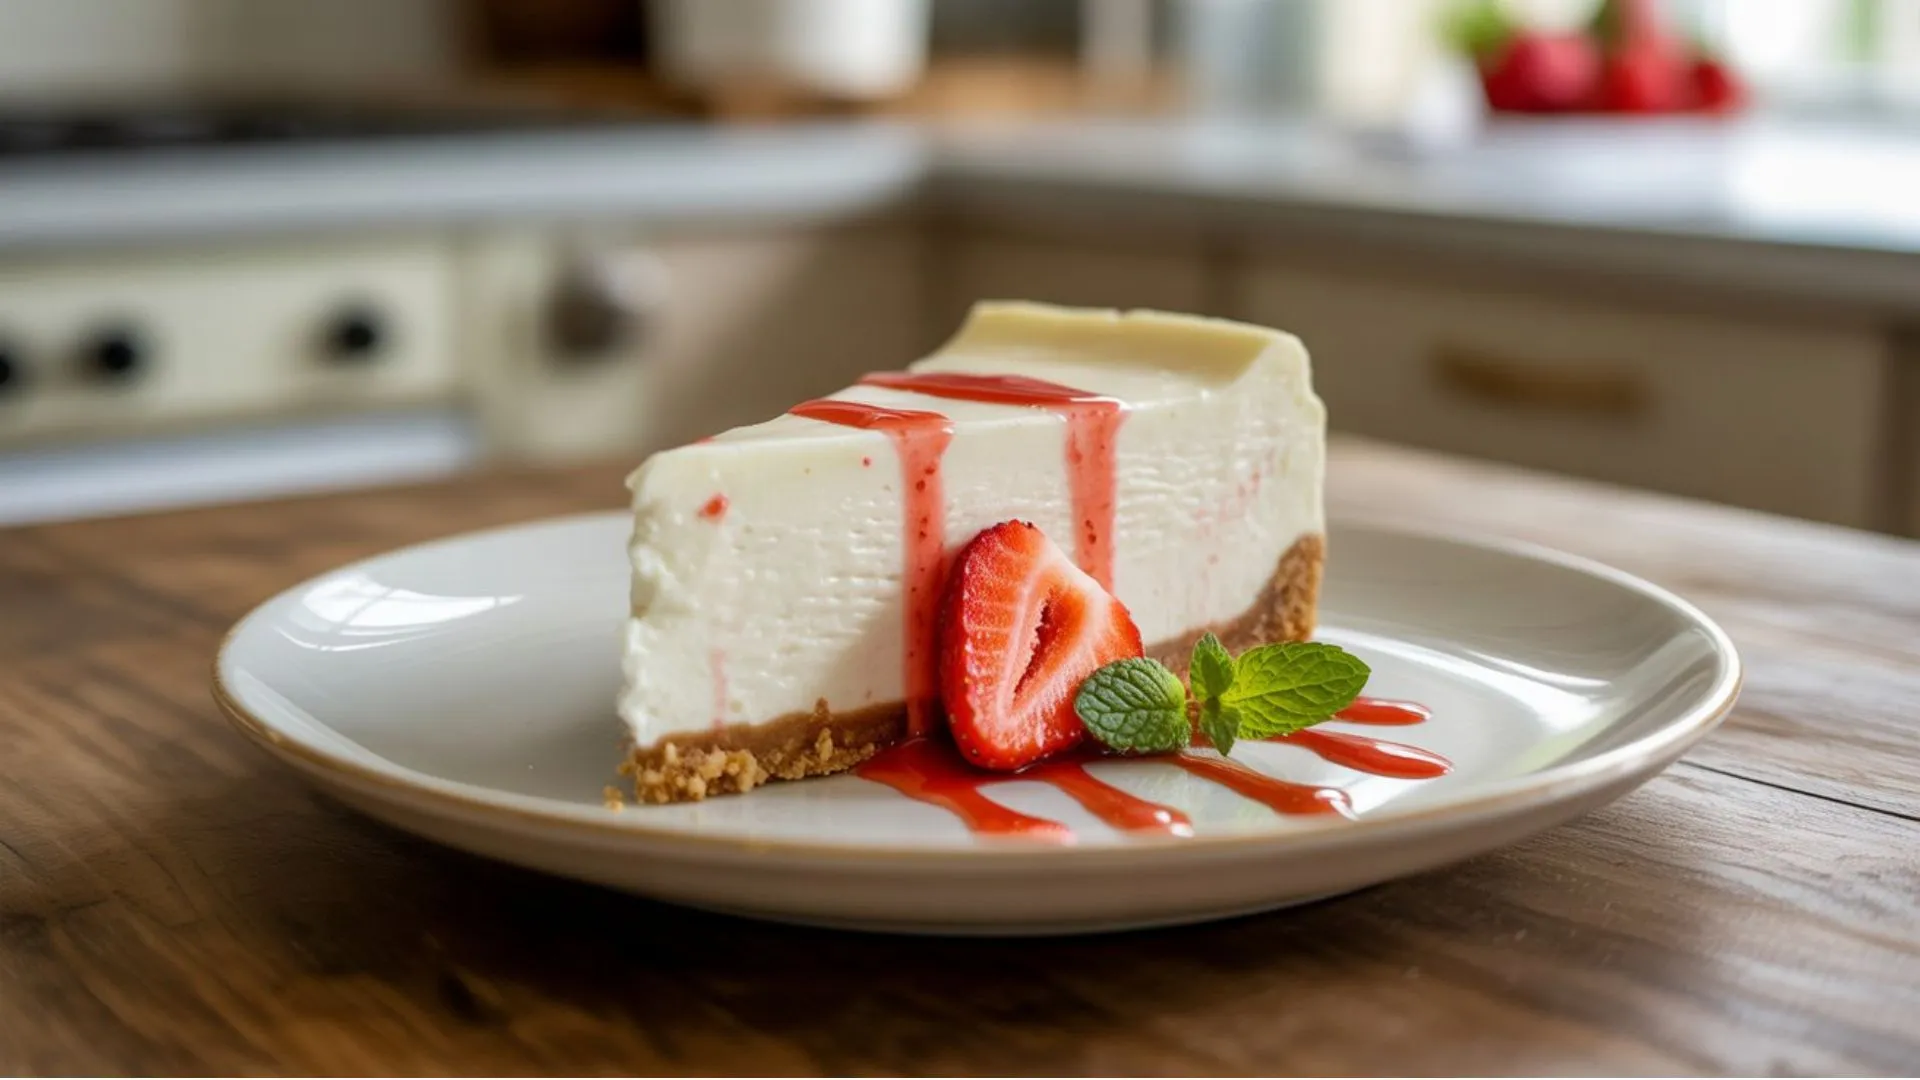
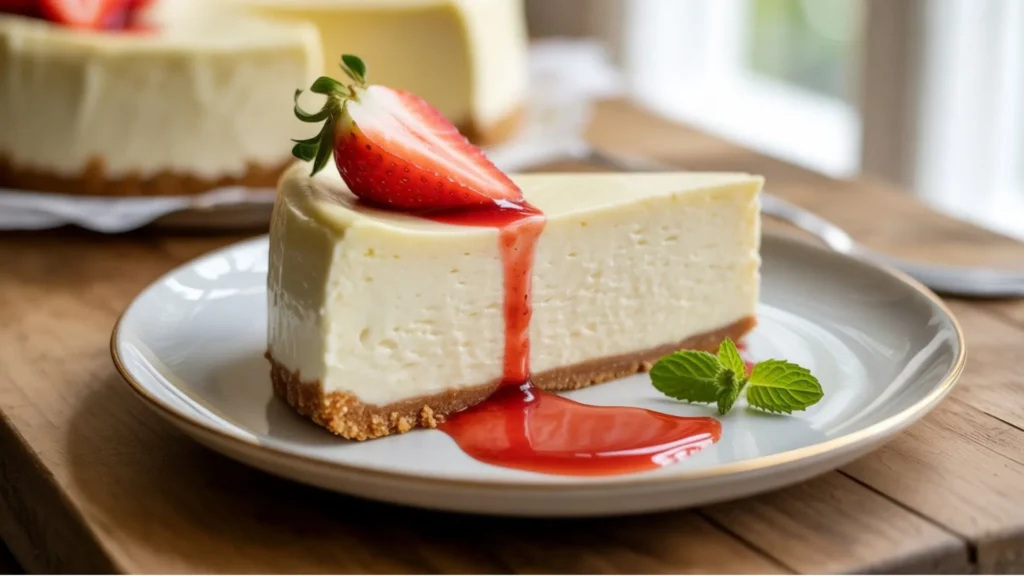
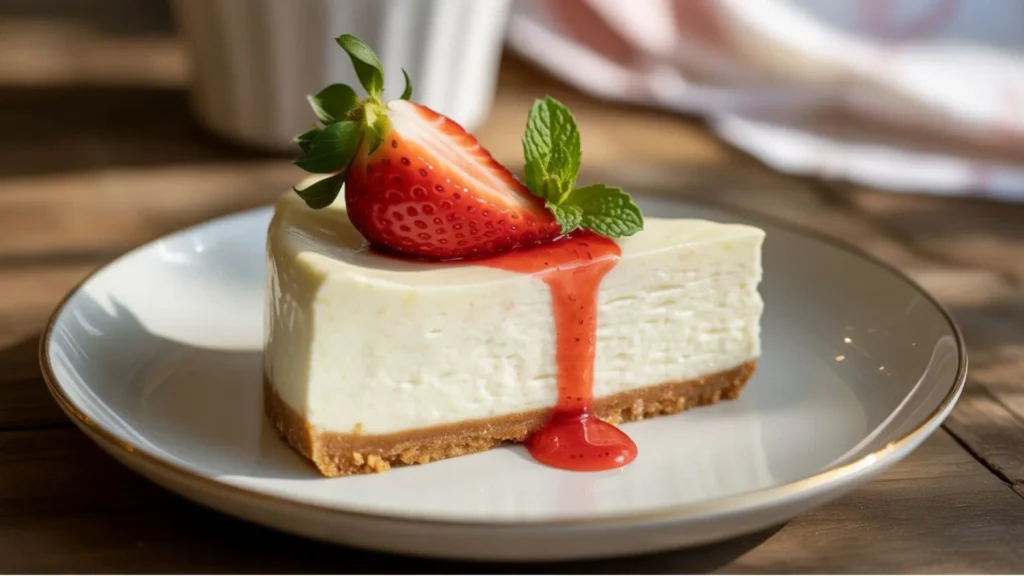
Description: This ultra-creamy, no-bake cream cheese filling delivers bakery-quality results with minimal effort. Perfect for pastries, cakes, or enjoying straight from the bowl.
Preparation Time: 10 minutes
Cooking Time: 0 minutes (no baking required)
Total Time: 10 minutes
Servings: Makes enough for 12 pastries or 1 large cake
Step 1 – Prepare Your Cream Cheese Base
Remove your cream cheese from the refrigerator thirty minutes before starting your recipe. This timing ensures optimal texture without shortcuts that might compromise your final results. Cut the cream cheese into small cubes for faster, more even softening.
Place your softened cream cheese in a large mixing bowl and beat with an electric mixer until completely smooth and fluffy, typically taking two to three minutes. Your patience during this step pays dividends in the final texture.
If your cream cheese is still too firm, microwave it for ten to fifteen second intervals, checking consistency between each heating. Room temperature is crucial for achieving that professional smoothness you’re aiming for.
Step 2 – Add Sweetness and Flavor
Gradually add your sifted powdered sugar while mixing on low speed to prevent sugar clouds in your kitchen. Once incorporated, increase to medium speed and beat for one full minute to ensure complete integration.
Add your vanilla extract and mix until fully incorporated, scraping the bowl sides to ensure even distribution. Your mixture should be smooth and fragrant at this stage.
Taste your mixture and adjust sweetness if needed, though the original proportions typically hit the perfect balance for most palates.
Step 3 – Incorporate the Cream
Pour your heavy cream into the mixture gradually while mixing on low speed to prevent splattering. This controlled approach prevents overmixing and ensures smooth incorporation.
Gradually increase your mixer speed to medium-high and beat until the mixture holds soft peaks, typically taking two to four minutes. Watch carefully during this phase your goal is thick but still spreadable consistency.
Your mixture should coat a spoon smoothly and hold its shape when piped, indicating you’ve achieved the perfect texture balance.
Step 4 – Final Touches and Quality Check
Give your mixture a final gentle stir by hand to ensure complete integration without overbeating. Check the consistency it should be smooth, pipeable, and free of any lumps or streaks.
Perform a final taste test for flavor balance, then transfer immediately to a piping bag or storage container. Your filling is now ready for immediate use or refrigerated storage.
Quality indicators include no visible lumps, ability to hold shape when piped, spreadable but not runny consistency, and rich, balanced sweetness that doesn’t overpower.
Creative Ways to Use Your No-Bake Cream Cheese Filling
Pastry Applications
Your freshly made filling transforms ordinary pastries into gourmet treats. Pipe it directly into cream puff shells or eclairs for elegant desserts that look professionally made. Danish pastries benefit tremendously from a layer of this filling before adding fruit toppings.
Filled donuts become extraordinary when you inject this cream cheese mixture into the centers, creating a sophisticated alternative to standard glazed varieties.
Dessert Layer Applications
Create stunning parfaits by alternating layers of your filling with fresh berries and crushed graham crackers. This presentation looks restaurant-quality while requiring minimal assembly skills.
Your cake game elevates dramatically when you use this filling between layers or as a frosting alternative. The no-bake nature means you won’t melt buttercream on warm days, making it perfect for outdoor entertaining. For additional techniques on using cream cheese filling in layered desserts, this no-bake cheesecake filling guide offers excellent tips for achieving the perfect consistency.
Quick Treat Ideas
Transform simple graham crackers into instant desserts by spreading your filling generously on top. Fresh strawberries and other berries pair magnificently with this cream cheese base for elegant fruit-and-cream combinations.
Chocolate cups from the candy aisle become gourmet treats when filled with your homemade creation, proving that impressive desserts don’t require extensive preparation.
Storage and Make-Ahead Tips
Refrigerator Storage
Your cream cheese filling stores beautifully in the refrigerator for up to five days when kept in an airtight container. Before using refrigerated filling, allow it to come to room temperature for optimal spreadability and piping consistency.
If slight separation occurs during storage, a brief re-whipping restores the original texture perfectly. Cover the surface with plastic wrap pressed directly onto the filling to prevent skin formation.
Freezer Options
Extend your filling’s life by freezing it in freezer-safe containers for up to three months. Thaw overnight in the refrigerator when you’re ready to use it, though you may need brief re-mixing to restore the original texture.
While the texture may be slightly different after freezing, it remains completely usable and delicious for most applications.
Troubleshooting Common Issues
Fixing Lumpy Texture
If your filling develops lumps, ensure your cream cheese was fully softened before beginning. Strain the mixture through a fine-mesh sieve to remove stubborn lumps, or use an immersion blender for particularly persistent texture issues.
Dealing with Runny Consistency
Chill your mixture for fifteen to thirty minutes if it’s too runny, or gradually add extra powdered sugar until you achieve the desired thickness. Overbeaten cream often causes runny consistency, so monitor your mixing carefully.
Your filling should maintain structure while remaining spreadable the perfect balance between firm and creamy.
Nutritional Benefits and Dietary Considerations
This filling provides protein from both cream cheese and cream, plus calcium for bone health. You control the sugar content, making it more health-conscious than many commercial alternatives.
Create sugar-free versions using powdered sugar substitutes, or reduce calories by incorporating Greek yogurt. Dairy-free alternatives work well when you use vegan cream cheese and coconut cream.
Frequently Asked Questions
What makes this cream cheese filling recipe no-bake special?
This easy cream cheese filling recipe no bake requires no oven time, making it perfect for hot weather, broken ovens, or when you need quick results in under 15 minutes.
Can I make this no-bake cream cheese filling ahead of time?
Yes, this filling stores beautifully in the refrigerator for up to 5 days and can be frozen for 3 months, making it perfect for meal prep and planning ahead.
How do I fix lumpy no-bake cream cheese filling?
Ensure your cream cheese is fully room temperature before mixing, and strain the mixture through a fine mesh sieve to remove any stubborn lumps for ultra-smooth results.
What’s the best way to store leftover cream cheese filling?
Store in an airtight container in the refrigerator, covered with plastic wrap touching the surface to prevent skin formation, and use within 5 days for best quality.
Can I customize this easy cream cheese filling recipe?
Absolutely! Add cocoa powder for chocolate version, lemon zest for citrus flavor, or fruit purees for natural variations while maintaining the basic four-step process.
Conclusion
This easy cream cheese filling recipe no bake proves that exceptional desserts don’t require complicated techniques or extensive time investments. Your four simple steps and basic ingredients create a versatile filling that elevates everything from simple crackers to elaborate pastries.
The reliability of this no-bake approach means consistent results whether you’re a beginner or experienced baker. Save this recipe for moments when you need dessert magic without stress, and watch it become your most-requested creation.
Ready to transform your dessert game? Gather your ingredients and discover why this simple recipe has become a kitchen staple for countless home bakers. Your next dessert emergency just became a delicious opportunity instead of a stressful challenge.
Have You Given This Recipe A Try?
There are no reviews yet. Be the first one to write one.