
Table of Contents
Beef Tips Recipe: Introduction
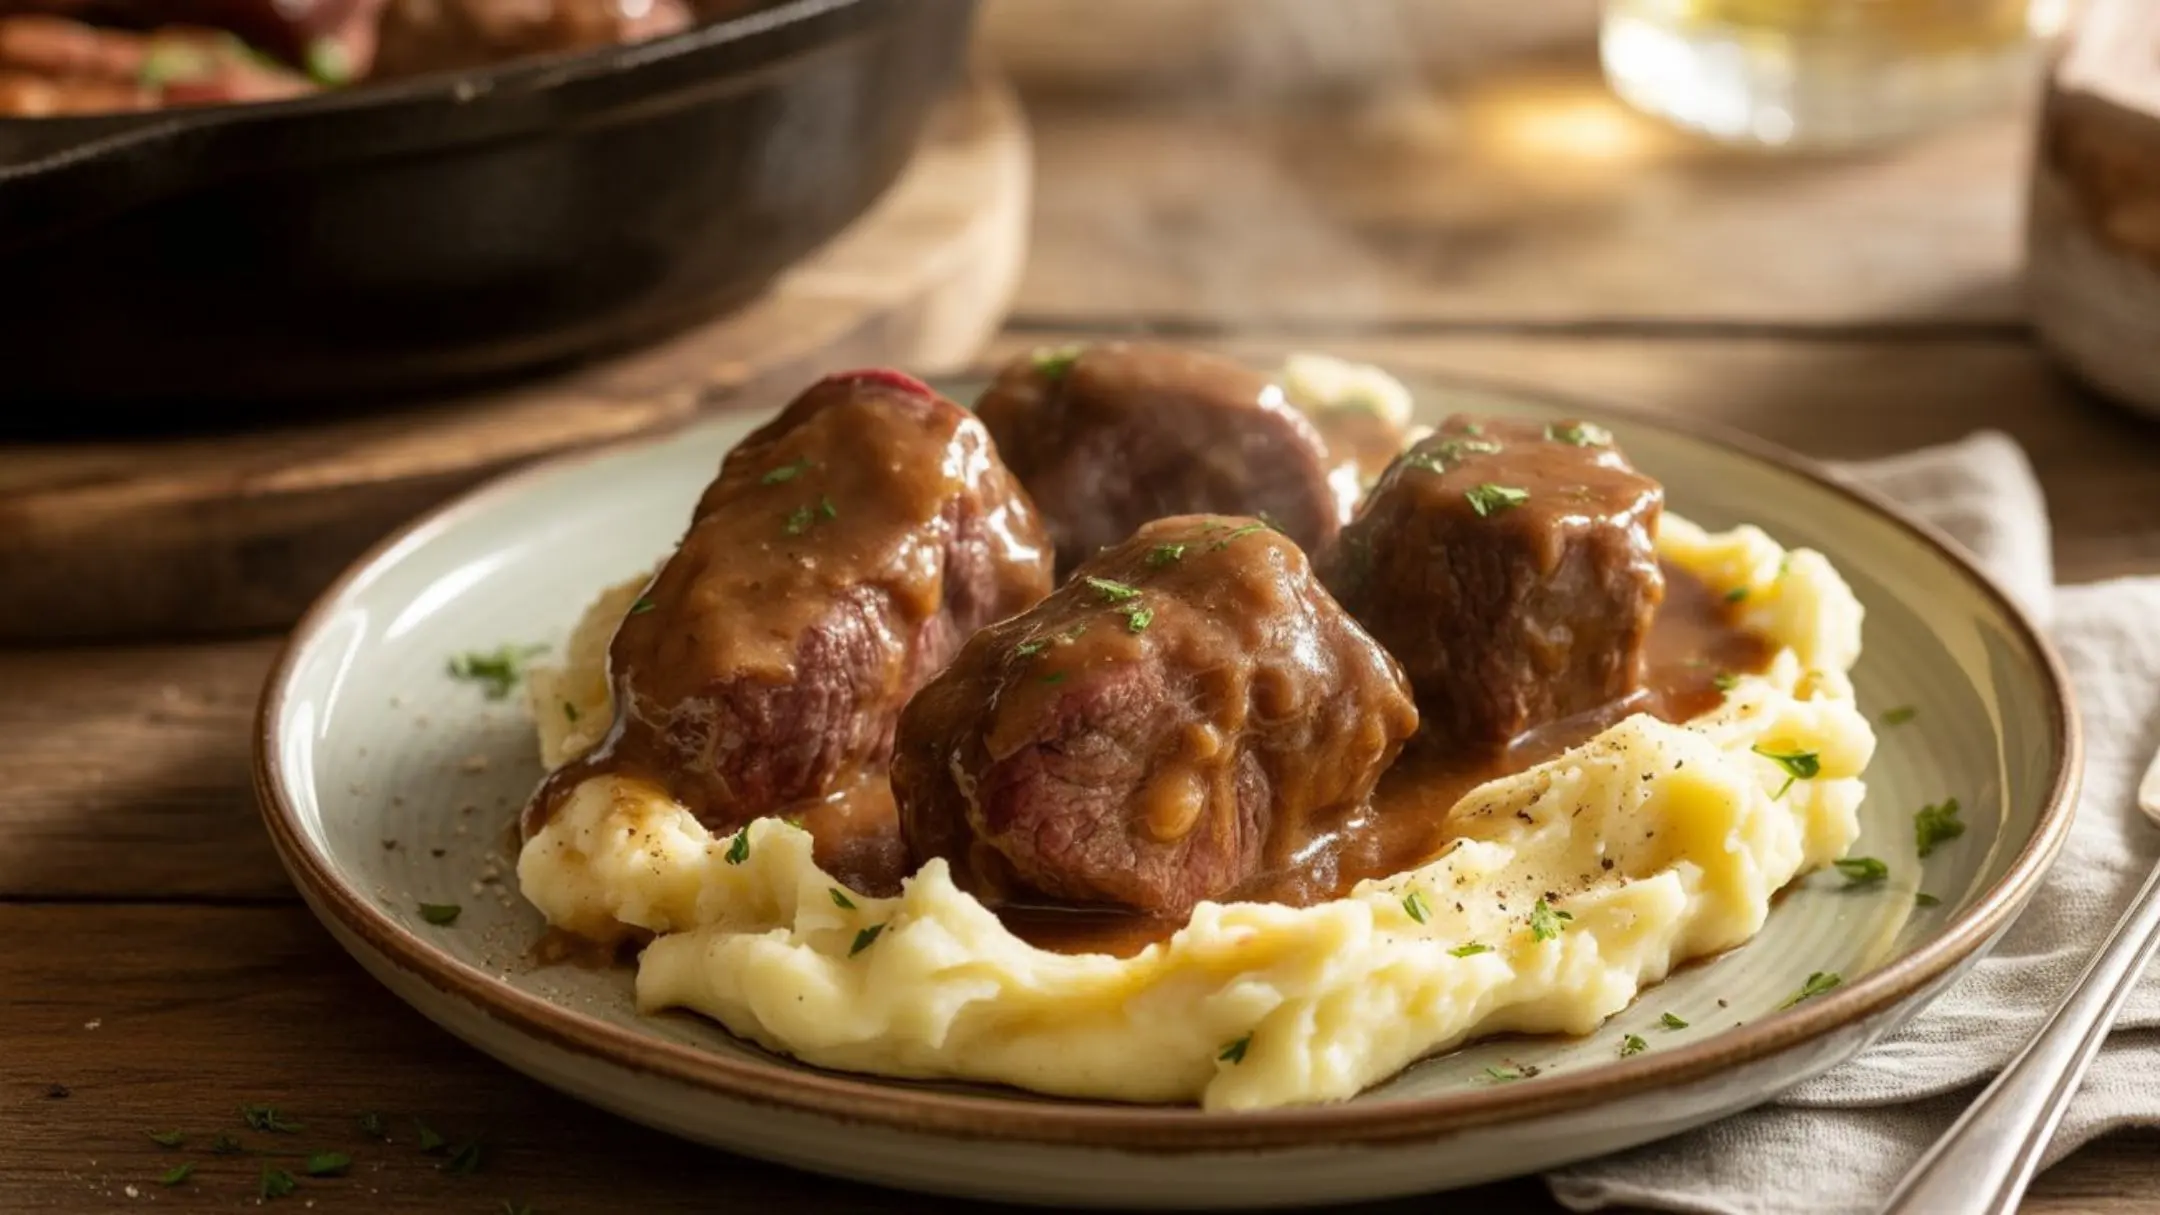
Okay, let me tell you about the time I totally nailed dinner and became the family hero. Picture this: it’s a random Tuesday, I’m feeling lazy but also wanting to impress everyone, and I decide to throw together this beef tips recipe. Fast forward two hours, and my kitchen smells like heaven, my kids are actually asking for seconds (miracle!), and my partner’s giving me those “you’re amazing” looks.
That’s the beauty of a good beef tips recipe, folks. It’s basically comfort food magic that makes you look like you’ve been cooking for decades, even if you’re still figuring out which end of the knife to hold. Trust me, if I can make this work in my chaotic kitchen while dodging toys and homework questions, you’ve totally got this.
The best part? You don’t need fancy equipment or a culinary degree. Just some patience, basic ingredients, and maybe a glass of wine for the chef (hey, it’s practically required for braising, right?).
Why This Beef Tips Recipe Actually Works (No Kidding!)
Here’s the deal – this isn’t just another “throw stuff in a pot and hope for the best” situation. There’s some real science happening here, but don’t worry, I’m not going to bore you with a chemistry lesson.
When you cook beef low and slow (and I mean really slow), all those tough, chewy bits transform into something magical. It’s like the meat equivalent of a caterpillar turning into a butterfly, except way more delicious. The connective tissues break down and become all gelatinous and tender – sounds gross, tastes incredible.
The trick is searing first (hello, flavor town!), then letting everything bubble away gently. Think of it as a spa day for your beef. No rushing, no stress, just pure relaxation until it’s fall-apart tender.
And here’s my favorite part – this recipe is practically foolproof. Unlike those finicky dishes that require perfect timing, beef tips actually get better if you accidentally leave them cooking a bit longer. It’s like they’re designed for busy, slightly scattered people like us!
What You’ll Need (Don’t Panic, It’s Simple!)
Alright, let’s talk shopping list. Nothing fancy here – just good, honest ingredients that you can probably find at any grocery store:
| What You Need | How Much | Why It Matters |
|---|---|---|
| Beef chuck roast (cut it up yourself) | 3 pounds | This is your star player – cheap but so good when cooked right |
| All-purpose flour | 1/4 cup | Makes everything golden and helps thicken the sauce |
| Vegetable oil | 2 tablespoons | For getting that perfect sear |
| Yellow onion, chopped | 1 big one | Sweetness and that amazing smell |
| Garlic, minced | 4 cloves | Because garlic makes everything better |
| Beef broth | 2 cups | The magic liquid that does all the work |
| Red wine (totally optional) | 1/2 cup | Fancy factor – or just drink it while cooking |
| Tomato paste | 2 tablespoons | Secret weapon for rich flavor |
| Bay leaves | 2 leaves | They do something mysterious but important |
| Fresh thyme | 1 tablespoon | Smells amazing, tastes even better |
| Salt and pepper | 1 tsp salt, 1/2 tsp pepper | The basics that make everything sing |
| Carrots, chunked up | 2 big ones | Sweetness and pretty colors |
| Potatoes, quartered | 1 pound | Because who doesn’t love potatoes? |
Real Talk Shopping Tips:
- Buy a whole chuck roast and cut it yourself – it’s cheaper and you get better pieces
- Don’t stress about the wine – grape juice works, or just skip it
- Fresh herbs are great, but dried ones won’t ruin your life
- Get low-sodium broth so you can control the salt situation
The 5-Step Game Plan (Seriously, It’s This Easy!)
Step 1: Get Your Beef Ready (The Foundation)
Okay, first things first – you’re gonna cut that chuck roast into chunky 2-inch pieces. Not tiny, not huge, just nice bite-sized chunks that’ll look impressive on the plate.
Here’s something I learned the hard way: pat those pieces dry with paper towels. Like, really dry. Wet beef = sad, gray searing. Dry beef = beautiful golden crust. Trust me on this one.
Season everything generously with salt and pepper, then give it a light dusting of flour. This isn’t about being precise – just toss it all together until the meat looks lightly coated. Let it sit for about 15 minutes while you prep everything else. Room temperature beef cooks more evenly, and honestly, we need all the help we can get!
Step 2: The Searing Game (Where the Magic Begins)
Fire up your Dutch oven (or whatever heavy pot you’ve got) over medium-high heat with some oil. You’ll know it’s ready when a drop of water hits it and goes crazy.
Now here’s where patience pays off – sear those beef chunks in batches. Don’t crowd them! I know it’s tempting to dump everything in at once, but resist. Give each piece some space to get properly golden brown on all sides. We’re talking 2-3 minutes per side.
The beef doesn’t need to be cooked through – we’re just building flavor here. Those beautiful brown bits stuck to the bottom of your pot? That’s liquid gold, my friend. Don’t scrape them off yet!
Step 3: Building Your Flavor Base (The Fun Part)
Keep that same pot going and toss in your chopped onions. They’ll start picking up all those gorgeous brown bits, and your kitchen will start smelling like a fancy restaurant. Cook them until they’re soft and slightly caramelized – about 5 minutes.
Add the garlic and cook for another minute until it smells amazing. Then stir in that tomato paste for about 30 seconds. If you’re using wine, now’s the time to add it and let it bubble away until it reduces by half.
Pour in your beef broth and scrape up any remaining brown bits. Add your bay leaves and thyme, and bring the whole thing to a gentle simmer. At this point, you should be feeling pretty proud of yourself – it already smells incredible!
Step 4: The Waiting Game (But It’s Worth It!)
Time to reunite the beef with its new best friends. Add those seared pieces back to the pot, making sure the liquid mostly covers them. If not, add a bit more broth or water.
Bring everything to a gentle simmer, then turn the heat way down. Cover the pot and either stick it in a 325°F oven or keep it on the stovetop over low heat. We’re aiming for the laziest possible simmer – just a few bubbles here and there.
Now comes the hardest part: waiting. This needs to cook for about 1.5 to 2 hours. I know, I know, it feels like forever, but this is when the magic happens. The beef transforms from tough to tender, and all those flavors meld together into something amazing.
Step 5: The Grand Finale (Almost There!)
About 30 minutes before you think everything’s done, add your carrots and potatoes. They’ll soak up all that incredible flavor while keeping their shape.
Taste your sauce and adjust the seasoning – more salt, pepper, whatever makes you happy. Fish out those bay leaves (nobody wants to bite into one of those!). If you want a thicker sauce, mix equal parts flour and cold water, then stir it in gradually.
The Complete Recipe (Your New Go-To!)
Prep Time: 20 minutes (mostly chopping)
Cook Time: 2 hours 30 minutes (mostly hands-off)
Total Time: 2 hours 50 minutes
Feeds: 6-8 hungry people
Here’s How It Goes:
- Prep your beef: Cut into chunks, dry them off, season with salt, pepper, and flour. Let them chill for 15 minutes.
- Sear like a pro: Heat oil in your Dutch oven, then brown the beef in batches. Don’t rush this part – about 8-10 minutes per batch.
- Build the base: Cook onions until soft (5 minutes), add garlic (1 minute), then tomato paste (30 seconds).
- Make it saucy: Add wine if using, let it bubble, then add broth and herbs. Bring to a simmer.
- Let it do its thing: Add beef back, cover, and cook in the oven at 325°F for 1.5-2 hours until fork-tender.
- Add the veggies: Carrots and potatoes go in during the last 30 minutes.
- Finish strong: Season to taste, remove bay leaves, and serve with pride!
What to Serve With This Masterpiece
Your beef tips are gonna be amazing, but they need some good sidekicks. Here’s what I love to serve alongside:
The Classics:
- Creamy mashed potatoes (obviously!)
- Buttered egg noodles
- Crusty bread for sopping up that sauce
- Simple green beans
- Roasted carrots (if you didn’t already add them)
Looking for more hearty beef recipes? Check out these delicious beef recipes that’ll keep your family coming back for more!
Want to Switch Things Up?
- Mushroom lovers: Sauté some mushrooms and add them in the last hour
- Cream dream: Stir in some heavy cream at the end for extra richness
- Herb heaven: Fresh parsley or chives right before serving
For Special Diets:
- Gluten-free friends: Use cornstarch instead of flour
- Low-carb folks: Serve over cauliflower mash
- Dairy-free: Just skip any butter or cream additions
Leftovers and Storage (The Best Part!)
Can I tell you a secret? This stuff is even better the next day. Something about those flavors hanging out together overnight – it’s like they become best friends.
Storage Game:
- Fridge: Good for 4 days in airtight containers
- Freezer: Up to 3 months in portion-sized containers
- Pro tip: Label everything with dates or you’ll be playing “guess that frozen thing” later
Reheating Without Ruining It:
- Stovetop: Low heat, covered, add a splash of broth if needed
- Oven: 325°F in a covered dish until heated through
- Microwave: 50% power, stirring every 30 seconds (be patient!)
Meal Prep Hero:
- Make a big batch on Sunday for easy weeknight dinners
- Freeze in family-sized portions for busy weeks
- Turn leftovers into amazing beef and vegetable soup
If you’re looking for quicker beef options, these Instant Pot ground beef recipes are perfect for busy weeknights!
When Things Go Wrong (Don’t Panic!)
Even the best of us mess up sometimes. Here’s how to save the day:
Beef Still Tough?
- Keep cooking! Seriously, it just needs more time
- Check that your heat isn’t too high – we want gentle bubbling, not aggressive boiling
- Add more liquid if it’s getting dry
Accidentally Over-Salted?
- Drop in a peeled potato to absorb some salt
- Add more unsalted broth to dilute
- A tiny bit of sugar can help balance things out
Sauce Issues?
- Too thin: Mix flour and cold water, stir it in gradually
- Too thick: Add warm broth until it looks right
- Lumpy: Strain it through a fine-mesh sieve (we’ve all been there)
Your Questions Answered (Because I Get Asked This Stuff All the Time!)
What’s the best cut of beef for beef tips recipe? Chuck roast is your best friend here. It’s got the right amount of fat and connective tissue that breaks down into tender, flavorful goodness. Don’t go for the expensive cuts – they’ll actually be less tender in this beef tips recipe!
How do I make my beef tips recipe more tender? Low and slow is the name of the game. Keep that heat gentle and give it time. Most beef tips recipes need at least 1.5 hours, but don’t be afraid to go longer if it’s not fork-tender yet.
Can I make this beef tips recipe in a slow cooker? Absolutely! Do the searing and base-building on the stovetop, then transfer everything to your slow cooker. Low for 6-8 hours or high for 3-4 hours. Just remember – you’ll miss out on some of that browning flavor if you skip the searing step.
Should I trim the fat from beef before making beef tips recipe? Leave some fat for flavor, but cut off any huge chunks. The marbling inside the meat is what makes it delicious, so don’t go crazy with the trimming.
Can I prep this beef tips recipe ahead of time? Yes! And honestly, it’s better when you do. Make it a day ahead, let those flavors get cozy overnight, then reheat when you’re ready to serve. Your future self will thank you.
What wine works best in beef tips recipe? Any red wine you’d actually drink works great. Cabernet, Merlot, even a cheap red blend. But honestly? If you don’t have wine or don’t want to use it, just skip it. The beef tips recipe will still be delicious.
How do I know when my beef tips are done? Grab a fork and poke a piece. If it breaks apart easily without much pressure, you’re golden. If it’s still tough, give it more time. Better to overcook slightly than serve tough beef! For more traditional beef tips variations, check out this classic beef tips recipe from AllRecipes.
Time to Make Some Magic!
So there you have it – everything you need to become the beef tips hero of your household. This recipe has seriously saved my dinner reputation more times than I can count, and I have a feeling it’s gonna do the same for you.
The best part about cooking is that it’s not just about the food – it’s about creating those moments when everyone’s gathered around the table, phones put away, just enjoying good food and each other’s company. This beef tips recipe has a way of making that happen.
So what are you waiting for? Pick up some chuck roast this weekend and give it a try. I’m betting you’ll be making this on repeat once you taste how amazing it is. And hey, when you do make it, come back and tell me how it went! Did you add any fun twists? Did your family beg you to make it again? I love hearing about your kitchen victories!
Have You Given This Recipe A Try?
There are no reviews yet. Be the first one to write one.