
Table of Contents
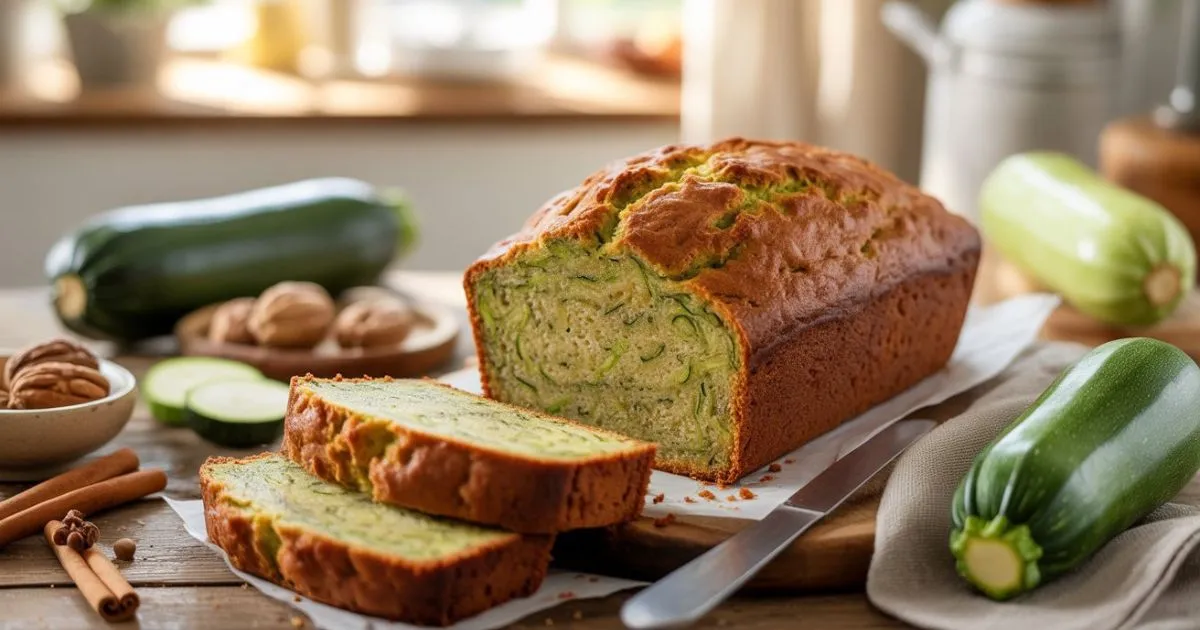
Okay, so picture this: It’s Saturday morning, you’re in your pajamas, and there’s this amazing smell floating through your house that makes you feel like you’re eight years old again at grandma’s place. You know that smell, warm, spicy, and so good it practically gives you a hug.
But here’s the thing that drove me absolutely nuts for the longest time. I’d follow recipe after recipe, and my zucchini bread would come out looking like a sad, dense brick or a soggy mess that nobody wanted to eat. Super frustrating, right?
Then I figured out what was going on. Professional bakers have been keeping these little tricks to themselves, and honestly, they’re not even that hard! It’s like they’ve got this secret playbook that turns regular old zucchini into the most incredible bread you’ve ever tasted.
So today, I’m spilling all their secrets. These 12 game-changing tricks will make your zucchini bread so good that people will literally ask you what bakery you bought it from. Trust me on this one!
Why Professional Zucchini Bread Secrets Matter
Let’s be real, we’ve all been there. You follow a recipe to the letter, and somehow your zucchini bread turns into a watery disaster or something you could use as a doorstop. It’s like the recipe gods are laughing at us!
The thing is, most of us make the same mistakes over and over. We don’t squeeze the water out of our zucchini (huge mistake!), we mix the batter like we’re trying to win an arm wrestling contest, or we use spices that’ve been sitting in our cabinet since the Clinton administration.
Professional bakers? They’ve figured out how to avoid all these pitfalls. Their zucchini bread is perfectly moist without being soggy, has flavors that actually complement each other, and stays fresh for days instead of turning into cardboard overnight.
The best part? Once you know these tricks, baking becomes way less stressful. No more crossing your fingers and hoping for the best! And if you’re curious about other classic approaches to zucchini bread, this traditional mom’s zucchini bread recipe is a great starting point that you can then enhance with these professional secrets.
Secret #1 – The Perfect Zucchini Preparation Method
Okay, this is where most people mess up big time. You can’t just grate your zucchini and toss it in the bowl – that’s a one-way ticket to Soggy Bread City, and nobody wants to live there.
Here’s what you gotta do: Pick zucchini that’s about the size of a baseball bat, not those monster ones that look like they could star in a horror movie. The big guys have way too much water and not enough flavor.
Here’s the magic trick that’ll change your life:
- Grate that zucchini with the big holes on your box grater
- Toss it with a teaspoon of salt and let it sit for 15 minutes (go grab a coffee!)
- Now comes the fun part – squeeze the heck out of it with clean kitchen towels
- Keep squeezing until you can’t get any more water out
I’m not kidding – you’ll get about 1/3 cup of water out of every cup of zucchini. That’s what was making your bread all mushy! Who knew vegetables were such little water balloons?
Secret #2 – The Flour Selection Game-Changer
Most recipes just say “use all-purpose flour” and call it a day. But here’s where the pros get sneaky – they mix different flours together like they’re creating some kind of baking potion. Speaking of flour alternatives, if you’re looking for gluten-free options, this gluten-free sourdough bread shows how different flour combinations can work magic in other types of bread too.
The secret combo? 80% all-purpose flour and 20% cake flour. I know, I know, who has cake flour just hanging around? But trust me, it’s worth buying a box because this mixture is pure magic.
All-purpose flour gives your bread structure so it doesn’t fall apart, while cake flour makes it super tender. It’s like having the best of both worlds!
And please, for the love of all things fluffy, don’t scoop your flour straight from the bag. That packs it down and you’ll end up with way too much flour. Just spoon it into your measuring cup and level it off. Your bread will thank you!
Secret #3 – The Sugar Balance That Creates Perfect Moisture
Here’s something that blew my mind when I first learned it – sugar isn’t just there to make things sweet. It’s actually working behind the scenes to keep your bread moist and help it brown perfectly.
The pro trick? Use 60% brown sugar and 40% white sugar. Brown sugar is like a moisture magnet because of all that molasses, plus it adds this subtle caramel flavor that makes zucchini taste way more interesting. White sugar handles the structure stuff.
This combo is why bakery zucchini bread stays soft and delicious for days while homemade versions turn into hockey pucks overnight. Game changer!
Secret #4 – Oil vs. Butter: The Professional Choice
I used to be team butter all the way because, hello, butter makes everything better, right? But when it comes to zucchini bread, oil is actually your best friend.
Here’s why: butter gets all solid and weird at room temperature, but oil stays liquid and keeps your bread tender and moist. Plus, oil doesn’t fight with the delicate zucchini flavor like butter sometimes can.
Stick with boring old vegetable oil or canola oil – save the fancy olive oil for your salads. And measure it exactly! Too little and your bread’s dry, too much and it’s greasy. Nobody wants greasy bread.
If you’re feeling fancy, you can swap out 2 tablespoons of the regular oil for melted coconut oil, but don’t go crazy or you’ll throw off the whole balance.
Secret #5 – The Spice Blend That Elevates Everything
Can we talk about how disappointing store-bought “pumpkin pie spice” is? It’s like they took all the personality out of perfectly good spices and left us with bland dust. If you love experimenting with spice blends in baked goods, you might also want to check out this healthy pumpkin bread recipe that uses similar warming spices in a different way.
Make your own blend instead – it takes literally two minutes and makes such a huge difference:
The magic spice recipe:
- 2 teaspoons cinnamon (the star of the show)
- 1/2 teaspoon fresh nutmeg (none of that pre-ground stuff!)
- 1/4 teaspoon ginger
- Just a tiny pinch of cloves (seriously, just a pinch)
Pro tip: If you’ve got whole spices, toast them lightly in a dry pan before grinding. Your kitchen will smell amazing and the flavors will be so much more intense. Also, please check when you bought those ground spices. If they’re older than your last relationship, it’s time to replace them!
Secret #6 – The Mixing Method That Prevents Dense Bread
This is where things get interesting. You know how when you’re frustrated, you might take it out on bread dough? Well, zucchini bread is the opposite – it needs you to be super gentle with it.
The trick is something called the muffin method, which sounds fancy but is actually pretty simple. Mix all your dry stuff in one bowl, mix all your wet stuff in another bowl, then fold them together like you’re tucking a baby into bed.
Here’s what you do: Pour the wet ingredients into the dry ones and fold everything together with a rubber spatula. It should take less than 30 seconds once they meet. Stop when you can barely see any flour streaks – it’s supposed to look a little lumpy and weird.
Fight the urge to keep mixing until it’s smooth! Lumpy batter makes fluffy bread. Smooth batter makes tough, chewy bread that nobody wants.
Secret #7 – Temperature Control for Perfect Baking
Most recipes tell you to stick it in the oven at one temperature and forget about it. But pros know better – they use a sneaky two-temperature trick that makes all the difference.
Start your oven at 375°F for the first 15 minutes, then turn it down to 350°F for the rest of the time. The high heat at the beginning creates steam that helps your bread rise, and then the lower heat makes sure everything cooks evenly without burning the top.
This is why you’ve probably had zucchini bread that was burnt on top but still gooey in the middle. Super annoying, right? This method fixes that problem completely.
And here’s another pro tip: Don’t just rely on the toothpick test. Get yourself an instant-read thermometer and stick it in the center. When it reads 200-205°F, you’re golden!
Secret #8 – The Pan Preparation That Ensures Easy Release
Nothing ruins a perfect loaf like having half of it stick to the pan. Been there, wanted to cry about it!
Here’s the foolproof method: Line your 9×5 loaf pan with parchment paper, but leave some hanging over the edges like little handles. Then spray or brush the parchment with oil too. It’s like double insurance for your beautiful bread.
Also, use a light-colored metal pan if you’ve got one. Those dark pans get way too hot and can burn your bottom before the inside is done cooking. Nobody has time for that drama!
Secret #9 – Add-Ins and Mix-Ins Like a Pro
Okay, this one’s kind of genius. Ever notice how chocolate chips and nuts always sink to the bottom of homemade bread? Meanwhile, bakery bread has them perfectly distributed throughout? They’re not using magic – they’re using flour!
Toss whatever add-ins you’re using (nuts, chocolate chips, dried fruit) with a tablespoon of flour before folding them into the batter. The flour coating helps them stay put instead of gravitating toward the bottom like they’re following the laws of physics or something.
Some killer combinations to try:
- Toasted walnuts with extra cinnamon (classic for a reason)
- Mini chocolate chips with a splash of vanilla (because chocolate makes everything better)
- Dried cranberries with orange zest (fancy!)
- Pecans with a little maple extract (fall vibes all year long)
Just don’t go overboard – stick to about 3/4 cup total or your bread might fall apart.
Secret #10 – The Doneness Test That Never Fails
The toothpick test is fine and all, but it’s not the whole story. Pros use multiple ways to tell when bread is perfectly done, and once you know them, you’ll never have undercooked centers again.
Your doneness checklist:
- Internal temp hits 200-205°F (this is the most reliable!)
- The edges start pulling away from the sides just a tiny bit
- The top springs back when you poke it gently
- A toothpick comes out with just a few moist crumbs (not wet batter!)
Using all these tests together takes the guesswork out of baking. No more cutting into bread and finding out it’s still raw in the middle – we’ve all been there and it’s the worst!
Secret #11 – Cooling and Storage for Maximum Freshness
This part requires some serious self-control, but it’s super important. Let your bread cool in the pan for exactly 10 minutes, then turn it out onto a wire rack. I know you want to slice it right away (the smell is torture!), but if you cool it completely in the pan, the bottom gets all soggy from trapped steam.
For storage, here’s what keeps it fresh for days: Wrap the completely cooled bread tightly in plastic wrap, then stick it in an airtight container. It’s like giving your bread a cozy little sleeping bag that locks in all that moisture.
Done right, your zucchini bread will stay perfect for up to five days. Though let’s be honest, it probably won’t last that long!
Secret #12 – Troubleshooting Common Issues
Even when you know all the tricks, sometimes things go sideways. Here’s how to fix the most common zucchini bread disasters:
Dense, heavy bread that could double as a weapon? You either overmixed the batter or used too much flour. Measure carefully and mix gently – your bread should be light and tender, not suitable for home defense.
Soggy bottom that nobody wants to eat? Your zucchini wasn’t drained enough, or you didn’t prep your pan properly. Squeeze that zucchini like your life depends on it and use the parchment paper trick.
Dry, crumbly mess that falls apart? Not enough oil or you overbaked it. Double-check your measurements and use that thermometer to nail the doneness.
Tastes like cardboard with a vague vegetable flavor? Your spices are probably dead, or you forgot the salt. Fresh spices make all the difference, and salt brings out all the other flavors – don’t skip it!
Master Recipe: Professional Zucchini Bread
Alright, time for the main event! This recipe uses every single trick I just told you about, so you know it’s gonna be amazing.
Prep Time: 20 minutes (mostly waiting for zucchini to drain)
Cook Time: 55-60 minutes
Total Time: About an hour and 20 minutes
Makes: 1 gorgeous loaf that serves 12 (if you can resist eating half of it yourself)
Ingredients
Dry Stuff:
- 1 2/3 cups all-purpose flour
- 1/3 cup cake flour (trust me on this one!)
- 1 teaspoon baking soda
- 1/2 teaspoon salt
- 2 teaspoons ground cinnamon
- 1/2 teaspoon freshly grated nutmeg (so much better than the pre-ground stuff)
- 1/4 teaspoon ground ginger
Wet Stuff:
- 3 large eggs (room temperature works better)
- 3/4 cup vegetable oil
- 1/2 cup regular sugar
- 1/2 cup packed brown sugar
- 2 teaspoons real vanilla extract (not the fake stuff)
- 1 1/2 cups grated zucchini that you’ve properly tortured with salt and squeezing
Instructions
- Get everything ready: Heat your oven to 375°F. Line that 9×5 loaf pan with parchment paper and give it a light spray with oil. Prep your zucchini using the salt-and-squeeze method – this is crucial!
- Mix it up: Whisk all the dry ingredients together in a big bowl. In another bowl, mix all the wet stuff until it’s smooth. Now here’s the important part – pour the wet into the dry and fold it together super gently. Stop as soon as you can barely see flour streaks.
- Bake like a pro: Pour the batter into your prepared pan. Start at 375°F for 15 minutes, then turn it down to 350°F and bake for another 40-45 minutes. It’s done when your thermometer reads 200-205°F in the center.
- The hardest part: Let it cool in the pan for 10 minutes (set a timer or you’ll forget), then turn it out onto a wire rack. Wait until it’s completely cool before slicing, even though it smells incredible and you’re basically dying to try it.
Frequently Asked Questions About Zucchini Bread
Q: How do you make zucchini bread moist and not soggy? A: It’s all about that zucchini prep! Salt it, drain it, squeeze the life out of it. Then use the right amount of oil and don’t overmix. Those three things will change your life.
Q: Should you peel zucchini for zucchini bread? A: Nope! Keep the skin on – it’s got nutrients, adds nice color, and becomes totally tender when it bakes. Plus, who has time to peel zucchini?
Q: How long does homemade zucchini bread stay fresh? A: If you wrap it properly (plastic wrap plus airtight container), it’ll stay amazing for 3-4 days on the counter or up to a week in the fridge. Though honestly, good luck making it last that long!
Q: Why is my zucchini bread dense and heavy? A: You’re probably overmixing or using too much flour. Mix like you’re being super gentle with a sleeping baby, and spoon your flour into the measuring cup instead of scooping.
Q: What’s the best way to test if zucchini bread is done? A: Use the thermometer trick! 200-205°F in the center is your target. Combine that with checking if the edges pull away slightly and the top springs back when you poke it.
Transform Your Baking Today
Look, I’m not gonna lie – these 12 secrets completely changed my zucchini bread game. The difference between my old sad loaves and these bakery-quality beauties is honestly night and day.
Your friends are gonna lose their minds when they taste this. They’ll probably ask what fancy bakery you went to, and you can just smile mysteriously (or spill all the secrets like I just did – your choice!).
The best part? None of this stuff is complicated or requires weird ingredients you can’t pronounce. It’s just about understanding what makes zucchini bread actually work instead of just hoping for the best.
Ready to blow everyone’s mind with your amazing zucchini bread? Seriously, grab your ingredients and give this a shot. Once you taste what properly made zucchini bread is supposed to be like, you’ll never go back to just winging it. Your kitchen is about to smell incredible, and your taste buds are in for a treat!
Have You Given This Recipe A Try?
There are no reviews yet. Be the first one to write one.