
Table of Contents
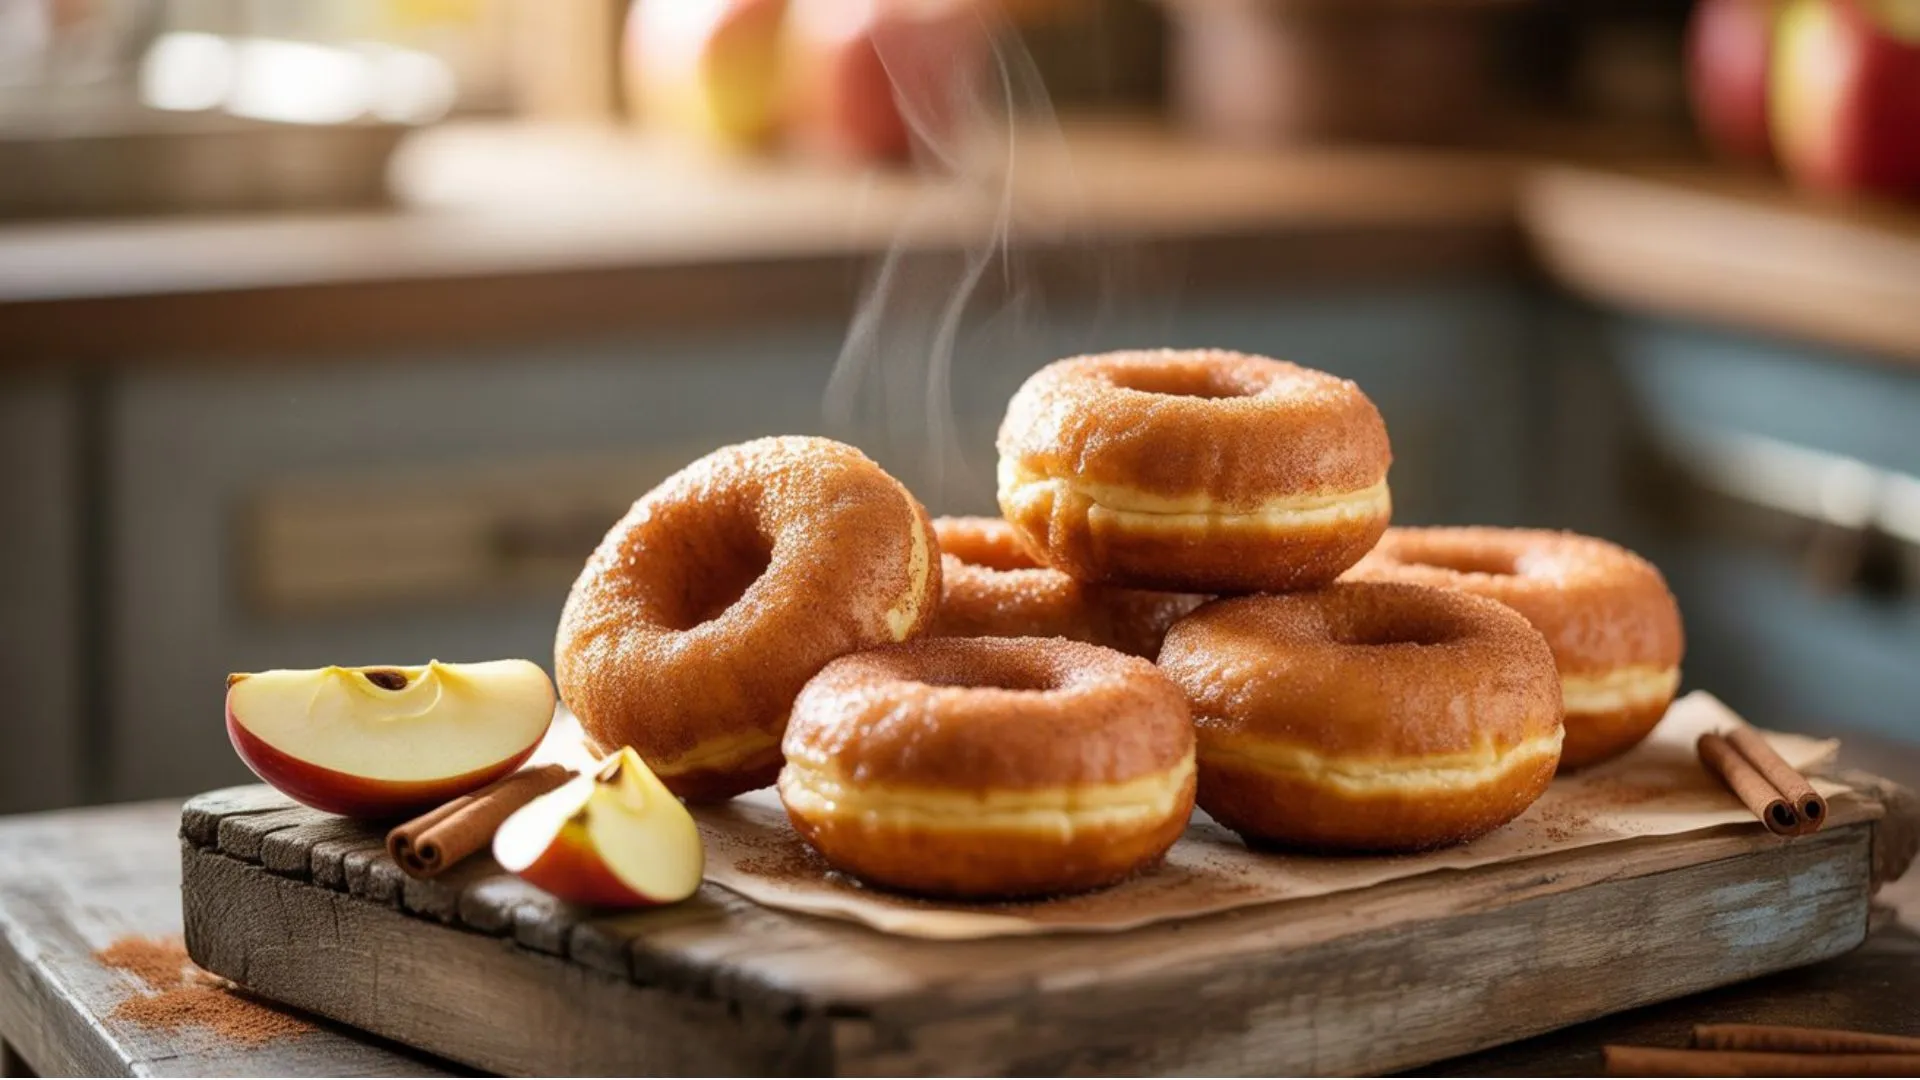
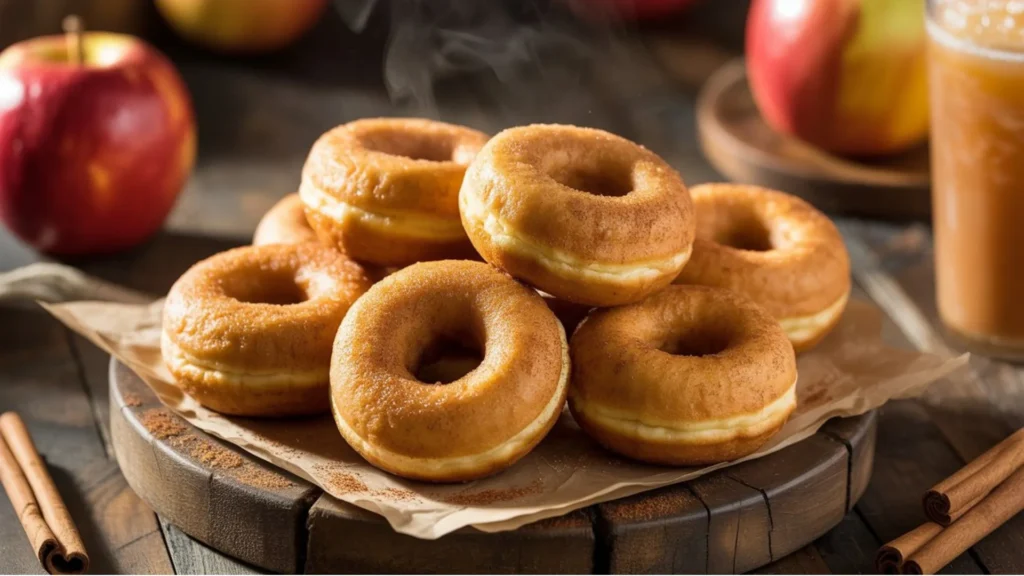
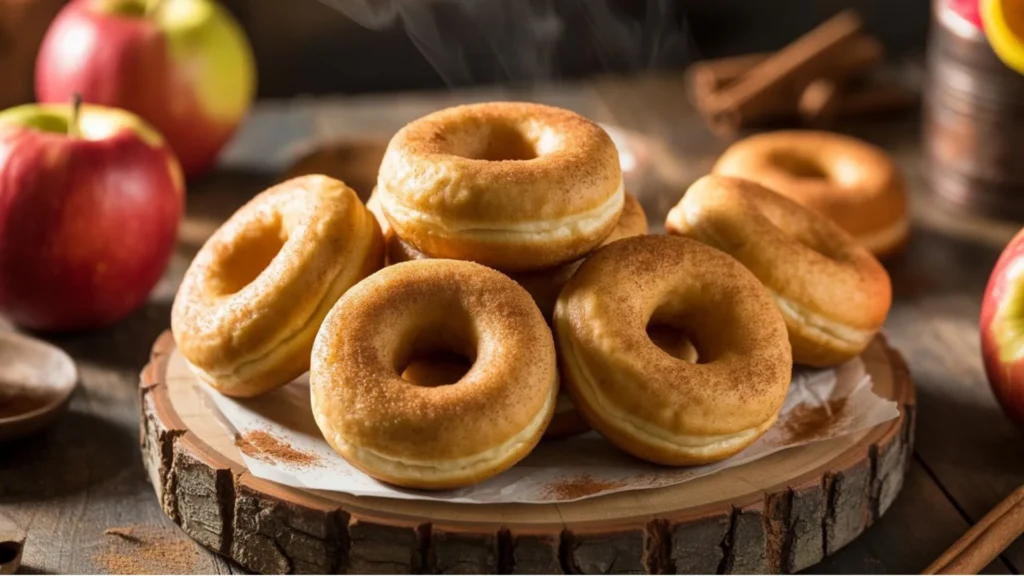
Apple Cider Donuts: 5 Easy Steps to Bake Perfect Fall Treats at Home
it was a crisp autumn day last year when we stumbled upon that charming little orchard with the apple cider donuts that practically changed my life. Remember how we stood there, fingers sticky with cinnamon sugar, closing our eyes as we bit into those warm, pillowy circles of heaven? I think we both looked at each other and silently vowed to recreate that magic at home.
After what feels like a million attempts (and my poor family having to taste-test way too many “almost there” versions), I finally did it! I unlocked the secret to those perfect donuts, the kind that make you weak in the knees, not those sad, dense hockey pucks that sometimes masquerade as the real deal at grocery stores. We’re talking fluffy, tender, apple-packed perfection that might just make you consider hiding a few for yourself (though I’d never admit to doing such a thing…).
And here’s the beautiful part, you don’t need to be a pastry chef or own fancy gadgets. Just your everyday kitchen tools, about 40 minutes, and a willingness to make your home smell like the coziest bakery on earth. Seriously, the aroma alone is worth the effort!
Why Your Kitchen Deserves These Apple Cider Donuts
Listen, I’ve tried a LOT of apple cider donut recipes over the years (my family thinks I’m obsessed, and honestly? They’re not wrong). But here’s the thing, most recipes just use apple juice and call it a day. That’s like putting ketchup on a steak and calling yourself a chef!
The real magic happens when you actually use apple cider and – here’s the kicker – you reduce it down to this amazing syrupy goodness. It’s like concentrating all those apple flavors into pure liquid gold. Your taste buds will thank you, I promise.
What Makes These Donuts Actually Amazing:
- Real apple cider (not juice – we’re not amateurs here!)
- That perfect cake-y texture that’s tender but not crumbly
- Warm spices that make your kitchen smell like fall threw up in the best way possible
- Simple ingredients you probably already have
- No deep frying because ain’t nobody got time for that mess
I’m telling you, once you make these, you’ll never look at store-bought donuts the same way again. My neighbor actually asked if I opened a bakery in my kitchen. (The answer is no, but I’m flattered!)
Gathering Your Apple Cider Donut Arsenal
Alright, let’s talk ingredients. Don’t worry – there’s nothing fancy here that’ll have you wandering around three different stores looking for some obscure spice. This is real-life baking for real-life people.
The one thing I’m gonna be a little picky about is the apple cider. Please, PLEASE don’t use apple juice. I made that mistake once and ended up with sad, flavorless donuts that even my dog wouldn’t eat (and she literally eats everything). Get the good stuff from the grocery store, or even better, hit up a local orchard if you’ve got one nearby.
Your Shopping List (Nothing Crazy, I Promise):
The Main Players:
- Fresh apple cider (2 cups) – This is your star, don’t cheap out
- All-purpose flour (2 cups) – Just regular flour, nothing fancy
- Light brown sugar (¾ cup) – Adds that molasses-y goodness
- Large eggs (2) – Room temp if you remember, but don’t stress if you forget
- Unsalted butter (4 tablespoons, melted) – Salted works too, just cut back on the salt later
- Buttermilk (½ cup) – This is what makes them tender and tangy
The Spice Squad:
- Ground cinnamon (1 teaspoon) – The MVP of fall spices
- Fresh nutmeg (½ teaspoon) – If you only have pre-ground, that’s fine too
- Ground allspice (¼ teaspoon) – Adds that “what IS that amazing flavor?” element
- Fine sea salt (½ teaspoon) – Don’t skip this – it makes everything taste better
The Coating Station:
- Granulated sugar for rolling around in
- More cinnamon (because there’s no such thing as too much)
- Extra butter for dunking
Pro tip: If you’re like me and always forget to take your eggs out early, just plop them in a bowl of warm water for 10 minutes. Problem solved!
Your Five-Step Journey to Apple Cider Donut Mastery
Step 1: Transform Your Apple Cider Into Liquid Gold (15 Minutes)
This is where the magic happens, people! You’re gonna take that apple cider and turn it into something that’s basically apple syrup. It sounds fancy, but it’s literally just boiling stuff down. My 12-year-old nephew helped me with this part, so trust me, you’ve got this.
Here’s What You’re Gonna Do:
- Dump your 2 cups of apple cider into a heavy pot (if you don’t have a heavy pot, just use what you’ve got)
- Crank up the heat and get it bubbling like crazy
- Turn it down to a nice simmer and just… wait
- Stir it once in a while so it doesn’t get all sticky on the bottom
- You’ll know it’s ready when it coats your spoon like syrup and you’ve got about ½ cup left
- Let it cool down while you do the next steps
Fair warning: your kitchen is gonna smell like apple heaven. Don’t be surprised if people start randomly showing up at your door asking what smells so good. It’s happened to me more times than I can count!
Step 2: Prepare Your Donut-Making Environment (10 Minutes)
Time to get your stuff together! This isn’t rocket science, but a little prep work goes a long way. Plus, you don’t want to be scrambling around looking for your donut pan while your batter sits there getting sad.
Your Quick Setup:
- Heat that oven to 350°F (and yes, it actually matters – don’t be that person who just guesses)
- Grease your donut pans like your life depends on it (butter works great, cooking spray works too)
- Give them a light dusting of flour and tap out the excess
- Get all your ingredients lined up like you’re on a cooking show
- Find your mixing bowls, whisk, and that rubber spatula that’s probably hiding in your junk drawer
Here’s something I learned the hard way – actually grease those pans! I got cocky one time and thought I could skip it. Let’s just say half my donuts decided to become permanent residents of the pan. Learn from my mistakes, people!
Step 3: Create Your Dry Ingredient Foundation (5 Minutes)
This step is super straightforward, but don’t zone out here. You want everything mixed really well so you don’t end up with weird pockets of spice or baking powder. Nobody wants to bite into a surprise chunk of cinnamon (well, maybe some people do, but let’s keep things consistent).
Mix It Up:
- Grab a big bowl and dump in:
- 2 cups flour
- ¾ cup brown sugar (pack it down a bit)
- 1½ teaspoons baking powder
- 1 teaspoon cinnamon
- ½ teaspoon nutmeg
- ¼ teaspoon allspice
- ½ teaspoon salt
- Whisk it all together until it looks uniform
- Break up any brown sugar chunks with your fingers (they’re sneaky little things)
- Make a little crater in the middle for your wet stuff
The brown sugar always tries to clump up on me. Just smoosh those lumps with your fingers – it’s actually kind of therapeutic. Plus, lumpy donuts aren’t cute, so take an extra minute here.
Step 4: Blend Wet Ingredients and Form Your Batter (8 Minutes)
Okay, this is where things get real. The key here is to NOT go crazy with the mixing. I know it’s tempting to whisk the heck out of everything, but resist! Overmixed donuts are tough donuts, and tough donuts make nobody happy.
Wet Stuff Assembly:
- In another bowl, whisk together:
- Your cooled-down apple cider syrup (½ cup)
- 2 eggs (don’t stress if they’re not perfectly room temp)
- 4 tablespoons melted butter (let it cool a bit so it doesn’t cook your eggs)
- ½ cup buttermilk
- 1 teaspoon vanilla (the good stuff if you’ve got it)
The Gentle Mixing Dance:
- Pour your wet mixture into that crater you made in the dry stuff
- Use a rubber spatula and fold everything together GENTLY
- Stop as soon as you don’t see streaks of flour anymore
- It’s gonna look a little lumpy and that’s PERFECT
- The batter should be thick but still pourable
I cannot stress this enough – those lumps will totally disappear when they bake. Fighting them now will only make your donuts tough. Trust the process!
Step 5: Fill, Bake, and Achieve Donut Perfection (15 Minutes)
Home stretch! This is where you get to see all your hard work pay off. The smell alone is gonna make you feel like a baking genius.
Time to Make Some Donuts:
- Scoop your batter into a big zip-top bag (or a piping bag if you’re fancy)
- Snip off a corner to make about a ¾-inch opening
- Pipe the batter into your donut molds – fill them about ⅔ full
- Give the pans a gentle tap on the counter to get rid of air bubbles
- Pop them in the oven for 12-15 minutes until they’re golden and spring back when you poke them
- Test with a toothpick if you’re not sure – it should come out clean or with just a few crumbs
- Let them cool in the pan for about 5 minutes, then flip them out onto a cooling rack
The hardest part? Not eating them straight out of the pan. I may have burned my tongue more than once because I have zero self-control when it comes to warm donuts.
Your Complete Apple Cider Donut Recipe
What You’re Making:
These are the real deal – tender, flavorful apple cider donuts that taste like they came from that fancy orchard down the road. Except you made them in your own kitchen wearing your pajamas (not that I’m judging).
Everything You Need:
For the Donuts:
- 2 cups fresh apple cider
- 2 cups all-purpose flour
- ¾ cup packed light brown sugar
- 1½ teaspoons baking powder
- 1 teaspoon ground cinnamon
- ½ teaspoon nutmeg (fresh grated is amazing, but pre-ground works)
- ¼ teaspoon ground allspice
- ½ teaspoon salt
- 2 large eggs
- 4 tablespoons unsalted butter, melted and cooled
- ½ cup buttermilk
- 1 teaspoon vanilla extract
For That Amazing Cinnamon Sugar Coating:
- ½ cup granulated sugar
- 1 tablespoon ground cinnamon
- 4 tablespoons melted butter for dunking
Let’s Do This Thing:
- Make that liquid gold: Simmer your cider until it’s reduced to ½ cup (takes about 15 minutes). Let it cool.
- Get organized: Heat oven to 350°F. Grease those donut pans really well.
- Dry ingredients: Mix flour, brown sugar, baking powder, and all the spices in a big bowl.
- Wet ingredients: Combine your cooled cider, eggs, butter, buttermilk, and vanilla.
- Make batter: Gently fold wet into dry until just combined. Don’t overthink it!
- Bake: Pipe into pans, bake 12-15 minutes until golden and springy.
- Coat: While they’re still warm, dunk in melted butter then roll in cinnamon sugar.
The Numbers:
- Prep Time: 25 minutes (but half of that is just waiting for cider to reduce)
- Bake Time: 15 minutes
- Total Time: 40 minutes
- Makes: 12 gorgeous donuts (if you don’t eat the batter)
Mastering Your Apple Cider Donut Technique
How to Make Them Even Better:
- Get the good cider – seriously, it makes a huge difference. Local orchard stuff is amazing if you can find it
- Don’t skip the reduction step – I know it seems like extra work, but this is what makes them taste incredible
- Toast your spices if you’re feeling fancy – just toss them in a dry pan for 30 seconds. Your kitchen will smell amazing
- Add a splash of bourbon to the adult version (just saying…)
Want to see another amazing take on baked apple cider donuts? Check out Sally’s version – she’s got some killer tips too!
Avoiding Donut Disasters:
- Measure your flour right – scoop it into the cup and level it off. Don’t pack it down like brown sugar
- Mix gently! I can’t say this enough. Pretend you’re folding laundry, not beating eggs
- Fill the pans evenly so they all bake at the same rate
- Let them cool completely before storing or they’ll get soggy bottoms (and nobody wants that)
Making Them Last (Good Luck With That):
- Eat them warm for the ultimate experience
- Store covered for up to 2 days (if they last that long)
- Freeze extras without the coating for up to 3 months
- Warm up day-old ones in the microwave for 10 seconds – they’ll taste fresh again
Troubleshooting Your Apple Cider Donut Challenges
When Things Go Wrong (It Happens to Everyone):
Dense, Heavy Donuts: Look, we’ve all been there. Usually it’s because you got a little overzealous with the mixing, or maybe your baking powder is older than your last relationship. Check your mixing technique and maybe grab some fresh baking powder (it goes bad faster than you think).
They Don’t Taste Like Apples: This one breaks my heart every time. Did you actually reduce the cider? Like, really reduce it? Not just warm it up? And please tell me you didn’t use apple juice. If you did, I’m not mad, just disappointed (kidding! But seriously, get some real cider next time).
Dry as the Sahara: Overbaking is usually the culprit here. Every oven is different, so start checking them at 12 minutes. Also, make sure you’re measuring your wet ingredients correctly – buttermilk and melted butter are your friends here.
They Stuck to the Pan: Been there! Next time, really go to town with the greasing. Butter and flour those pans like your life depends on it. And let them cool for a few minutes before trying to remove them – patience, grasshopper.
Your Next Steps to Apple Cider Donut Success
Alright, here’s the deal – you’ve got everything you need to make these incredible donuts right now. No more scrolling through Pinterest looking for the “perfect” recipe (spoiler alert: this is it). No more making excuses about not having the right equipment.
This weekend, I want you to grab some apple cider, fire up that oven, and make your kitchen smell like autumn paradise. Your family is gonna think you’re some kind of baking wizard, and honestly? You kind of will be.
The best part about this recipe? Once you make it a few times, you can start getting creative. Maybe add some chopped apples, or try a maple glaze, or go wild with a cream cheese frosting. The possibilities are endless!
So what are you waiting for? Stop reading and start baking! Your future self (and your taste buds) will thank you.
Trust me on this one – these donuts are about to become your new fall obsession. And when people ask for the recipe, you can act all mysterious and say it’s a family secret (even though you totally got it from this random blog post).
Frequently Asked Questions About Your Apple Cider Donuts
Can you make these without donut pans?
Totally! I’ve made donut holes using a mini muffin tin, and they’re adorable. You could even just make little rounds on a baking sheet if that’s all you’ve got. Just watch the baking time – smaller treats cook faster.
How do you know when the cider is reduced enough?
You’ll have about ½ cup left from your original 2 cups, and it’ll be thick enough to coat a spoon. It should taste super concentrated and almost syrupy. If you’re not sure, reduce it a little more – better too concentrated than too weak.
Can you use apple juice instead of cider?
Look, I’m not gonna lie to you – you CAN, but they won’t taste nearly as good. Apple juice is basically apple-flavored water compared to the real stuff. If that’s all you’ve got, go for it, but try to get real cider next time.
Why are my donuts tough and chewy?
Nine times out of ten, it’s because the batter got overmixed. These aren’t dinner rolls – they don’t need to be kneaded to death! Mix just until the ingredients come together, lumps and all.
How long do these actually stay fresh?
Honestly? They’re best the day you make them, but they’ll still be pretty darn good for 2-3 days if you store them right. The coating might get a little less crispy, but they’ll still taste amazing.
Can you prep anything ahead of time?
The reduced cider can be made up to 3 days ahead and stored in the fridge. But mix and bake the actual donuts when you want to eat them – they’re definitely best fresh!
Love apple desserts? Don’t miss our homemade apple pie recipe for another simple, crowd-pleasing treat you can bake at home.
Have You Given This Recipe A Try?
There are no reviews yet. Be the first one to write one.