
Table of Contents
55 min total Serves 6–8 Beginner-friendly
“I burned three batches before I made one worth sharing. Then I understood: cherry cobbler doesn’t need to be perfect to be wonderful.”
There’s a moment in summer — usually when your fruit bowl is overflowing and your oven is still warm from dinner — when cherry cobbler stops being a recipe and becomes a reflex. You reach for cherries, butter, flour, and suddenly the whole kitchen smells like something your grandmother would recognize.
But if you’ve ever pulled a cobbler out of the oven only to find it soupy at the bottom or doughy on top, you’re not alone. This guide is going to walk you through everything: what cherry cobbler actually is, why it sometimes goes wrong, and a no-nonsense step-by-step recipe that works every single time — even if you’ve never baked a cobbler before.
What you’ll learn
- The difference between a cobbler, crisp, crumble, and buckle
- Why your cobbler turns soupy — and exactly how to fix it
- A classic from-scratch recipe using fresh or canned cherries
- The 2-ingredient shortcut version (yes, it’s real and it’s delicious)
What Is Cherry Cobbler, Actually?
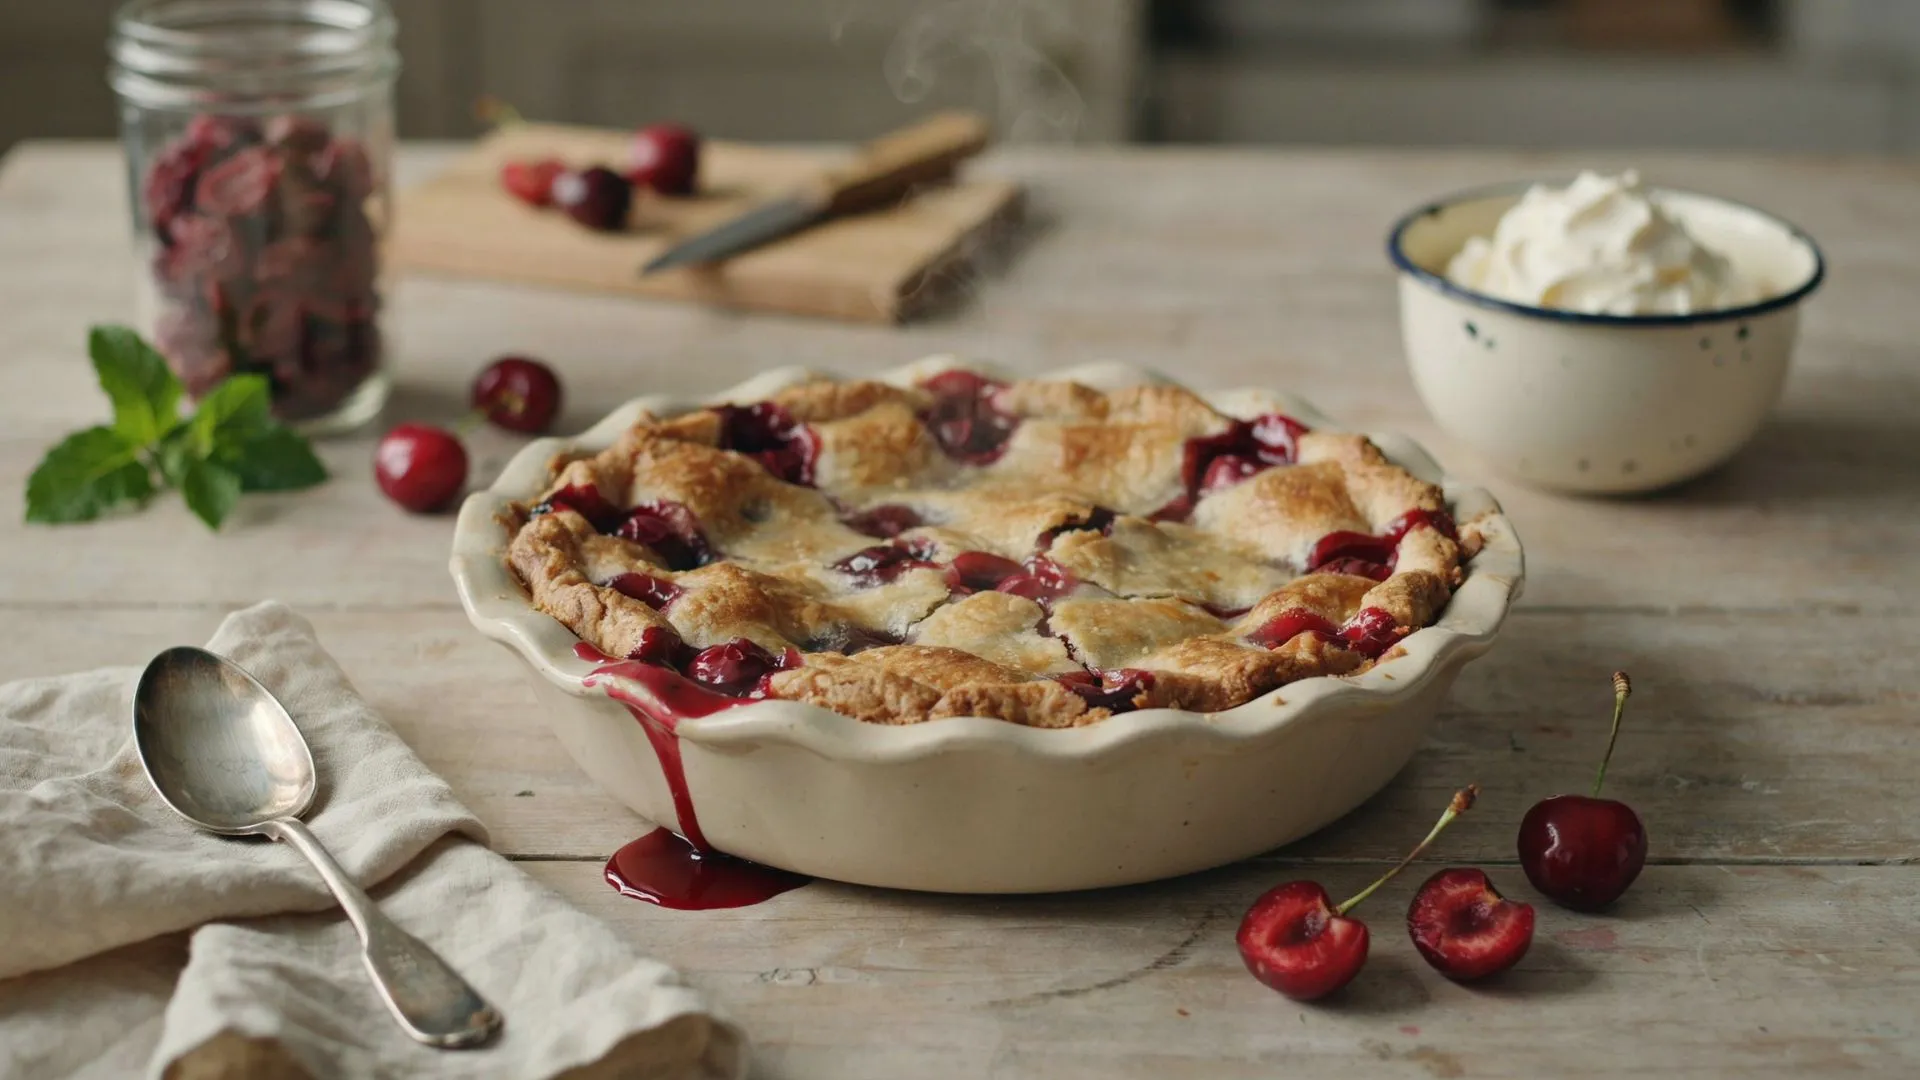
Cherry cobbler is a baked fruit dessert where sweetened cherries bubble up through a soft, biscuit-style topping. The topping is dropped or spread on top — never pressed in like a pie crust — which gives it that signature rustic, uneven surface. As it bakes, the fruit juices seep up around the dough, creating those gorgeous caramelized edges.
The word “cobbler” dates back to 19th-century American cooking. The rough, lumpy surface of the topping is said to resemble a cobbled street — and the name stuck. In the UK, a very similar dessert goes by different names depending on the topping: a crumble uses a buttery streusel, a crisp adds oats, and a buckle stirs the fruit directly into the batter.
In the American South, cobbler is practically a love language. The northern version tends to use a thicker, more biscuit-like drop topping, while southern cobblers often feature a thinner poured batter that rises up through the fruit. Both are wonderful. Neither is wrong.
If you’d like to compare different baking methods, this easy cherry cobbler recipe from Sally’s Baking Addiction offers another popular approach for home bakers.
The Classic Cherry Cobbler Recipe
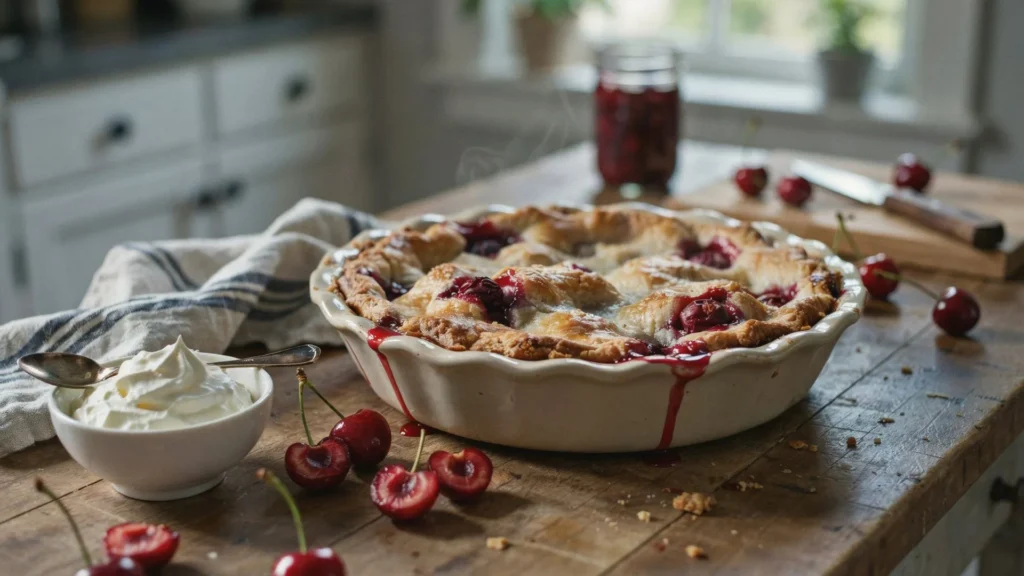
Classic Cherry Cobbler
Warm, bubbling, and ready in under an hour
15 minPrep
40 minBake
6–8Servings
EasyDifficulty
For the cherry filling
- 4 cupspitted fresh or canned sour cherries (drained)
- ¾ cupgranulated sugar
- 1 tbspcornstarch
- 1 tspvanilla extract
- 1 tbsplemon juice
For the biscuit topping
- 1 cupall-purpose flour
- ¾ cupgranulated sugar
- ¾ cupwhole milk
- ½ cupunsalted butter, melted
- 1½ tspbaking powder
- ¼ tspsalt
- ½ tspcinnamon (optional but lovely)
Step-by-step instructions
- 1Preheat your oven to 375°F (190°C). Pour the melted butter into a 9×13-inch baking dish and let it coat the bottom. Don’t skip this — that butter layer is what creates the golden, slightly crispy base.
- 2Prepare the cherries. In a bowl, toss your pitted cherries with sugar, cornstarch, vanilla, and lemon juice. Let them sit for 5 minutes. The cornstarch is your secret weapon against a soupy cobbler — it thickens the juices as they cook.
- 3Make the batter. In a separate bowl, whisk together flour, sugar, baking powder, salt, and cinnamon. Add the milk and stir until just combined. A few lumps are fine — overmixing makes the topping tough.
- 4Assemble — and don’t stir. Pour the batter directly over the butter in your dish. Do not mix them together. Spoon the cherry mixture evenly over the batter. Again, resist the urge to stir. As it bakes, the batter will rise up through the fruit — that’s the magic.
- 5Bake for 38–42 minutes, until the topping is golden brown and the cherry filling is visibly bubbling at the edges. If the center looks underdone but the edges are browning fast, tent it loosely with foil for the last 10 minutes.
- 6Rest before serving. Let the cobbler sit for at least 15 minutes before you serve it. This is the hardest part, but essential — it gives the filling time to set so it’s thick and scoopable rather than runny.
Baker’s tip: Sour (Morello) cherries make the best cobblers because their tartness balances the sweet batter. If using sweet cherries, reduce the sugar in the filling by 2 tablespoons. Canned tart cherries work beautifully too — just drain them very well.
The 2-Ingredient Shortcut Version
Yes, it’s real. If you have a can of cherry pie filling and a box of vanilla cake mix, you’re already most of the way there. Spread the cherry filling in a greased baking dish, sprinkle the dry cake mix on top, then dot with thin slices of cold butter (about 6 tablespoons total). Bake at 350°F for 45 minutes. That’s it. Is it the same as scratch? No. Is it absolutely delicious on a Tuesday night? Completely.
Why Does My Cobbler Come Out Soupy?
This is the most common complaint — and it almost always comes down to one of three things. First, too much liquid in the fruit. If you’re using canned cherries and didn’t drain them thoroughly, that extra syrup has nowhere to go. Second, you skipped the cornstarch (or not enough of it). Cornstarch thickens the fruit juices during baking; without it, they stay loose. Third, and most importantly: you cut into it too soon. Give it 15–20 minutes to cool and set after it comes out of the oven. Patience isn’t just a virtue here — it’s part of the recipe.
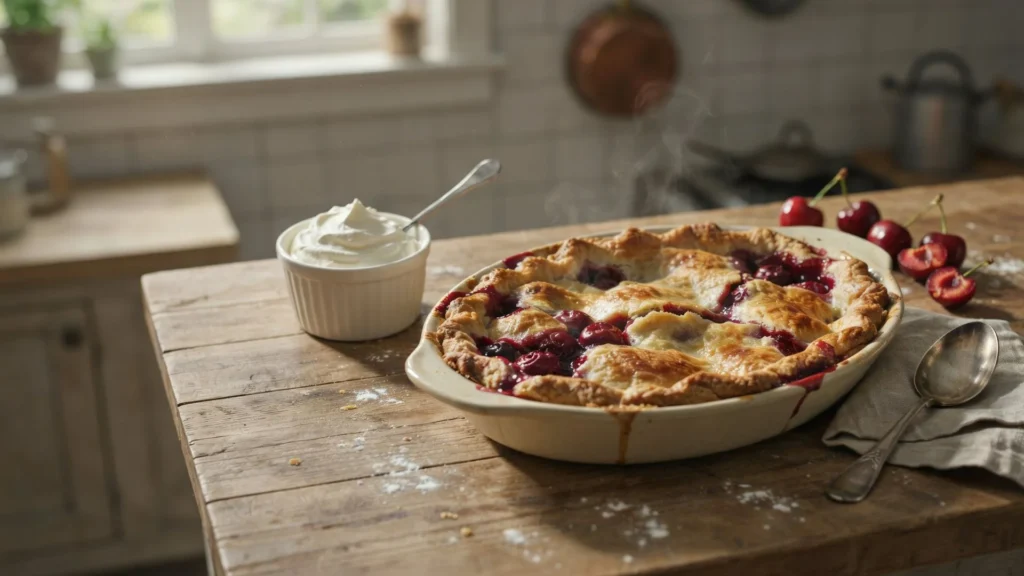
Serving and Storing
Cherry cobbler is best served warm, with a generous scoop of vanilla ice cream melting over the top. Leftovers keep well, covered, in the refrigerator for up to 4 days. Reheat individual portions in the microwave for 60–90 seconds, or warm the whole dish in a 325°F oven for 15 minutes. It also freezes well — just thaw overnight and reheat before serving.
Looking for more homemade recipe ideas? Explore our collection of snacks, appetizers, and family-friendly dishes.
Frequently Asked Questions
What is the difference between cherry crisp and cherry cobbler?
The difference is entirely in the topping. A cobbler uses a dropped biscuit or poured batter dough — soft and cake-like. A crisp has a streusel topping made with oats, butter, and brown sugar that bakes into a crunchy layer. Both use the same fruit filling; it’s purely a textural choice. If you love contrast between crunchy and juicy, go crisp. If you want something soft and bready, cobbler is your answer.
Can you use pie filling instead of fresh cherries for cobbler?
Absolutely — and many home bakers do. Canned cherry pie filling is already sweetened and thickened, so you can skip the sugar and cornstarch in the filling step entirely. The result is a slightly sweeter, more uniform cobbler. For a more complex, tart flavor, fresh or canned sour cherries (drained) give better results, but pie filling is a perfectly legitimate shortcut.
What kind of cherries are best for cobblers?
Sour cherries — particularly Morello or Montmorency varieties — are the gold standard for baking. Their tartness holds up against the sweetness of the batter and creates that classic, balanced flavor. Sweet cherries like Bing work too, but the result is richer and less complex. Fresh is best when in season, but canned sour cherries (well-drained) come close and are available year-round.
Are cherries okay for diabetics?
Cherries have a relatively low glycemic index compared to many other fruits, which means they cause a more gradual rise in blood sugar. That said, a traditional cherry cobbler is high in added sugar. If you’re managing blood sugar, consider reducing the sugar in both the filling and batter by up to one-third, or using a sugar substitute. Always consult your doctor or a registered dietitian for personalized guidance.
Did this recipe work for you? Share your cobbler in the comments, then explore more homemade recipes and baking inspiration from our recipe collection and Pinterest boards.